


Beta verzia novej dokumentácie.
Home Documentation AI CDESK MCP server Restricting the AI assistant’s access
Connecting CDESK MCP does not mean you have to hand everything over to the AI assistant. There are two separate ways to limit what the assistant can access, and they complement each other: your AI application decides what the assistant is allowed to request, and CDESK decides what is actually returned to it.
Disabling tools in your AI app is quick, requires no consent, and you can change the settings at any time. Most AI apps offer three options for each tool:
| Settings | What happens | Suitable for |
|---|---|---|
| Always allow | The assistant will run the tool whenever it needs to, without interrupting you | Reading – viewing, opening, searching |
| Ask | You’ll see both the tool and the data the Assistant wants to apply with it, and you’ll approve this before it’s carried out | Anything it records |
| Disabled / Block | The tool is completely hidden from the assistant | Entire fields you do not want to touch |
A sensible starting point: always allow reading, but ask for confirmation before writing. You can’t go wrong with reading. However, every write operation constitutes an actual change to your live CDESK, which is visible to both colleagues and customers.
Most applications also offer a ‘do not ask again’ button when a prompt appears. This subtly changes the settings to ‘always allow’, so use this feature with caution for tools that you have deliberately set to prompt you.
It is good practice to leave the `collect_records` and `verify_claims` tools enabled. These are the very tools the assistant uses in the background to confirm its answers against actual records. Disabling them will not improve security – you will simply lose the fact-checking capability.
If you want an assistant that reads but never changes anything, disable all write tools. You’ll still have all the options to answer questions – a good way to try out the beta version before you allow the assistant to write.
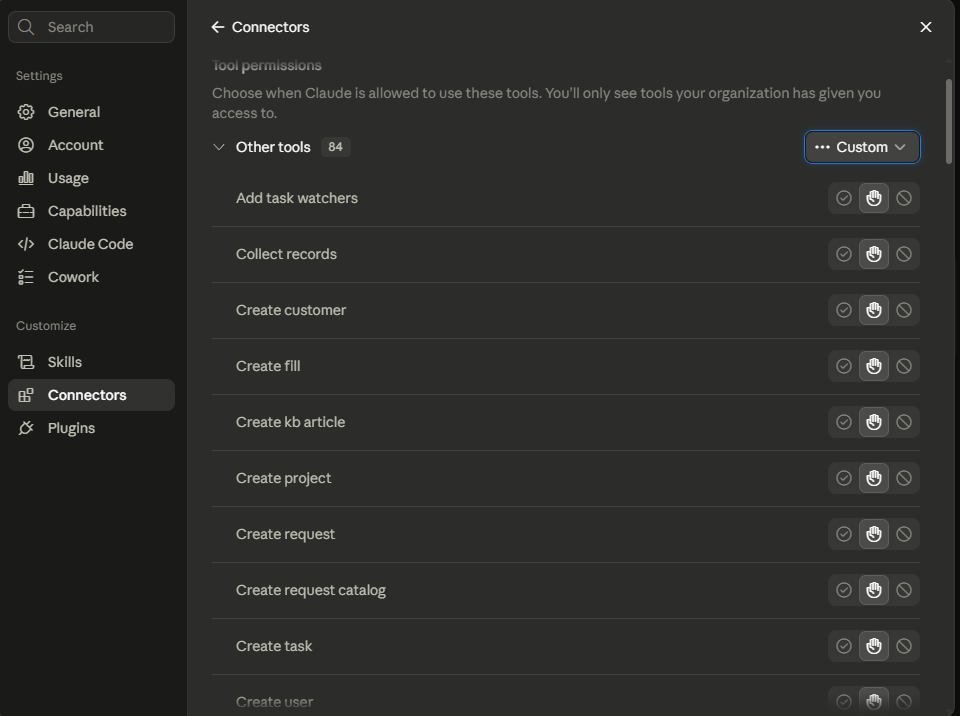
In Claude (both the web and desktop apps): Settings → Connectors → CDESK connector → Tool permissions. For each tool, there are icons to enable, ask about and block; use the drop-down menu above the list to set them all at once. Claude views descriptive names (Create request instead of create_request) and the list is sorted alphabetically, so go by the verb at the start of the name. The changes will take effect with your next message.
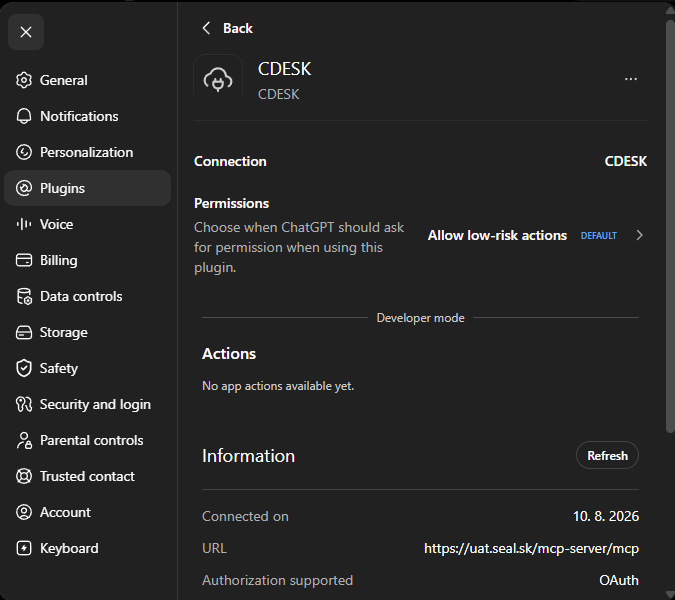
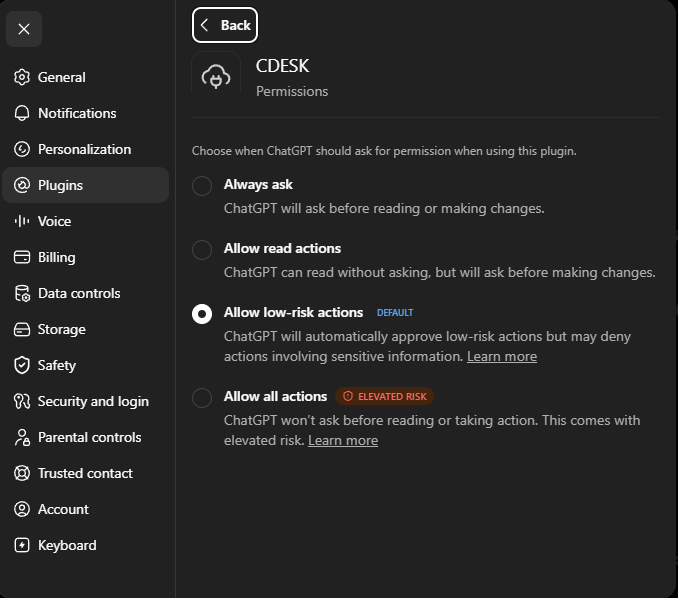
In ChatGPT: Settings → Plugins → CDESK → Permissions. ChatGPT sets a single level of permission for the entire connector, not for individual tools, so you cannot block a specific tool here. The option that most closely matches the recommendation above is ‘Allow read actions’ – unrestricted reading and a prompt before any changes.
In Claude Code, Gemini CLI and Codex CLI: each of these applications has its own custom settings determining which tools are enabled and when the application must prompt the user. You can find the current names of these settings in the documentation for the relevant application.
When installing on your own computer, the tools are restricted solely within the AI application. The connector itself has no settings for this – neither in the .env file nor via parameters – and deleting the files will simply corrupt the installation.
What disabling the tools does not do. It changes nothing within CDESK itself – your CDESK account retains all the permissions it previously had, and you can enable any tool within a few seconds. Nor is it a security measure: it is a working arrangement, not a control mechanism that can be relied upon during an audit. And it does not restrict read access – an enabled read tool will still have access to every record that your CDESK account can see.
This is a stricter restriction. CDESK MCP logs in as an actual CDESK user and is granted exactly the same rights as that user, so whatever the account cannot see or is not permitted to access in the CDESK web interface, the assistant cannot see or access it either – regardless of which AI application connects and who is using it. This is also the only way to restrict which records are returned.
However, there is one consequence to bear in mind: these permissions belong to a specific account in CDESK, so whatever you remove from that account will also be removed from its normal work in CDESK. That is precisely why, when setting up an “AI account that is allowed to read but not modify”, the cleanest solution is a separate CDESK user for the MCP server, rather than restricting someone’s custom account.
You must be a CDESK administrator. The rights are set via a group:
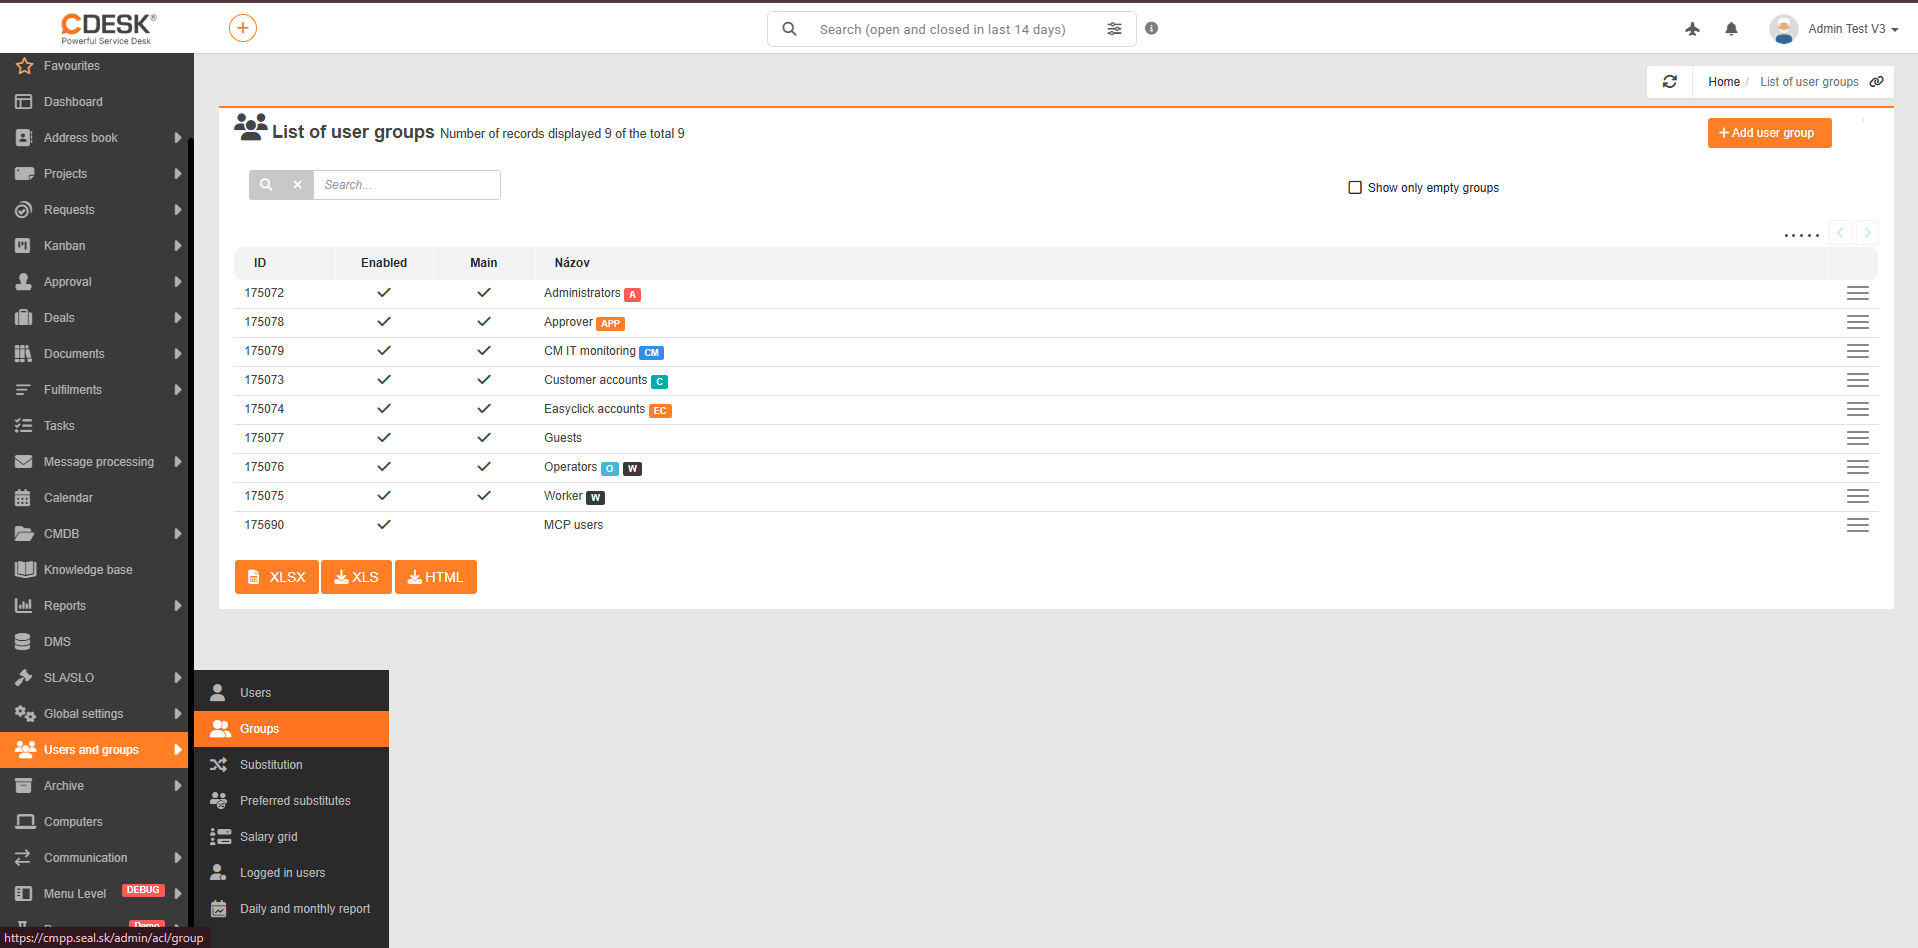
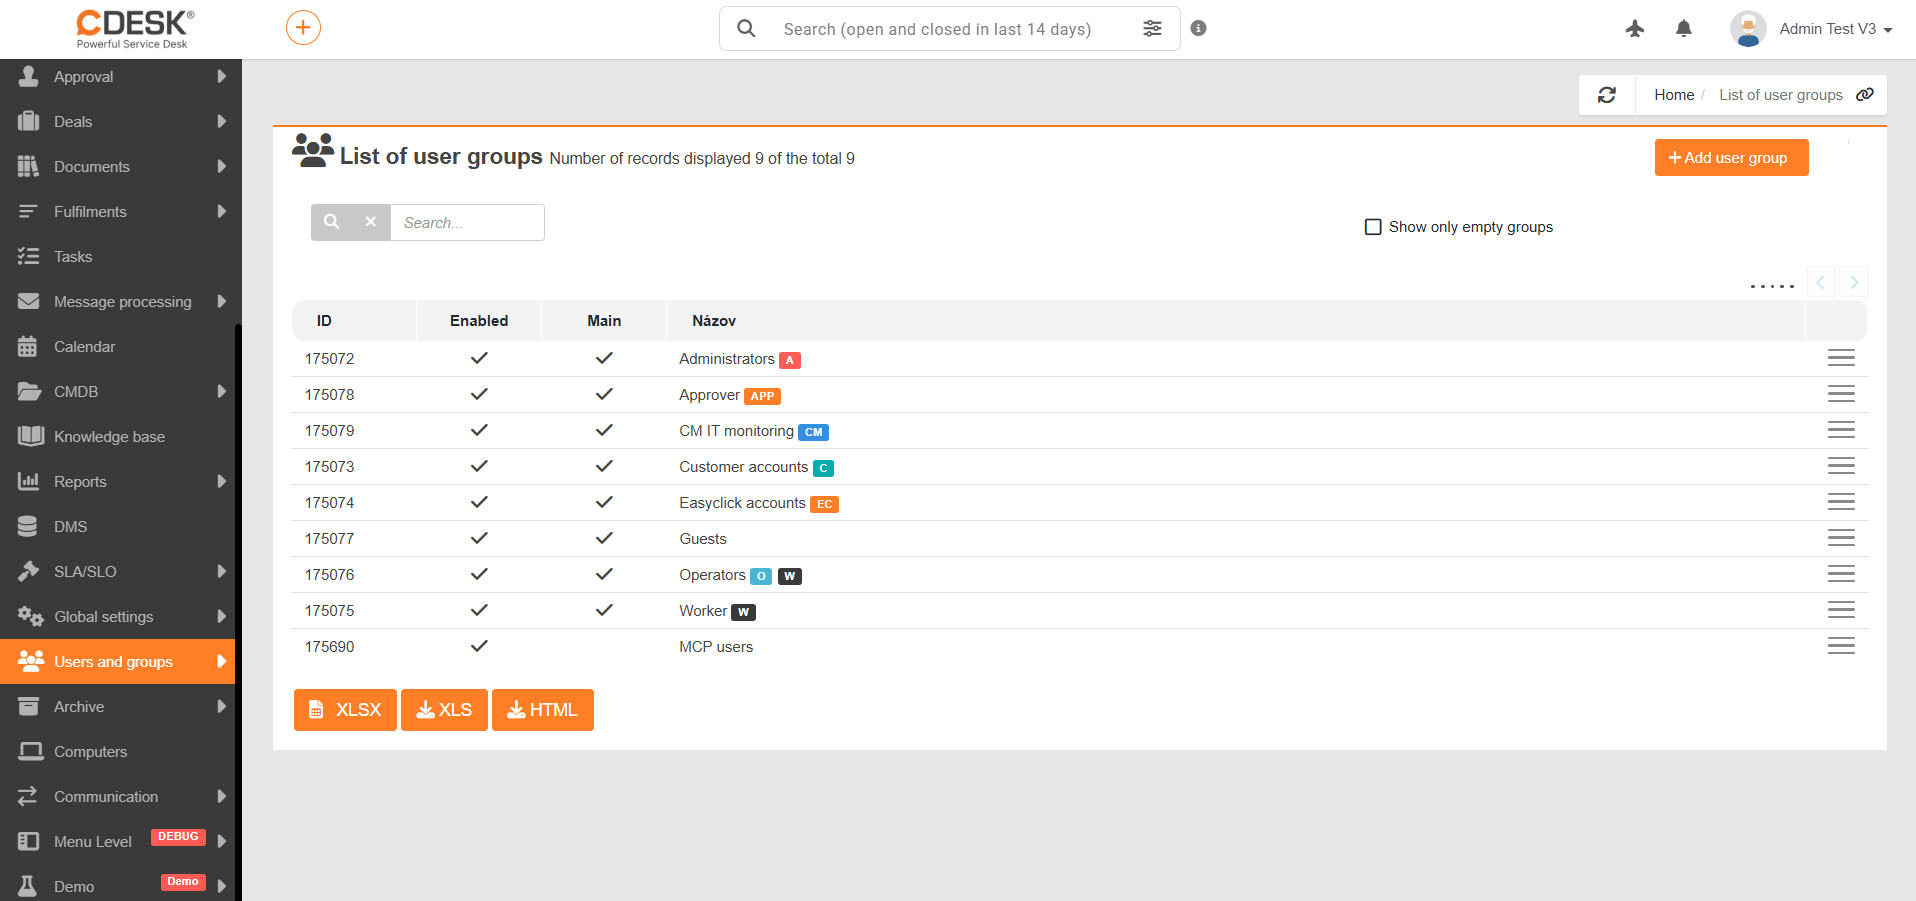
1. Open Users and Groups → Groups and create a new group. Give it a name that you’ll recognise later – for example, ‘MCP read-only’ – and save it. A saved group will view its full settings; an unsaved one will not.
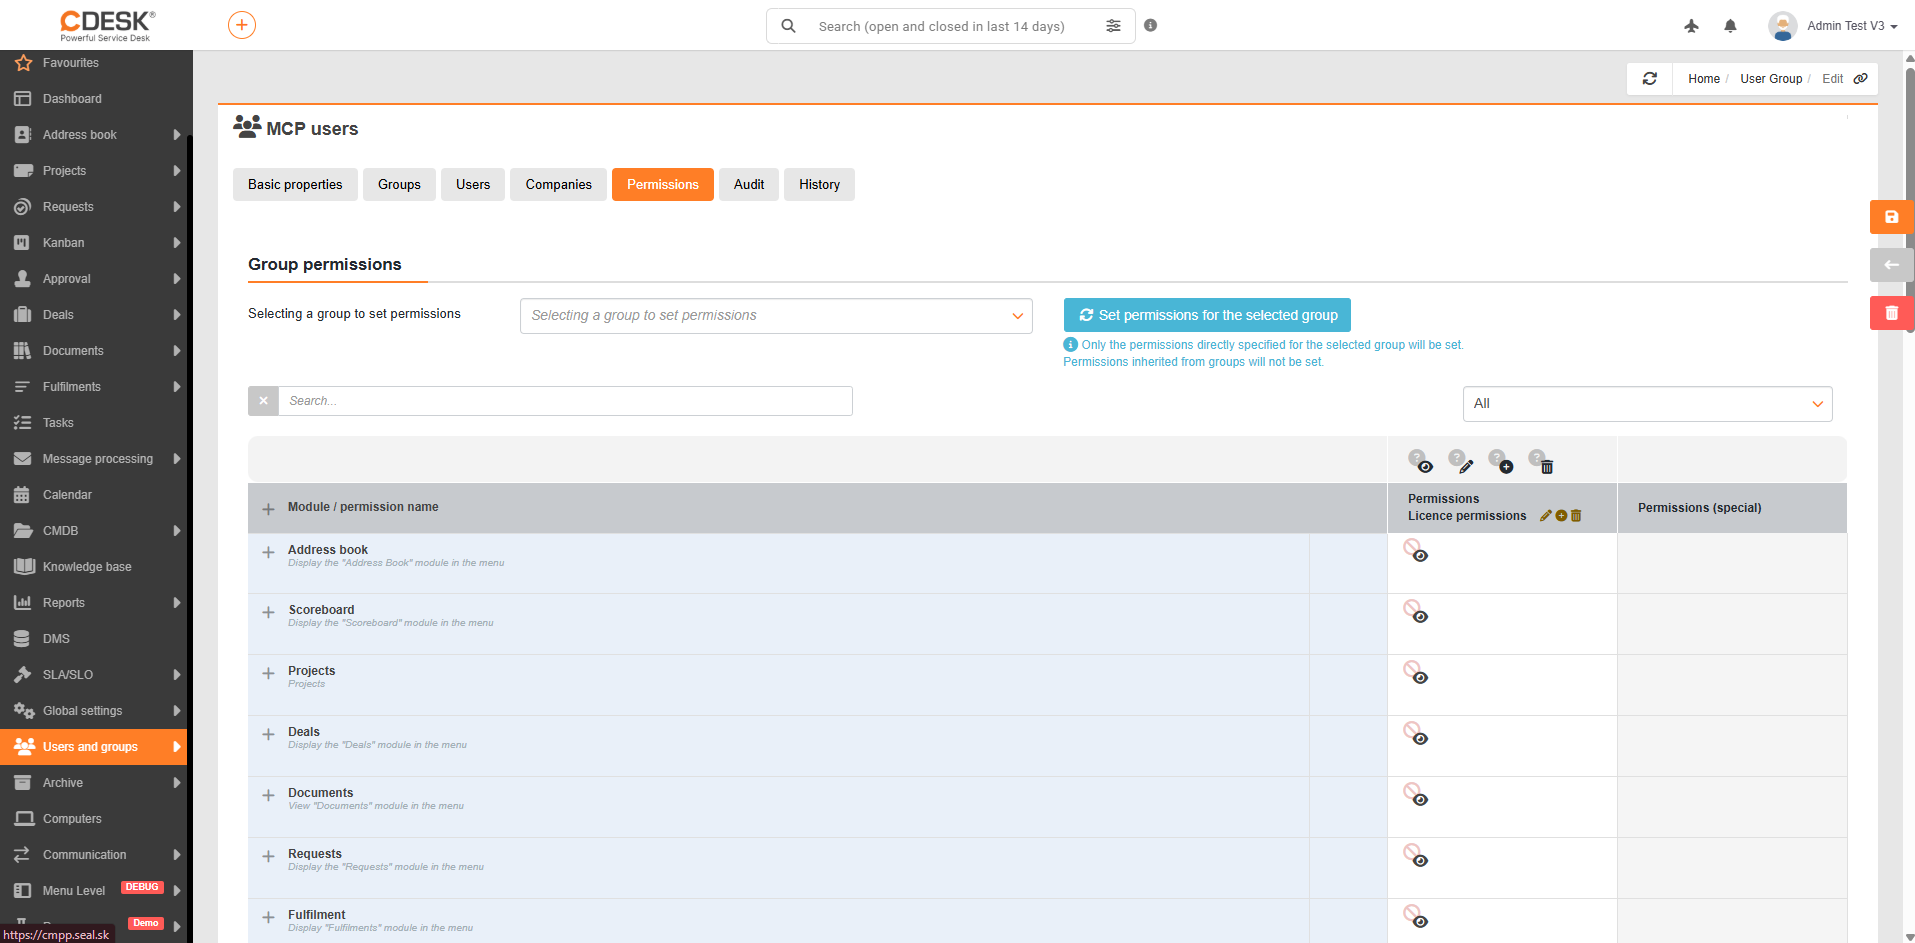
2. Open the ‘Permissions’ tab for the group and set what the group is allowed to do.
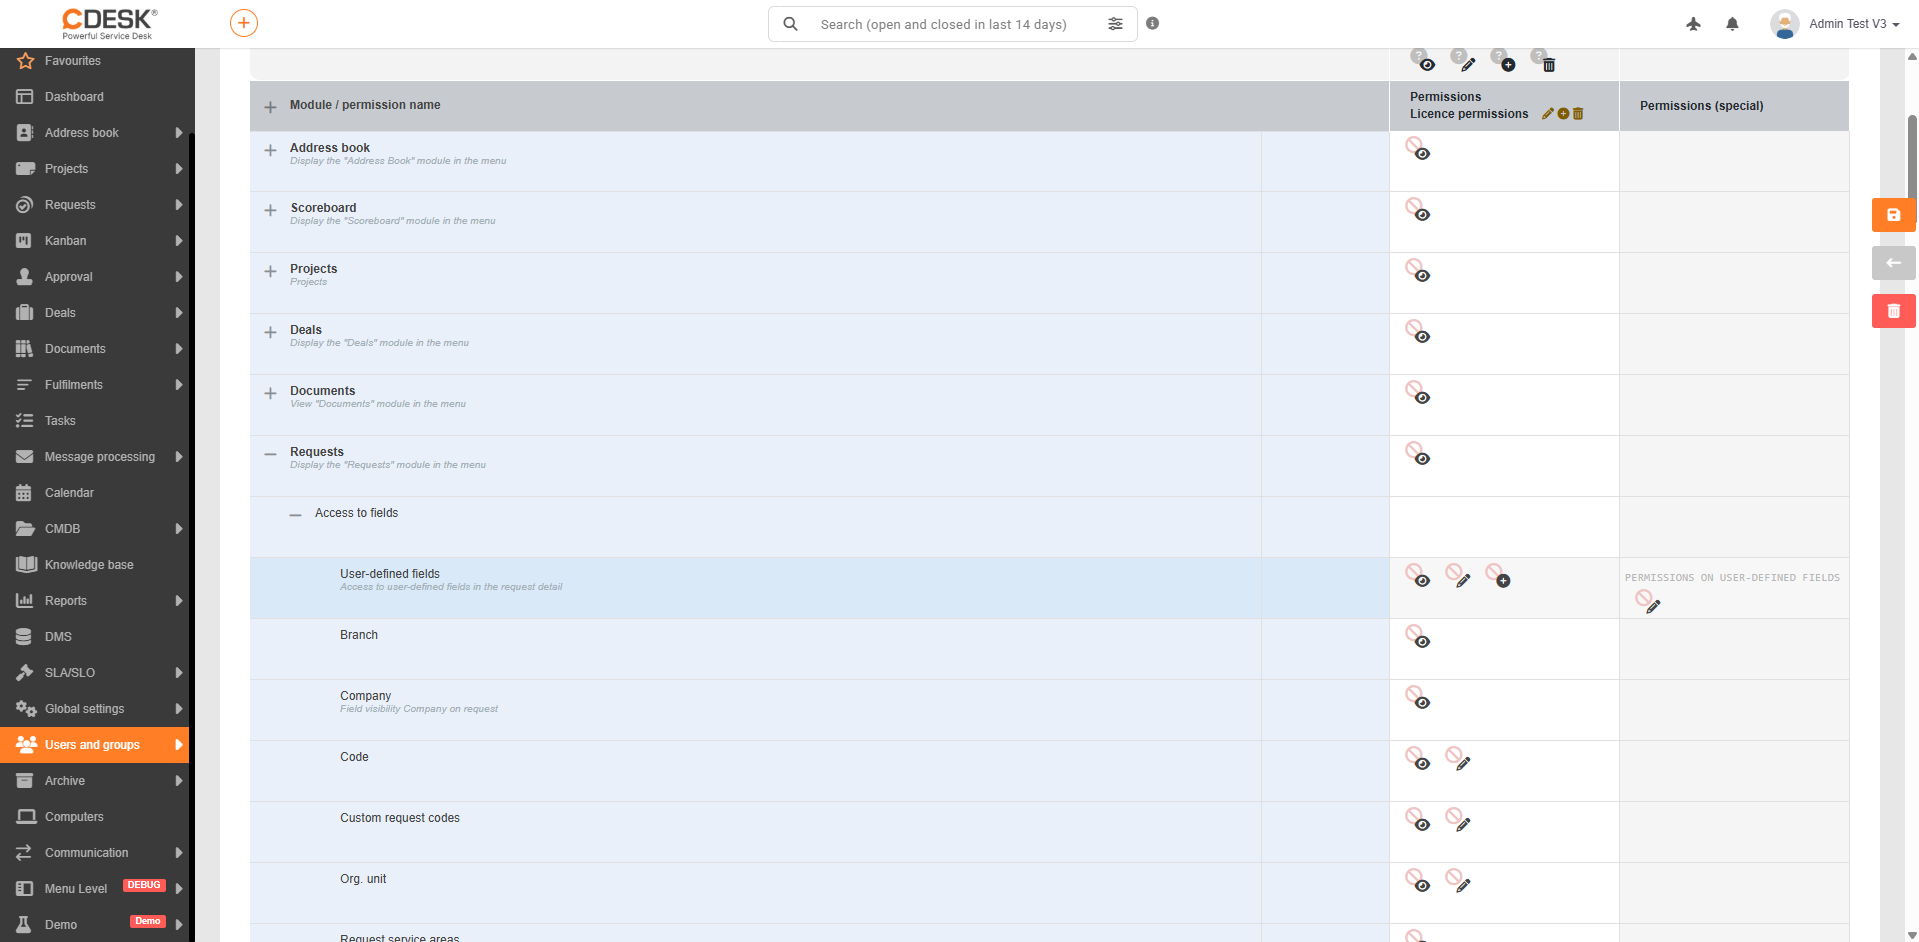
You will see the entire CDESK authorization tree: individual areas (requests, tasks, companies and more), their sub-areas and individual fields, including your own – so you can hide a single sensitive field without hiding the entire record in which it appears. Each item has four permissions – read, edit, create, delete – and each of these can be enabled, disabled or left unspecified. ‘Not set’ is determined by the parent level, so you only need to set the field once and the sub-areas will adjust accordingly.
3. Add the users that this group is intended to manage. Until there are members in the group, the group does nothing.
The changes will only take effect the next time the user logs in, so it is best to confirm them by logging in again rather than relying on this. Anyone who is already logged in – including those with an active connection to the MCP server – will retain their original permissions until they refresh their session.
A permission overrides a restriction across groups. If an account belongs to more than one group, a permission granted in any one of them takes precedence over a restriction in another. Placing a person in a new restricted group does not, therefore, in itself restrict them, and this is the most common reason why a restriction appears to have no effect.
As this is a beta version, the list of tools is not yet final – more will be added in future releases. A tool that does not yet exist cannot be disabled in advance, so please check these settings again after every update that introduces new tools.
Home Documentation AI CDESK MCP server Restricting the AI assistant’s access