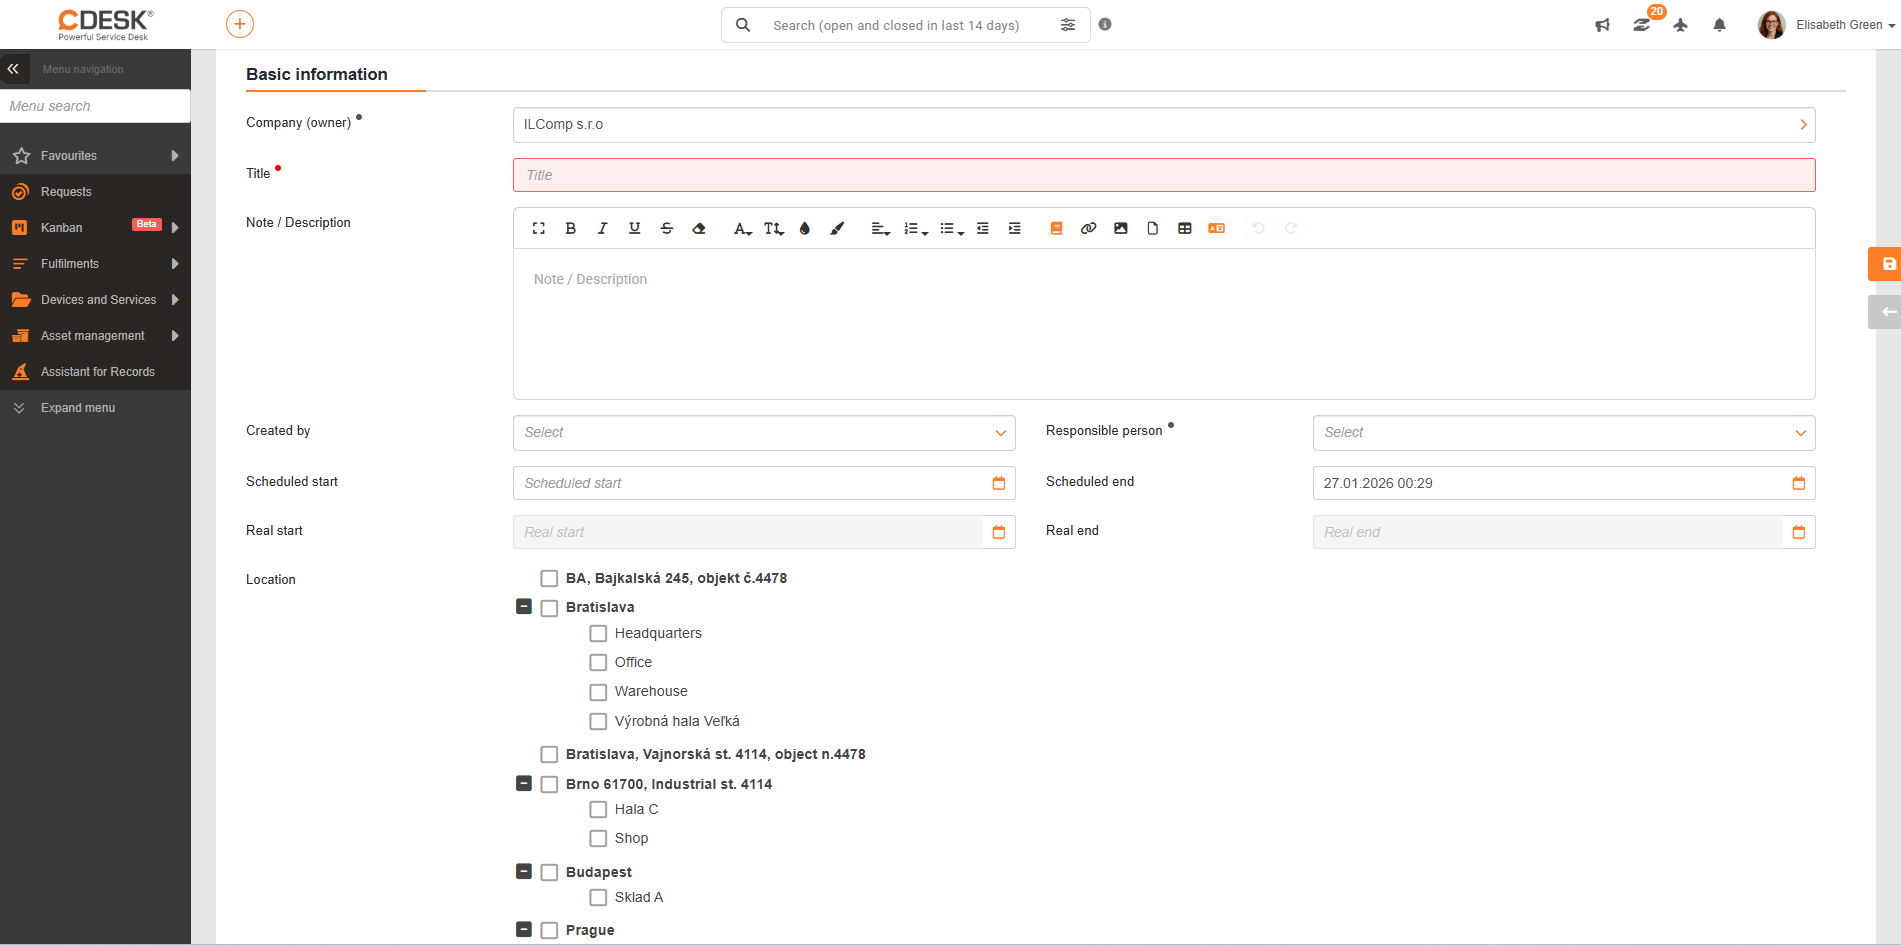
To add a new inventory, click the “+Add” button in the inventory list. After clicking, a form for entering inventory parameters will appear.
Basic Information
- Company (Owner) – allows you to select the company for which the inventory will be conducted, or the company to which the assets in the inventory belong. If the inventory contains inventory orders, you will no longer be able to change the company selection. This field also serves as a filter for locations and assets. Their selection will only appear after the company is selected.
- Name – the name of the inventory under which it will appear in the list.
- Note / Description – option to add additional information to the inventory, e.g., which assets to focus on during the inventory.
- Created by – this field is automatically populated with the currently logged-in user.
- Responsible – the responsible user who will approve the inventory results.
- Planned start – the date when the inventory is scheduled to begin.
- Planned end – the date when the inventory is scheduled to end.
- Actual start – this field is automatically filled with the date when the first inventory command was executed.
- Actual end – this field is automatically filled in with the date when the entire inventory was approved.
- Location – option to select the locations where the inventory will be performed. You can select entire facilities or specific locations. Locations are created in the section CMDB → List of items. For a more detailed procedure, see the section above titled “” under “Facilities and Locations”.
- Inventory Subject – selection of which items are to be checked during the inventory. You select the main group or type. The numbers next to the main group or type indicate the number of items in that group/type for the given company. These are items from the asset list. Adding asset items is described above in the text in the section Adding a new item.
- Purpose of inventory – selection of the purpose of the inventory from the available options – partial inventory, regular inventory at the end of the accounting period, audit.
- Attachments – option to attach a file (e.g., a scan, document, or photo). To attach a file, drag it onto this field or click the field and select the file from your disk. You can attach multiple files. A list of attached files will appear below this field.
After clicking the Save button, the Inventory Orders tab will appear.
Inventory levels
Inventory statuses are displayed in the info box as well as in the list of inventories/inventory orders. Inventory statuses correspond to the statuses of inventory orders. Statuses change automatically as the inventory/inventory order progresses.
- Planned – status after the inventory is created. Add inventory orders.
- Active – status after the first inventory order is launched.
- Pending Approval – for inventory orders, this status occurs after being sent for approval. In the inventory, this status is used only when all inventory orders are in the status Pending Approval. The inventory can be approved only after all inventory orders have been approved.
- Closed – status after approval of the entire inventory/inventory order.
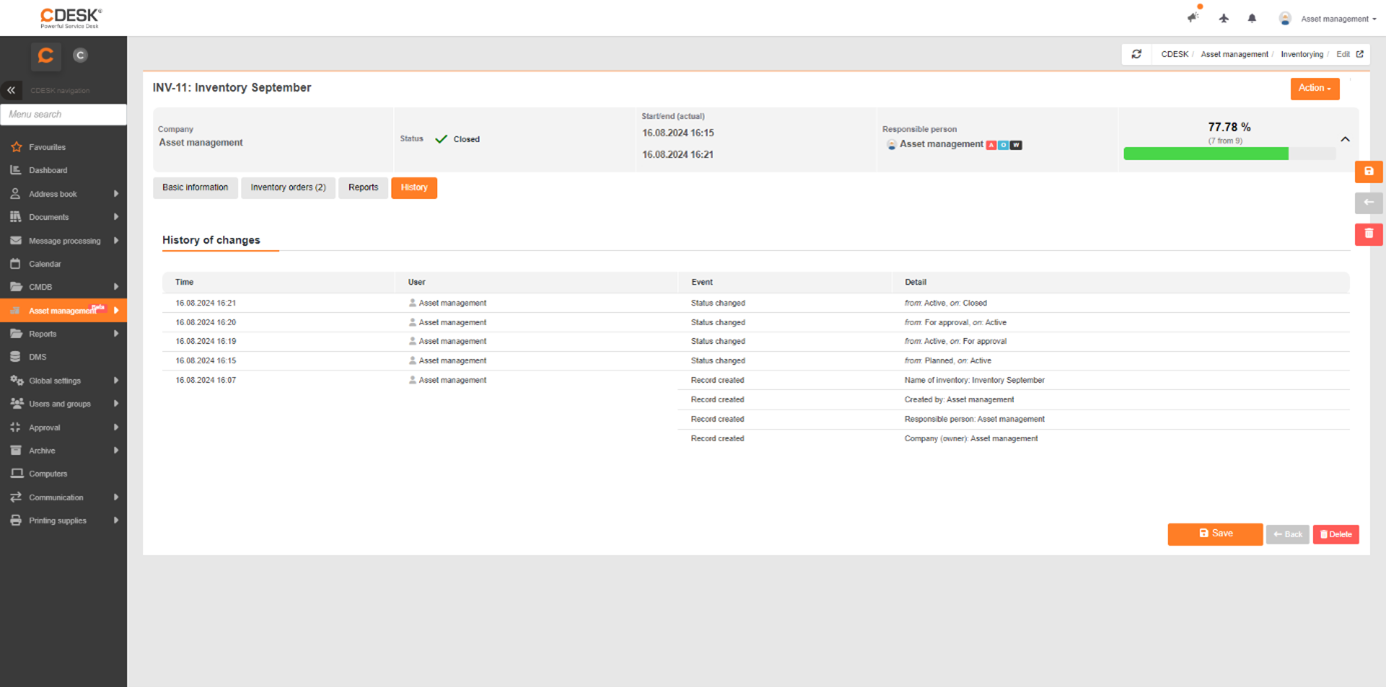
History
The History tab records all changes made to a given inventory, except for the scanning itself.