


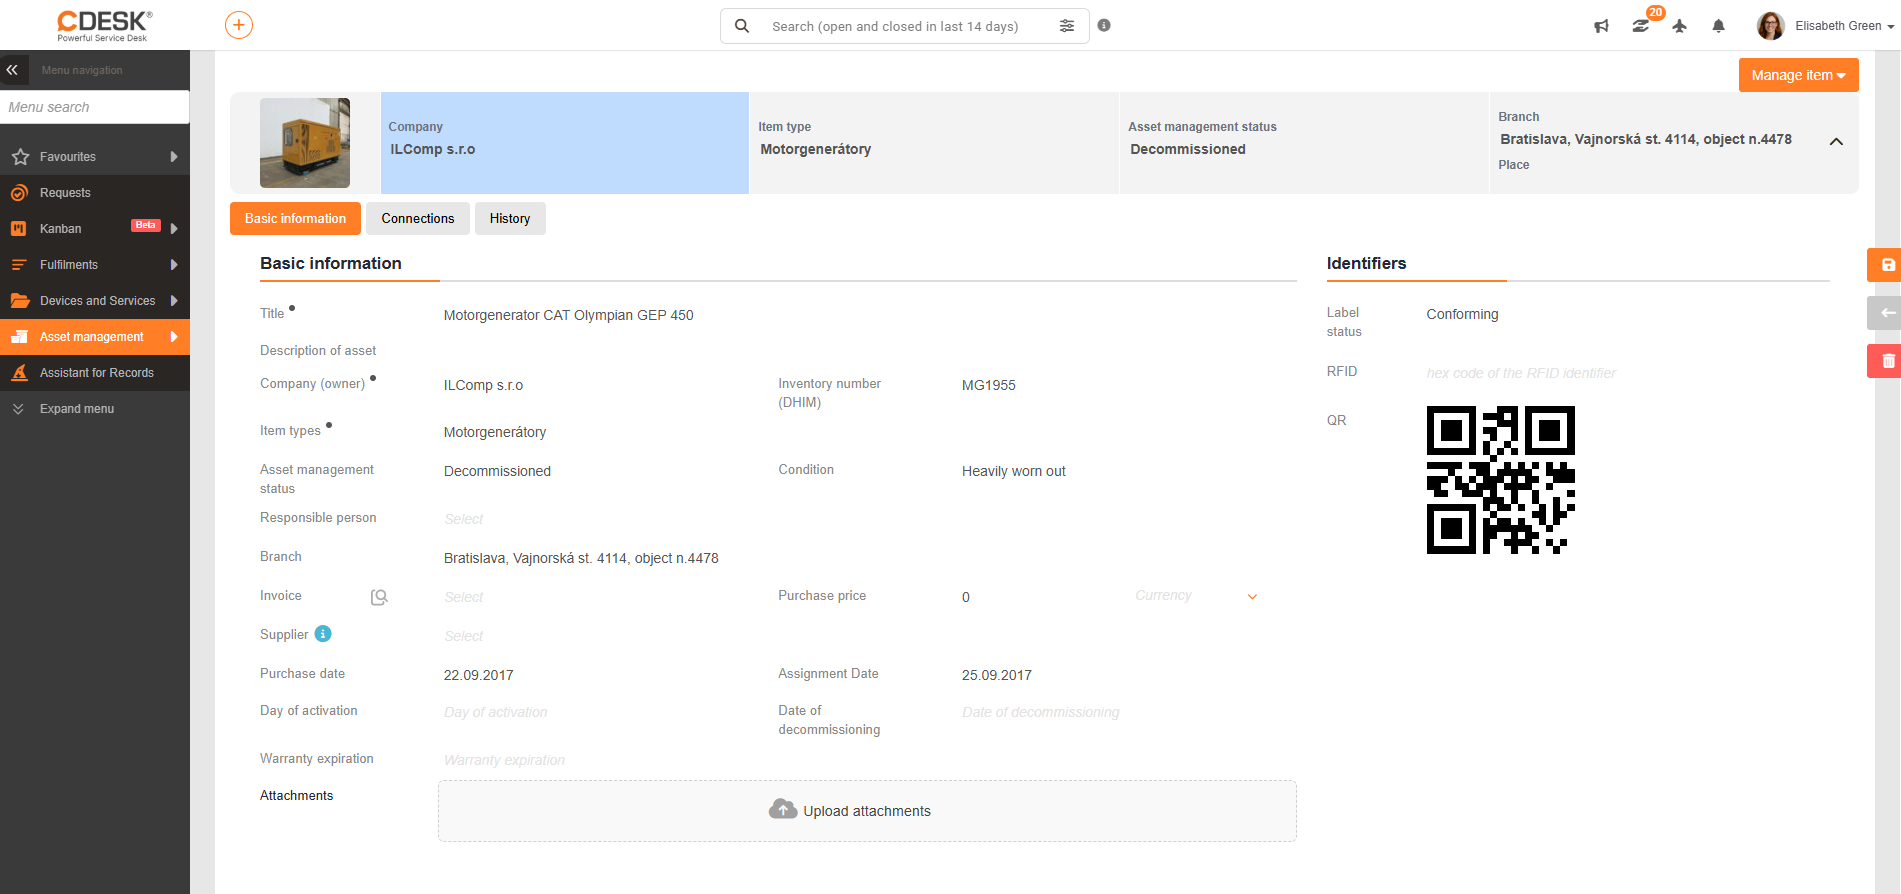
An infobox is a top-level rectangle containing useful information. It displays different data in each module.
In the module Asset Management, the infobox includes the option Upload Thumbnail – to assign an icon to a given item and thus visually distinguish it. The icon can be uploaded from your device.
The following are also displayed: Company, Item type, Location, Facility and Record status with the option to customize the record status according to the status code list.
The infobox can be minimized by clicking the up arrow  . To expand the infobox again, use the gray button with the down arrow
  . There is also an option to disable the infobox for the entire CDESK. You can find this toggle in Global Settings → Other at the bottom of the page.
- Name – the name under which the item will appear in lists.
- Asset description – a more detailed description of the item
- Company (owner) – the company to which the item relates. Each item must be assigned to a specific company. If the required company has not yet been defined, it can be added by clicking the icon +.
- Inventory Number (DHIM) – the inventory number by which this item will be identified. The inventory number must be unique for all items. Automatic assignment of the inventory number can be used in this field. You can define the format according to which these inventory numbers will be entered for the entire Asset Register in the section Global Settings → Asset Register → Default Inventory Number Format or for each item type separately in the section Configuration Database CMDB → Item Types → specific type → Default Inventory Number Format. You must use 2–5 letters at the beginning of the number, followed by at least 4 digits.
- Item Type – the item type under which the item will be classified. To add a new item type, you can use the button + next to this field.
- Model designation – this field is enabled in the Item Type settings. If the asset is linked to CM and this field is filled in the CM section, its value is automatically transferred to this field.
- Record status – asset record status from the values offered in the code list. The list can be expanded as needed in the section Global Settings → Asset Register.
- Physical Condition – physical condition of the asset from the values offered in the list. The available values are: Unspecified, New, Excellent condition, Normal wear and tear, Heavy wear and tear, Missing, To be scrapped.
- Assigned to – option to select the user to whom the asset is assigned. This field appears only after selecting the status Assigned. If you do not keep records of employees in CDESK, you can use the free text button
 , which allows you to enter any text. You can switch back to the user selection in CDESK by clicking the button
  . After changing the record status to a different status, this field remains active with the original value retained.
 - Responsible – the user responsible for the asset, even if the asset is not assigned to them.
- Facility – option to select a facility, which must be defined in the CMDB configuration database.
- Location – option to select a location, which must be defined in the CMDB configuration database. This field appears only after entering Facility.
- Invoice – the purchase invoice for the given asset must be saved in CDESK. If the invoice has not yet been added, you can use the button + next to this field to add a new invoice. The selected invoice can be viewed or edited using the magnifying glass button
 . If the invoice does not need to be recorded in CDESK, you can use the free text button , which allows you to enter any text. You can return to the invoice selection using the button .
 - Acquisition cost – the asset’s price, including the currency in which the price will be recorded. The currency can be accessed in the section Global Settings → Accounting → Currencies.
- Supplier – the asset’s supplier selected from a list of companies. To add a new supplier, use the button + next to this field. The supplier is automatically filled in if the field Supplier is filled in on the invoice recorded in CDESK.
- Purchase Date – the date the asset was purchased. If the asset is linked to CM and this field is filled in the CM section, its value is automatically transferred to this field.
- Assignment Date – the date the asset was assigned. This field becomes available after selecting the record status Assigned.
- Date of Disposal – date of asset disposal. This field becomes available after selecting the record status Disposed.
- Date of Liquidation – date of asset liquidation. This field becomes available after selecting the record status Liquidated.
- Warranty Expiration – warranty expiration date. If the asset is linked to CM and this field is filled in the CM section, its value is automatically transferred to this field.
- Attachments – option to attach a file (e.g., a scan, document, or photo). You can attach a file by dragging it onto this field or by clicking on it and selecting a file from your disk. You can also add multiple attachments. A list of attached files will appear below this field. If you have selected an invoice and have a scan of it on file in the attachments, it will automatically be attached to the item as well.
 , which allows you to enter any text. You can switch back to the user selection in CDESK by clicking the button
  . After changing the record status to a different status, this field remains active with the original value retained.
 . If the invoice does not need to be recorded in CDESK, you can use the free text button
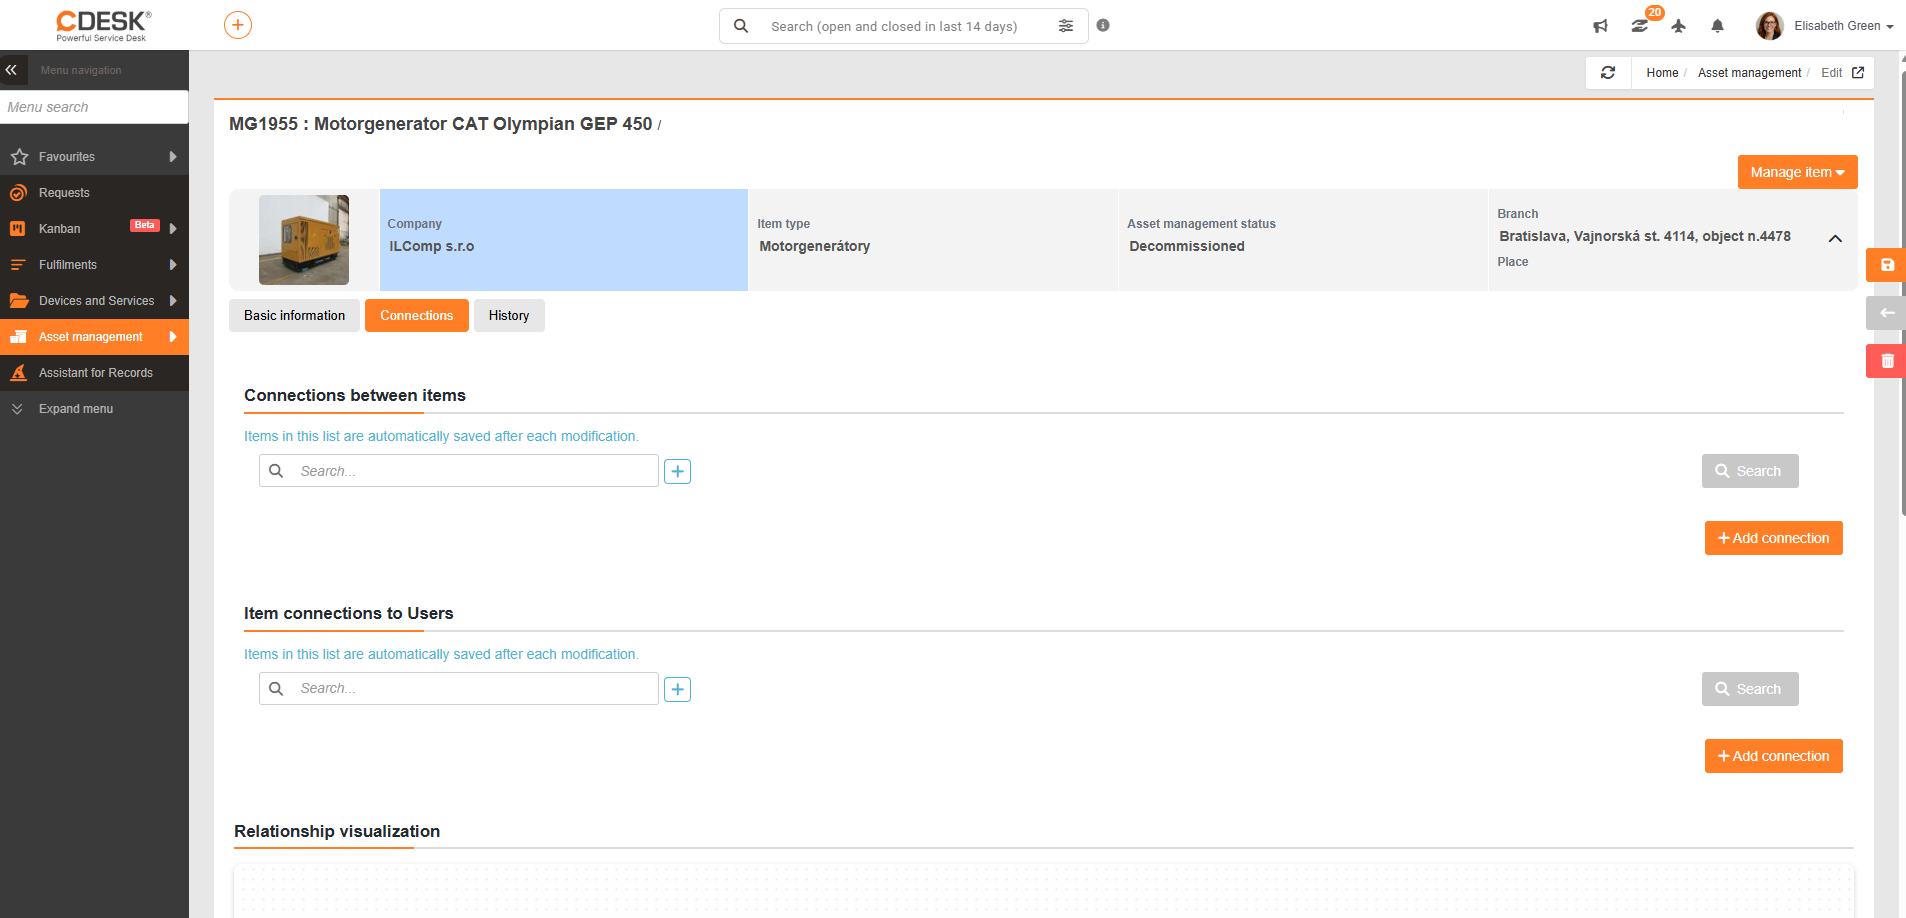
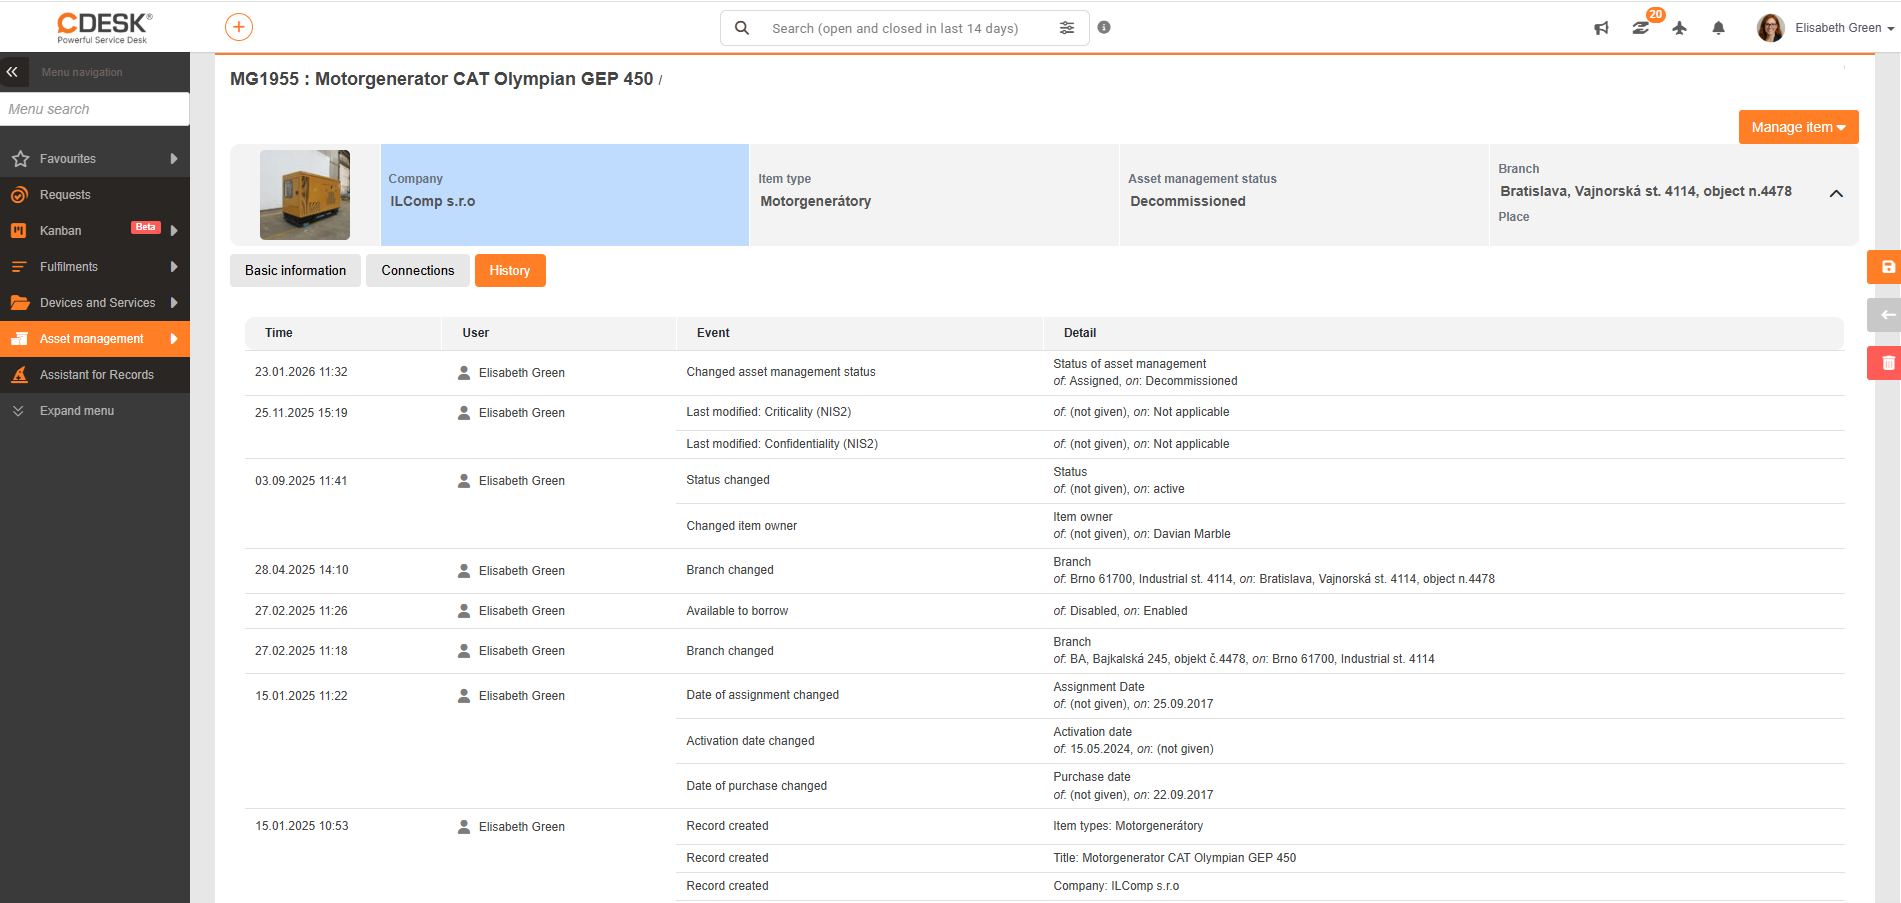
After expanding an item from the asset register list, the Manage Item button appears in the upper right corner. This button allows you to quickly record the necessary change in the register status.
Options:
 Assign to handover protocol – direct link to create a handover protocol.
 Request a replacement – the item status will change to For replacement and the system will automatically send a notification.
 Suggest for disposal – the item status will change to For disposal and the system will automatically send a notification.
 Report a loss – the item status will change to Lost and the system will automatically send a notification.
 Report a defect – the item status will change to Defective and the system will automatically send a notification.
 Assign to handover protocol – direct link to create a handover protocol.
 Request a replacement – the item status will change to For replacement and the system will automatically send a notification.
 Suggest for disposal – the item status will change to For disposal and the system will automatically send a notification.
 Report a loss – the item status will change to Lost and the system will automatically send a notification.
 Report a defect – the item status will change to Defective and the system will automatically send a notification.