This section describes the process of creating billing fulfilments from internal fulfilments recorded on a request and their subsequent invoicing via deals. The goal is to demonstrate the connection between the individual steps — from creating a deal and recording work through internal fulfilments, to creating a billing fulfilment and final invoicing. The process ensures clear tracking of time worked, its aggregation, and efficient transfer to the invoicing process.
The first step is creating a deal. The next step is creating a request from the customer’s perspective or from the assignee’s perspective. On the request, in the Deal field select the deal you just created. Then, on the Tasks tab in the request, create several tasks.
Next, assign multiple internal fulfilments to each task. You can create an internal fulfilment via + Add internal fulfilment. You will see these fulfilments on the request under the Fulfilments tab, sorted by task.
You can create a single billing fulfilment from these internal fulfilments. Check all internal fulfilments to enable the + Create billing fulfilment from internal button. Clicking this opens a new form, similar to the one used when entering a billing fulfilment. The individual fields are populated with parameters from the internal fulfilments, and the durations are the sums of the durations from the internal fulfilments. (You can find more information about automatically filling in fields based on internal fulfilments HERE.)
On the Internal fulfilments tab, you will find a list of internal fulfilments used to create the billing fulfilment.
The billing fulfilment is saved by clicking the Save button.
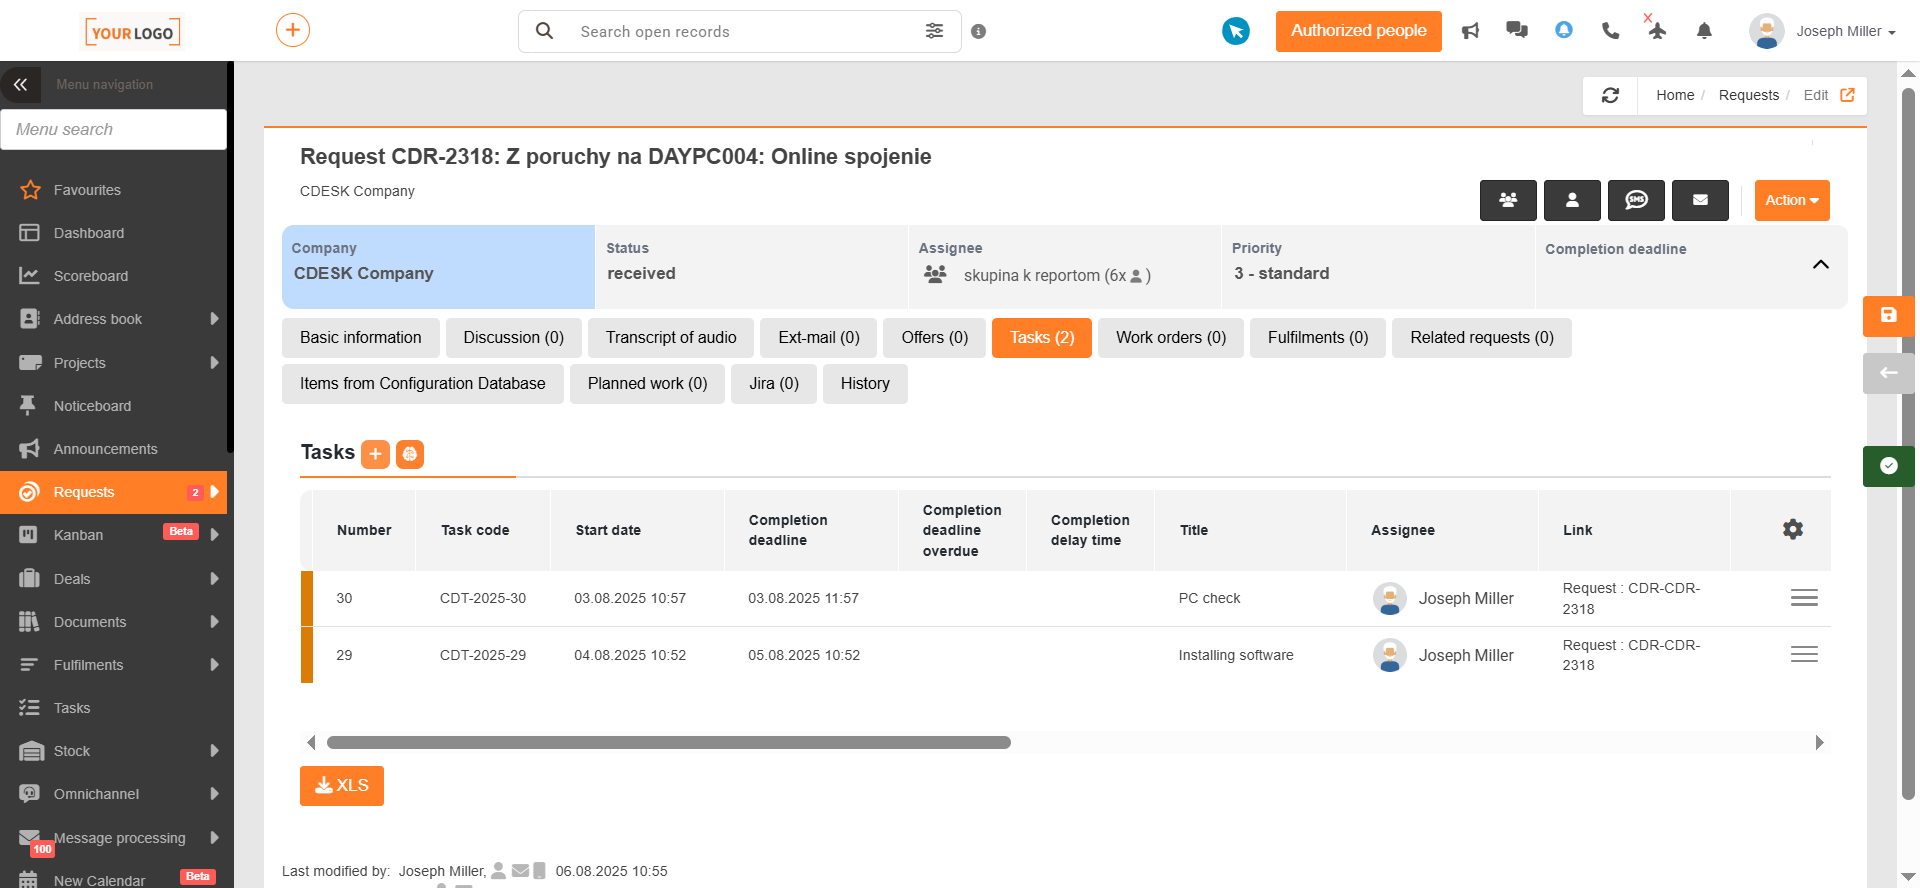
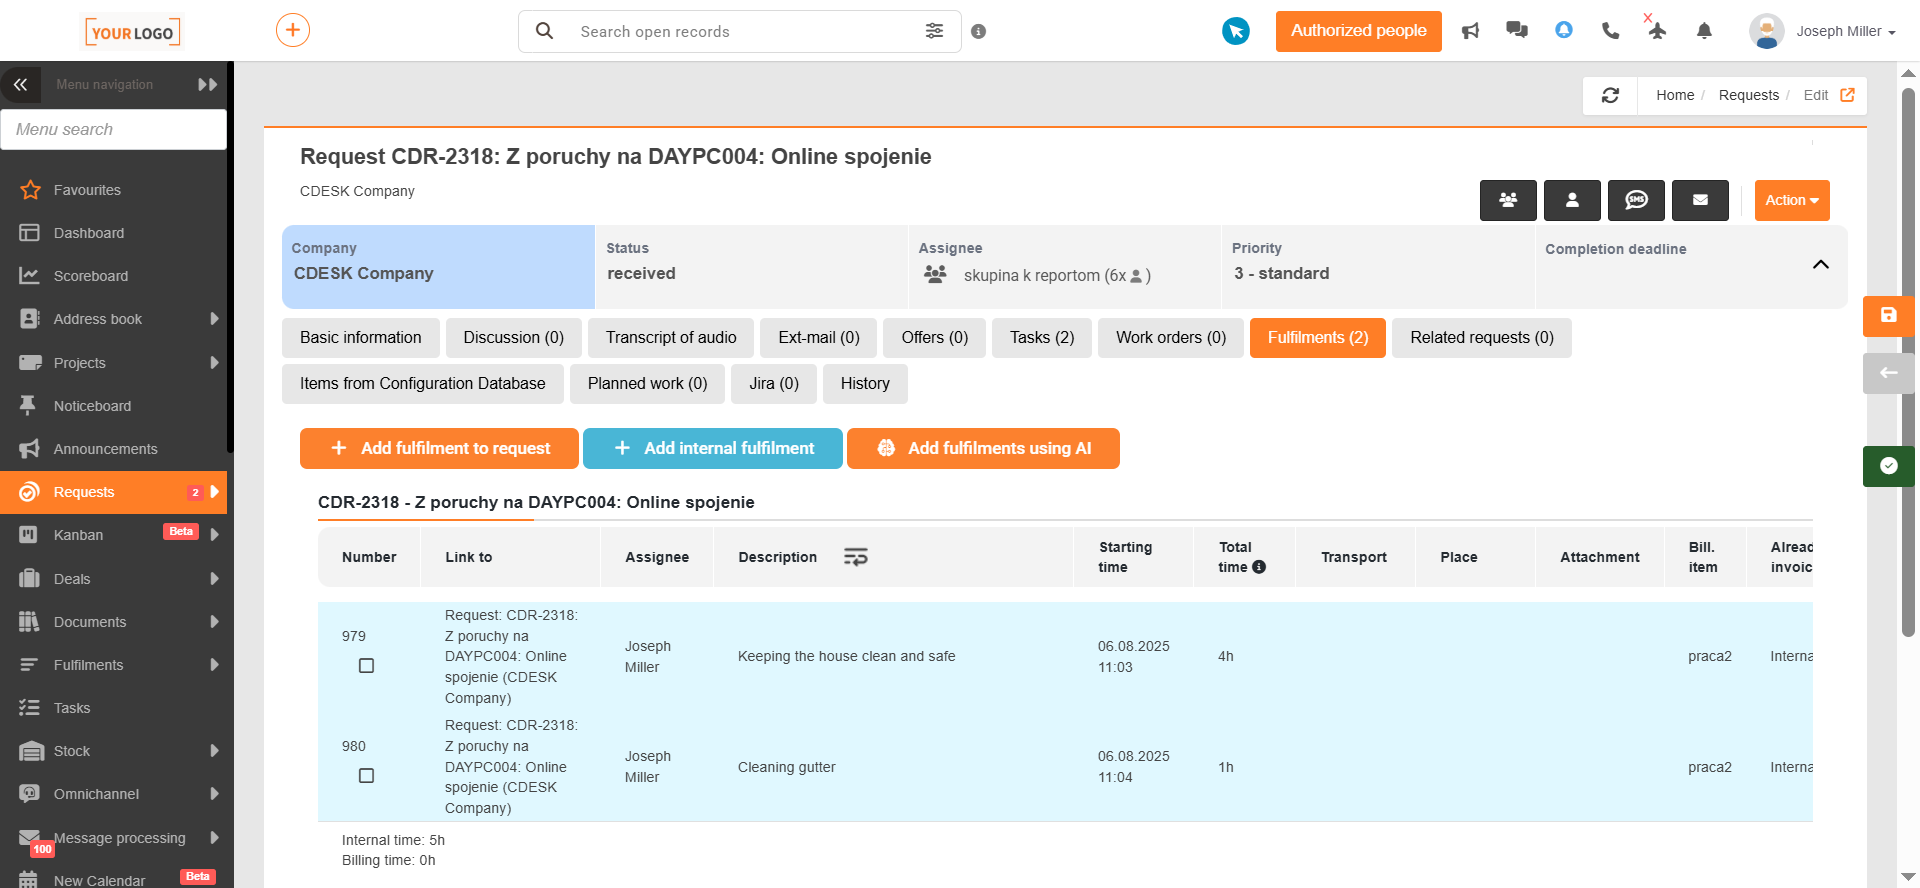
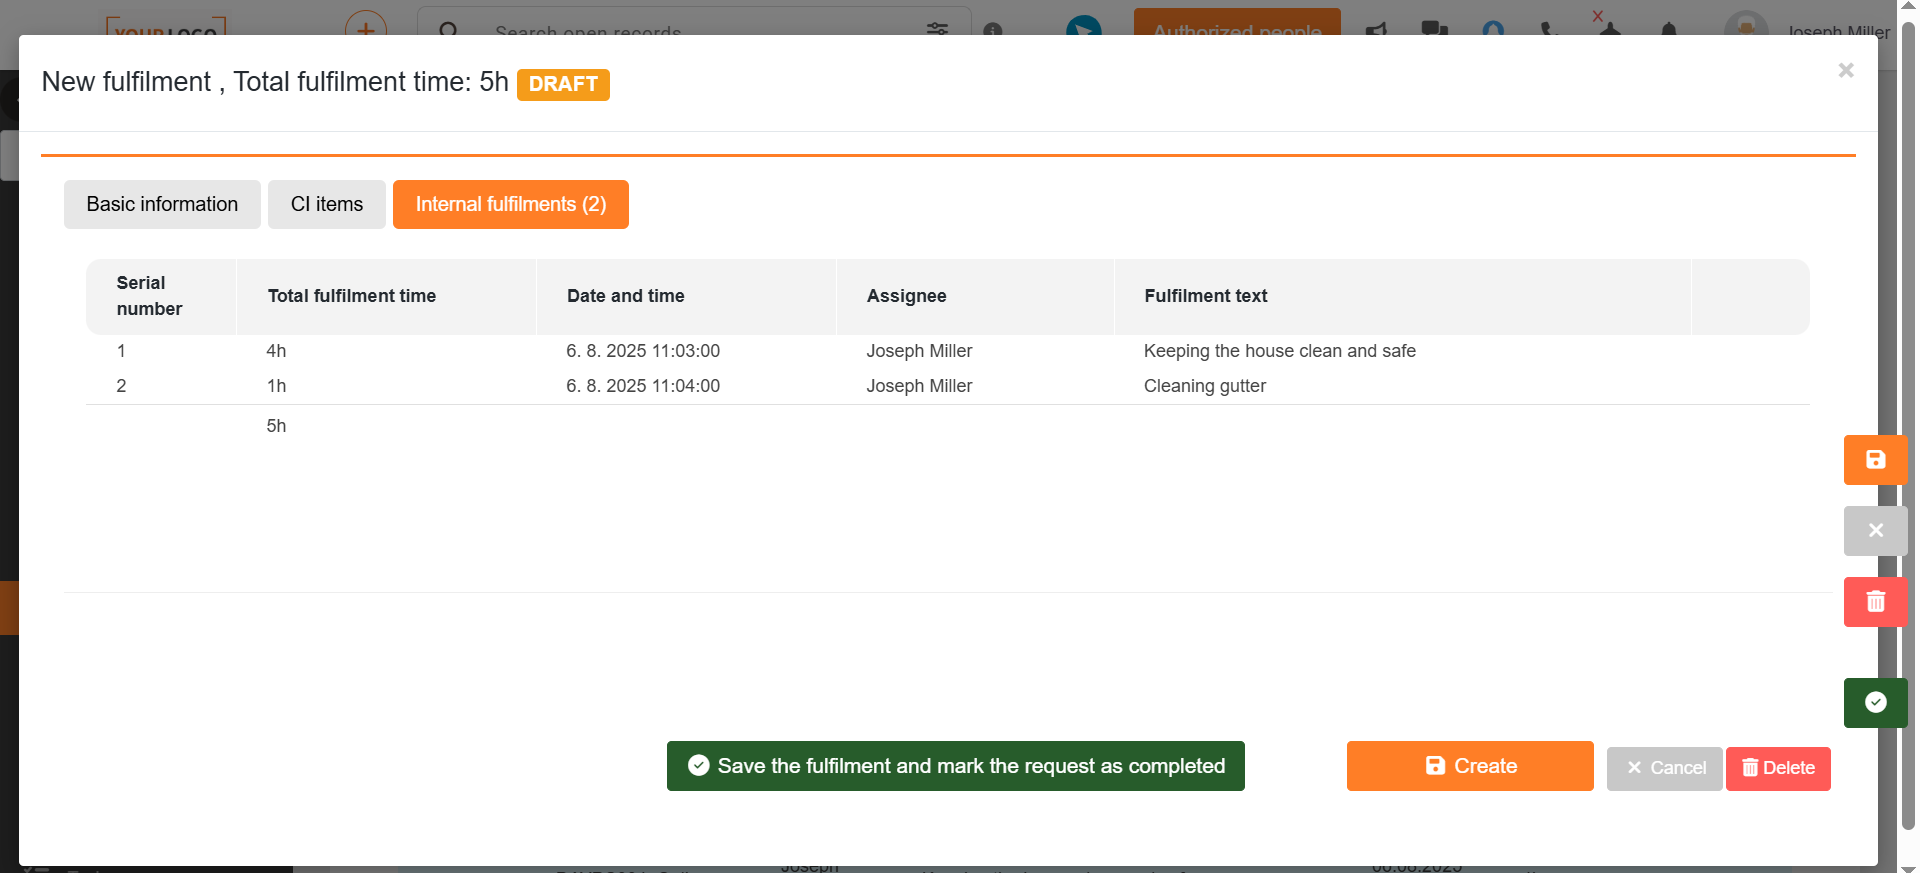
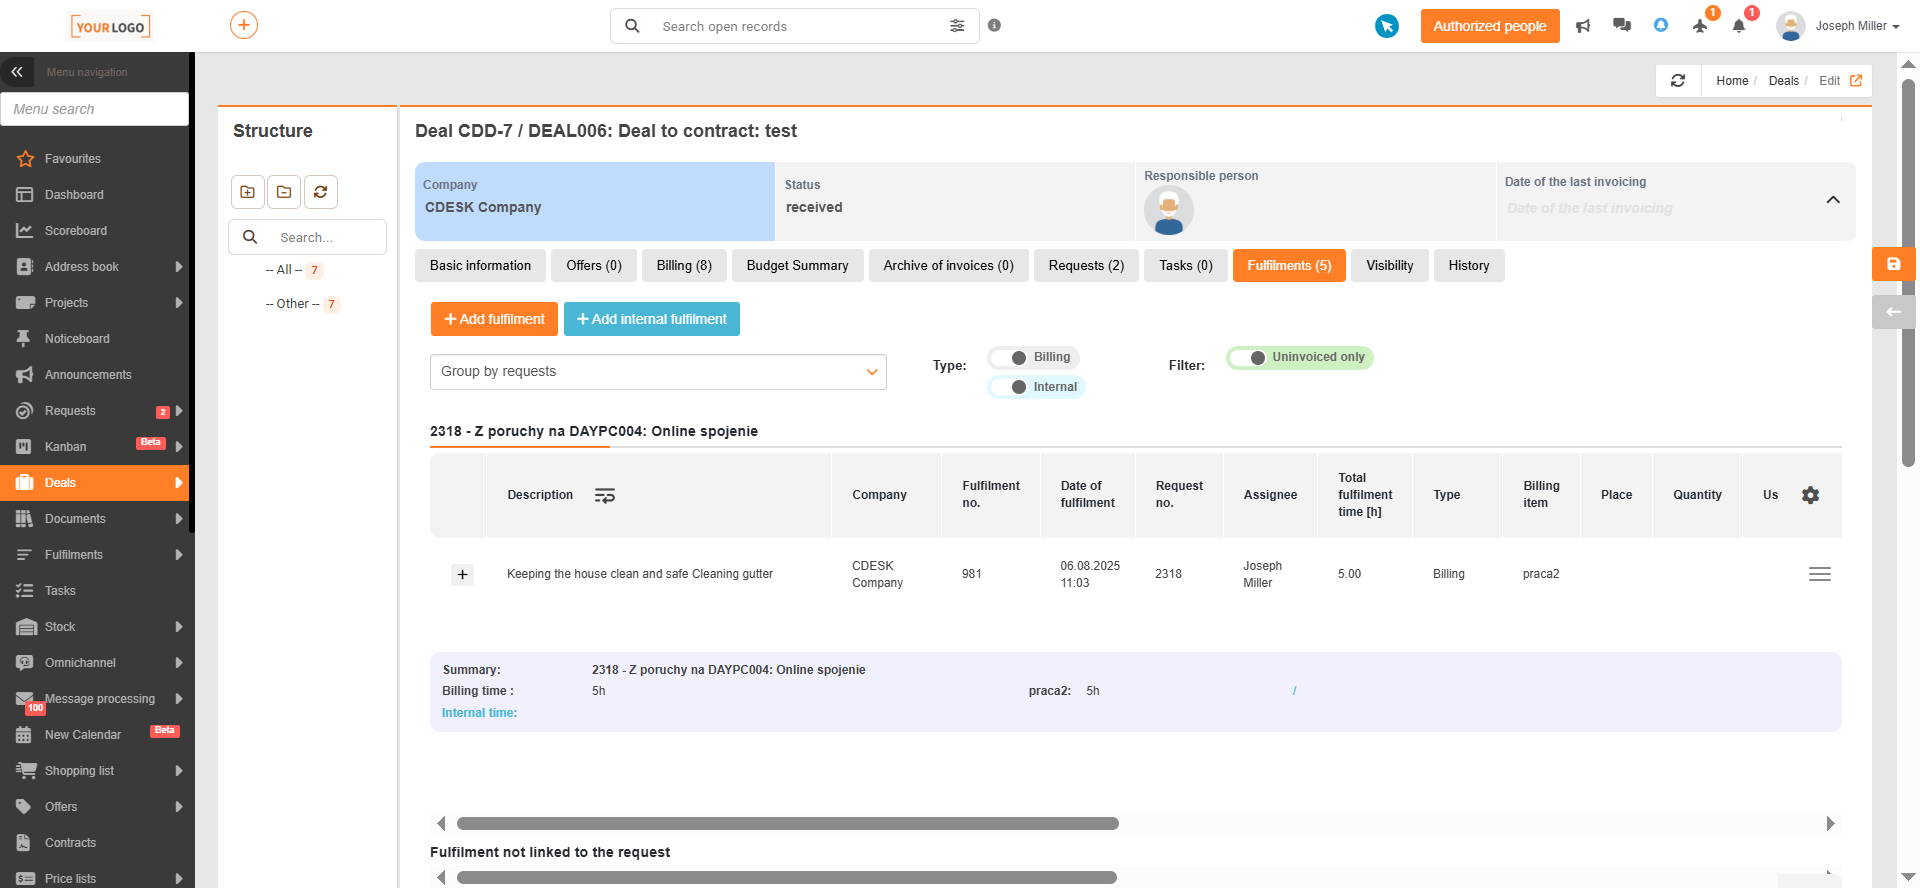
Next, go to the module Deals. In the list, find the deal you selected in the request, open it via the context menu , and select the option Edit. You can find the billing fulfilment created from internal fulfilments in the request on the tab Fulfilments.
Go to the module: Deals → Deal Invoicing. In the list, find the deal you selected in the request. Select the deal and choose the option Preview invoices from selected deals.
A new window will then open where you set the date on which the deal will be invoiced and the delivery date — all uninvoiced fulfilments up to that date will be included in the invoice. After picking the date, click the Show invoice previews button; a new modal window will open.
In the invoicing preview, click the Create Invoices button located in the lower-left corner. A dialog box will open; confirm the creation.
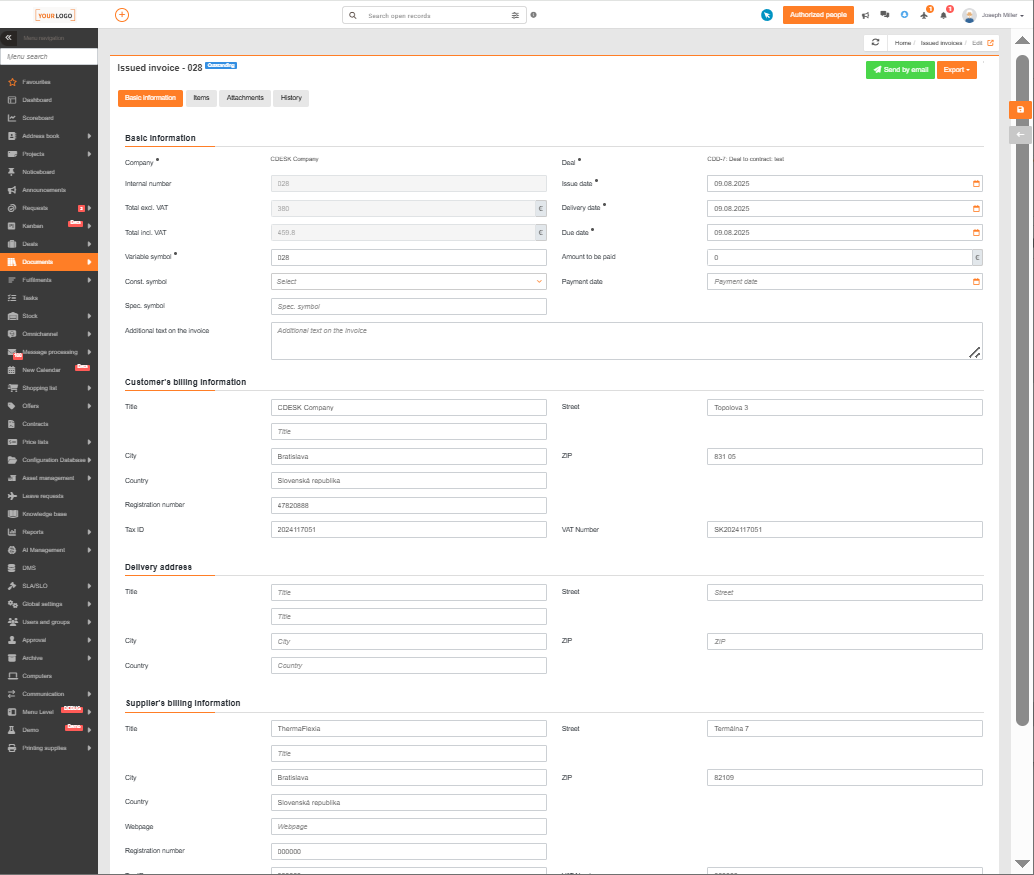
You will then be automatically redirected to the Issued Invoices module. Search for the issued invoice in the list. After clicking the context menu and selecting the option Edit, the invoice will open with options to export to PDF, HTML, or ISDOC format; there is also the option to export usage data or a list of tasks in HTML or PDF format. You can also export the invoice to PDF or ISDOC format, or export the work breakdown to PDF or the usage report via the context menu.