


Beta verzia novej dokumentácie.
Home Asset Register Mobile Asset Tracking App Scanning and identifying assets
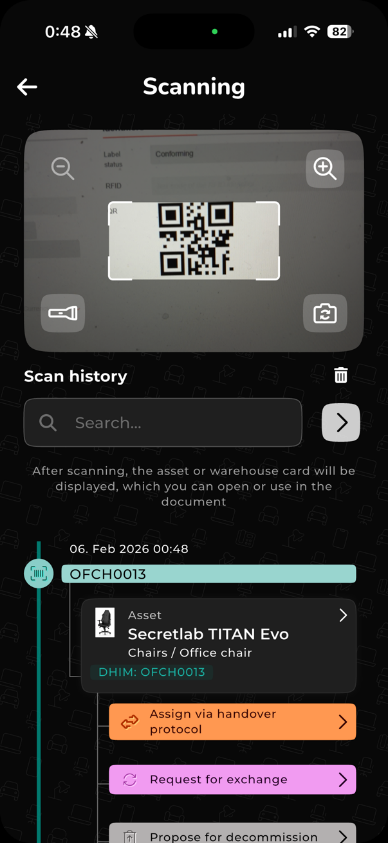
Scanning in an inventory order is launched by the orange scan button in the middle of the bottom of the screen. After tapping it, a camera screen opens. If you are using the app for the first time, you need to allow the app to access the camera. To scan, point the code at the center of the screen, inside the marked rectangle. If you are performing inventory in a dark place and the camera has trouble reading the codes, use the flashlight button to turn on the light on the back of your mobile device. The image can be zoomed in with the magnifying glass with the + icon in the upper right corner and zoomed out with the magnifying glass with the – icon in the left corner. The image is processed according to the selected resolution; a higher resolution is slower to process but detects the code more easily, and vice versa.
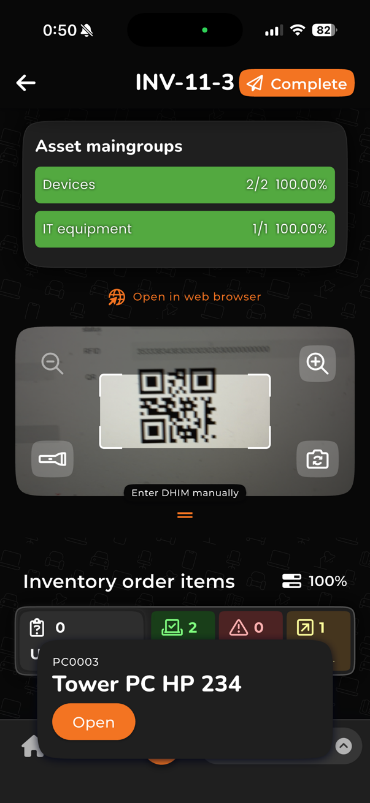
Scanning on the home screen and in the list of orders — the orange scan button — works on the same principle as during an inventory order. It is used to quickly open the detail of the given item on the web.
Scanning with a scanning device has been tuned for Zebra-brand scanners.
Scanning with a red laser works the same way as scanning with the camera on a mobile device. Press the physical scan button on the device to fire the laser. Point the laser at the barcode/QR code. The voice feedback can be turned off via the device’s system notification volume setting. Working with scanned items is no different from scanning with the mobile device.
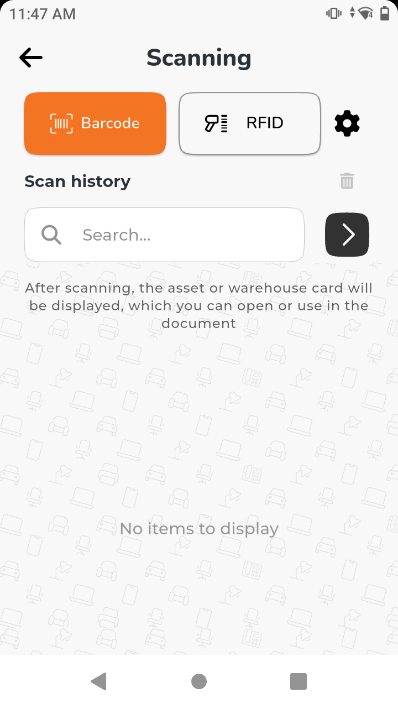
To start the RFID scanner, select the RFID option on the screen. Use the physical button on the device to start scanning. Scanning continues as long as the button is held. You can adjust the RFID scanner’s range (sensitivity) with the RFID sensitivity slider. The audio feedback can be turned off via the button in the upper right corner of the screen. Working with scanned items is no different from scanning with the mobile device.
Notice: a range of 10 metres or more applies only in optimal conditions, when the tag is in a visible location and nothing stands between the tag and the scanner.
Start RFID tag pairing with the Pair tags button. This button is shown only on a device that supports RFID scanning, such as a Zebra scanner (automatically detected by the system). Use the physical button on the scanner to start scanning tags. Found tags appear in the Last scanned RFID codes list. RFID tags that are already assigned show a green check mark next to their code; unassigned ones show a red exclamation mark. To assign a tag to an item, tap one of the unassigned codes. A list of CDESK assets that do not yet have an RFID code assigned will appear. Tap an item to assign the RFID tag (code) to it. The function to create a new item will be added in the near future.
You can reach item editing in several ways:
The fields that can be edited from the app during inventory are Physical condition and Tag condition. Add a note to clarify or justify the change. You can also submit a write-off proposal via a dedicated button. Changes to the checked status (checked/unchecked) and location verification happen automatically.
Home Asset Register Mobile Asset Tracking App Scanning and identifying assets