


Beta verzia novej dokumentácie.
Home Asset Register Asset lifecycle
We recommend having RFID tags printed. If you plan to use RFID scanning in large stocks with many items, we recommend purchasing an RFID tag printer from Zebra.
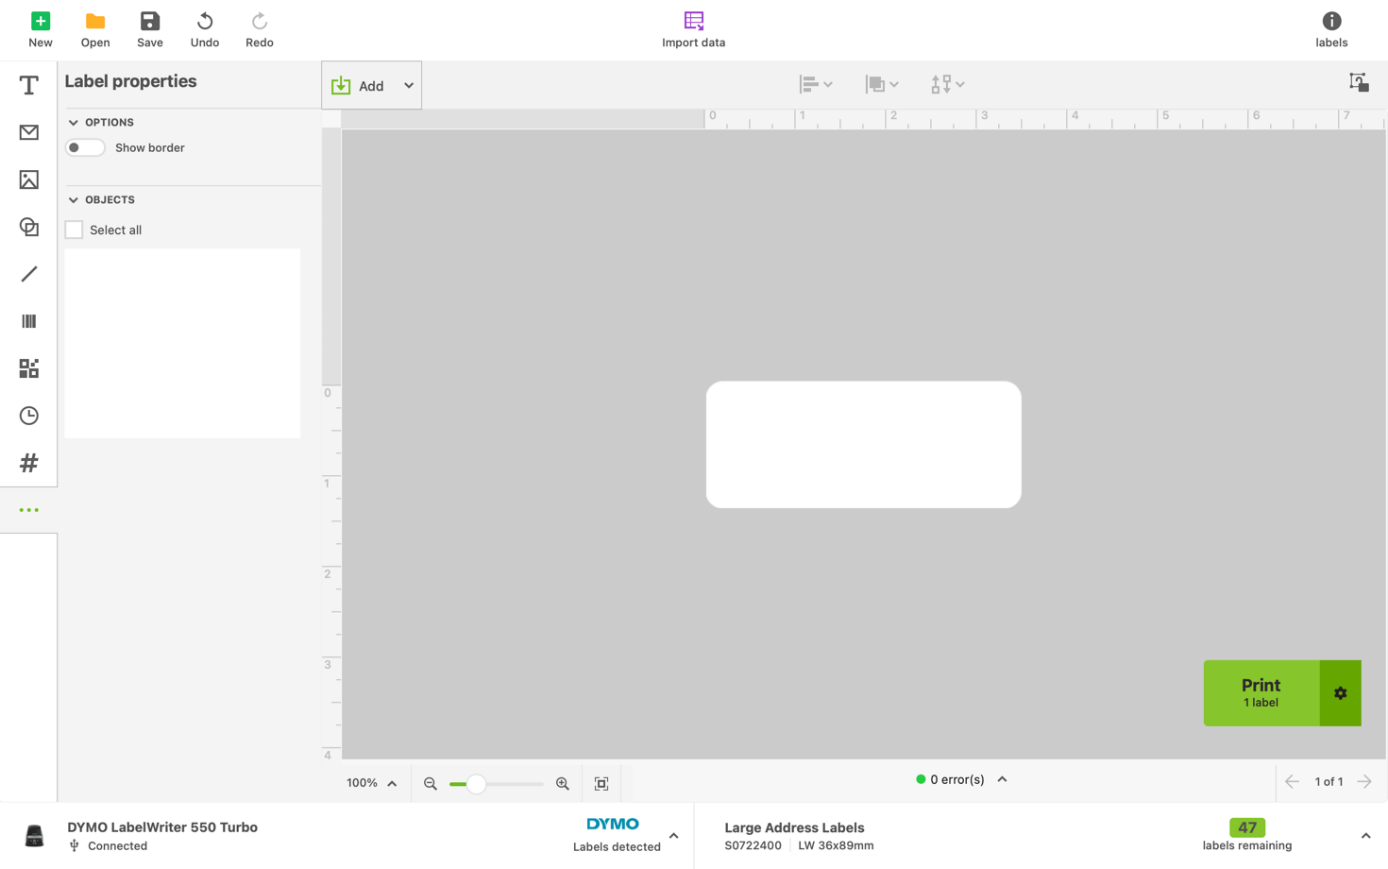
For printing self-adhesive labels with a printed QR/Barcode we recommend purchasing a printer from DYMO. Below you will find a short guide on how to get data from CDESK into DYMO Connect and how to print labels with it.
The first step is to export the asset list table. You can find this procedure in the Asset list export section.
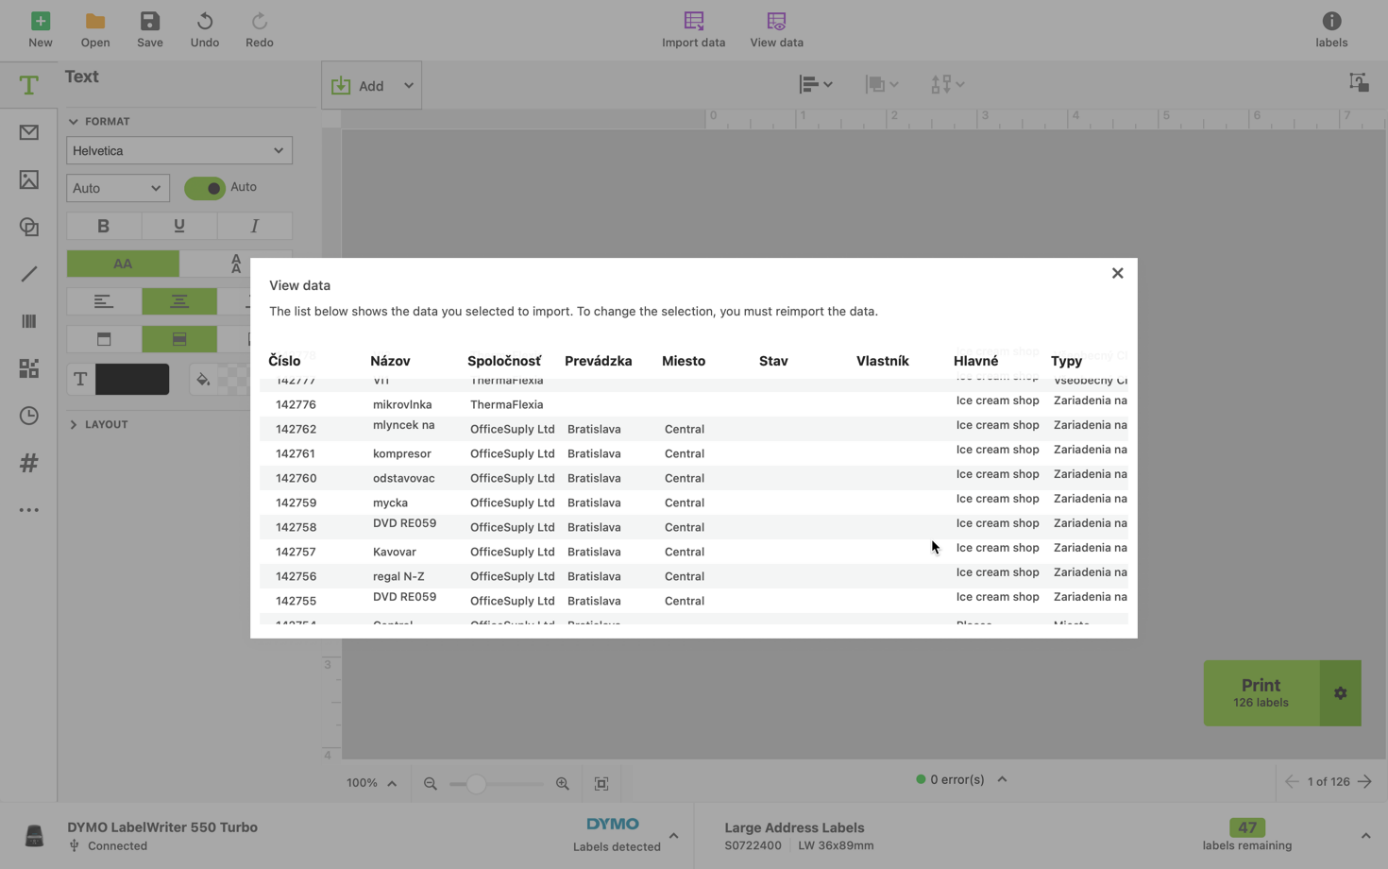
Load the exported table into DYMO Connect using the purple Import data button.
Note that on MAC OS devices, the XLSX file format may not work in this software, so re-save the file as XLS or use a Windows device. Select the file and click the green Import button.
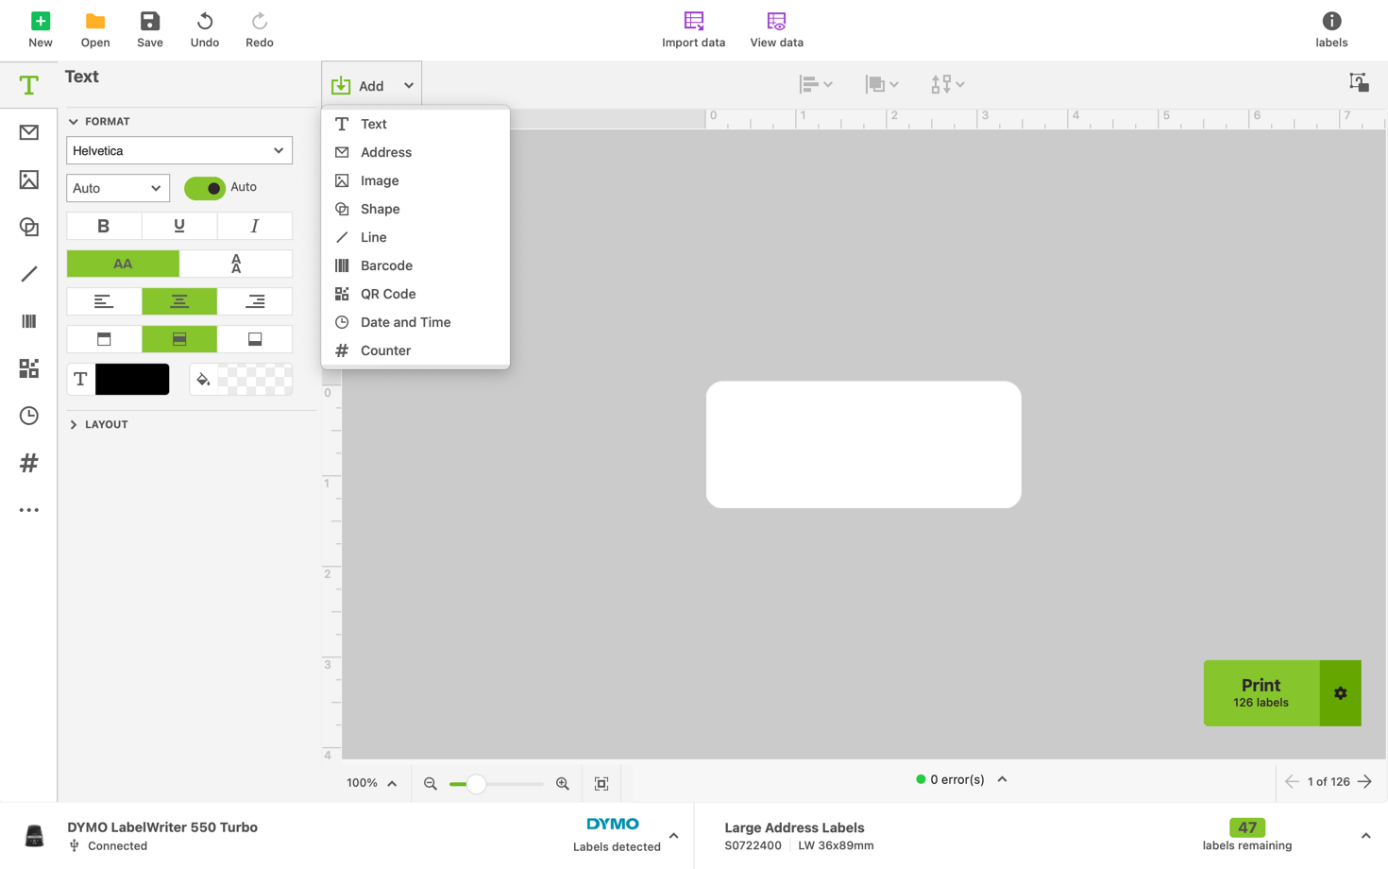
To add text that will be shown on the labels, press the green Add button and choose Text.
A small purple button appears inside the blue rectangle on the screen. Click it to select the columns/data you want to display on the label. You can adjust this text to your needs.
The procedure for adding a QR / Barcode is similar. Click the green Add button and choose the desired option. You then need to select the data again with the purple button. Note that here you have to choose the column with the inventory number or CMDB ID, since the app cannot scan other codes.
If you import all data according to the procedure described, all labels are prepared for printing automatically. To print the labels, press the green Print button. Check that you have the correct label size and count set (newer DYMO printers automatically detect the labels) and that the printer is connected.
Home Asset Register Asset lifecycle
Na tejto stránke