
Beta verzia novej dokumentácie.

Creating a request from the assignee’s perspective

In the CDESK system, assignees can create new requests on behalf of a customer or based on their own findings. This method is primarily used for reports received via phone, email, chat, or in person, where the request is logged by a service desk operator. A case assignee can create a general request by manually filling in all necessary details, or use a catalogue of requests with predefined templates that streamline and standardize the submission process. A request logged in this way is then processed according to the configured rules and SLA.

Many of the steps involved in submitting a request are similar to the process a customer follows when submitting a request. The assignee usually sees more fields and can edit several of them.

Standard methods for submitting requests include:

  • The CDESK web interface – accessible to CDESK system users after logging in via a web browser.
  • E-mail (message processing) – requests created based on an e-mail sent to the address for receiving messages for processing – available to all users who know the e-mail address.
  • Easyclick (CUSTOMER MONITOR) – simple and fast submission of requests without the need to log in to the system. When submitting a request, you can attach a screenshot. The Easyclick account is accessible to users with the C-Monitor client installed.
  • Desktop application – a desktop application focused primarily on the operational work of the case assignee.
  • Mobile application – a mobile application that lets you work with the CDESK system anytime, anywhere.
  • Outlook plugin – quickly submit requests and archive discussions directly from Outlook.
  • From WhatsApp communication – after setting up your WhatsApp Business account, your agents can communicate with clients in CDESK and create requests directly from chat messages.
  • VoIP – Voice over Internet Protocol allows you to receive and make calls within the CDESK system, which can then be processed as requests or tasks. Making calls is possible thanks to the VIPTel PBX.

We will discuss the various options for creating a request in detail in the following chapters.

Via a web browser

To access the CDESK system’s features via a web browser, you must first log in to the system—your administrator will provide you with the URL and login credentials.

Image: CDESK system login screen

There are several ways to submit a new request. Directly from the request list (section Requests → Requests), the following methods may be available:

  • + Add – creating a request by a user logged into CDESK
  • + Add from catalog – creating a request based on a predefined template from the catalogue of requests. This option is displayed if the catalogue of requests is enabled in Global Settings → Requests → Request Catalog.
Image: Buttons for creating a request and requests from the catalog

You can also submit a new request by clicking the quick-choice button, which is available in the top bar of the web version of the system. The button is available in all sections of the system and always appears in the same location. Clicking the button displays a list of options, including Add request and Add request from catalog (depending on the system configuration).

Image: Speed dial button

Clicking the button to create a request opens a new window with a form for entering the request. The purpose of each field is described in the section Meaning of the fields in the request form. When creating a request from the catalog, you must first select a template (tile) based on which the request will be created. Only tiles assigned to the assignee (visible) are available for selection. After clicking on a tile, a form for creating a request opens. Depending on the template settings, some fields are pre-filled, while others may be hidden. The topic of the Request Catalog is covered in detail in the documentation section Request Catalog.

Image: Selecting a tile from the catalog to create a request

Via email (message processing)

Requests can be submitted via email to a predefined public email address, from which emails are forwarded to an internal CDESK server address—either automatically or manually by an operator:

  • automatically – by configuring rules according to which a request is to be created automatically upon receipt of a message, processing rules are defined in the section Message Processing → Processing Rules.
  • manually – messages in the unprocessed status can be converted to a request by editing the message and selecting the option Create Request or Create Request from Catalog, which is available by clicking the button Action in the row with the relevant message. This will open the same form as when creating a new request while logged into CDESK, with the fields Request Name (message subject) and Request Description (message text) pre-filled and editable. By filling out the form and clicking the Create button, you will save the request to the system.
Figure: List of messages to be processed, with buttons for manually creating a request

The system processes a request submitted by a customer (sender) as a ticket. The next step in the resolution process involves the assigned assignee processing the ticket. Depending on the system settings, the submitter (end user/sender) is notified of all actions via the appropriate notification.

Via Easyclick (CUSTOMER MONITOR)

To create a request via Easyclick, you must have the C-Monitor software installed and registered on your computer. The installation file is available for download on the website www.customermonitor.sk in the section Download ( https://customermonitor.sk/download).

This is the fastest way to submit a request, usually regarding the computer on which the C-Monitor client is installed. You can create a new request via Easyclick by double-clicking the C-Monitor client icon in the taskbar, or by right-clicking it and selecting Add a new Easyclick request.

Image: "New Request" option via Easyclick
If you double-click, a dialog box will appear asking whether you want to take a screenshot of the current screen.
Image: Easyclick – confirmation that a screenshot has been attached to the request

When taking a screenshot, you can select the portion you want to include in your request—in other words, crop the image. You can also select an image from the clipboard.

Image: Editing a screenshot before uploading it to a request

To insert an image from the clipboard, go to the Clipboard tab. If there is already an image in the clipboard when you create the request, it will be inserted automatically as soon as you open the tab. If you add the image to the clipboard after navigating to this tab, you can insert it into the tab by clicking the “Insert image from clipboard” button located in the lower-left corner.

Image: Inserting an image from the clipboard

After inserting a screenshot or an image from the clipboard, confirm your selection by clicking the OK button. Once you confirm your selection, the CDESK application will open in your default web browser. There are several ways to create a request, depending on the system configuration and the permissions of the logged-in user:

  • If the catalogue of requests is enabled and creating requests outside the catalog is disabled, the catalogue of requests is loaded
  • If the catalogue of requests is disabled, or creating requests outside the catalog is enabled, the request submission form opens. The meaning of the individual form fields is described in detail in the documentation section Meaning of the fields in the request form.
Image: Screenshot of a request submitted via the Easyclick account

The attached screenshot is automatically included in the request attachments and is also displayed in the request’s Image Gallery section. To submit the completed request, click the Save button.

Display of entered Easyclick requests ​

Requests submitted via Easyclick can be viewed by right-clicking the C-Monitor client icon in the taskbar and selecting Easyclick request list.

Image: Option to view the list of Easyclick requests

You can view the submitted requests, but you cannot edit the data.

Image: List of requests created via the Easyclick account

Another option available to you under your Easyclick account is to participate in the discussion regarding a request—users can add a discussion post or respond to posts from the request assignees. We cover the topic of request discussions in detail in the documentation section Actions on an existing request.

Image: Discussion on a request created via an Easyclick account

Through the client's CDESK

For users who prefer to work outside of a web browser, the CDESK Client application is a good choice. It is a desktop application that offers a simplified interface similar to that of a mobile app. It is primarily designed for quick, on-the-go use. To use it, you must first log in to the application—use the same login credentials as for the web version of the system.

Image: Login screen of the CDESK “Trendy” interface

There are two ways to create a new request:

  • By using the quick-select button at the top of the screen and selecting the option New Request or Request Catalog (depending on the system configuration).
Image: Quick-select button for creating a request
  • Use the button Create a new record in the section Requests
Image: Button for creating a request in the Requests section

Clicking the button to create a request opens the request form. The form can also be opened in a separate tab by clicking the button Open in a new tab. The purpose of each field is described in the documentation section Purpose of the fields in the request form.

Image: Form for creating a request in the CDESK Client application and a button to open the form in a separate tab

When submitting a request from the catalog, you must first select a template based on which the request will be created. Only tiles assigned to the customer’s company are available for selection. Clicking on a tile opens the form for creating the request. Depending on the template settings, some fields are pre-filled, while others may be hidden. We cover the topic of the Request Catalog in detail in the documentation section Request Catalog.

Image: Selecting a tile from the catalog to create a request in the CDESK Client application

To create a new request record, click the Save button. A confirmation message (toaster) will notify you that the request has been created. The request record is then accessible in the List of requests.

Via the mobile app

Creating a new request via the mobile app is quick and efficient. To use it, you must first log in to the app—use the same login credentials as for the web version of the system, or log in via QR code, Office 365, or a Google account.

Image: Login screen of the CDESK mobile app

To create a new request, click the “” button or use the quick-select option located in the app’s bottom bar.

Image: Speed dial button in the CDESK mobile app

After clicking the button, the available options for creating a record will be displayed. To create a request, select the option Add a request or Add a request from the catalog.

Clicking the button to create a request opens the request submission form. The purpose of each field is described in the documentation at The purpose of the fields in the request form.

Image: Form for creating a request in the CDESK mobile app

When submitting a request from the catalog, you must first select a template based on which the request will be created. Only tiles assigned to the customer’s company are available for selection. Clicking on a tile opens the form for creating the request. Depending on the template settings, some fields are pre-filled, while others may be hidden. We cover the topic Request Catalog in detail in the documentation section Request Catalog.

Image: Selecting a tile to create a request from the catalog in the CDESK mobile app

Via the Outlook plugin

The Outlook Plugin is a CDESK extension for Outlook. It allows quick request submission and archiving of discussions directly from this email client.

After installing the Outlook Plugin package, a new toolbar—CDESK—will be added to the toolbar in Outlook. Clicking on it opens up several options. You can create a new request by clicking the Create new request button at the beginning of the toolbar.

Image: Button for creating a new request via Outlook

After clicking, a form will appear, similar to the one used for submitting a request. The purpose of each field is described in the section After clicking, a form will appear, similar to the one used for submitting a request. The purpose of each field is described in the section The purpose of the fields in the request form.

Image: Creating a request via the Outlook plugin

Creating a request from the request catalog using the Outlook plugin

The Outlook Plugin also allows you to create a request from the catalogue of requests.

The button for creating a request from the catalog is only displayed if you have enabled the catalogue of requests in CDESK. You can enable the catalogue of requests at Global Settings→Requests→Request Catalog. If the button still does not appear, check whether you have permission to create requests from the catalogue of requests. You can set permissions in CDESK at Users and Groups→Users→specific user→Permissions tab→Requests→New records via Request Catalog.

Image: Button for creating a request based on the request catalog

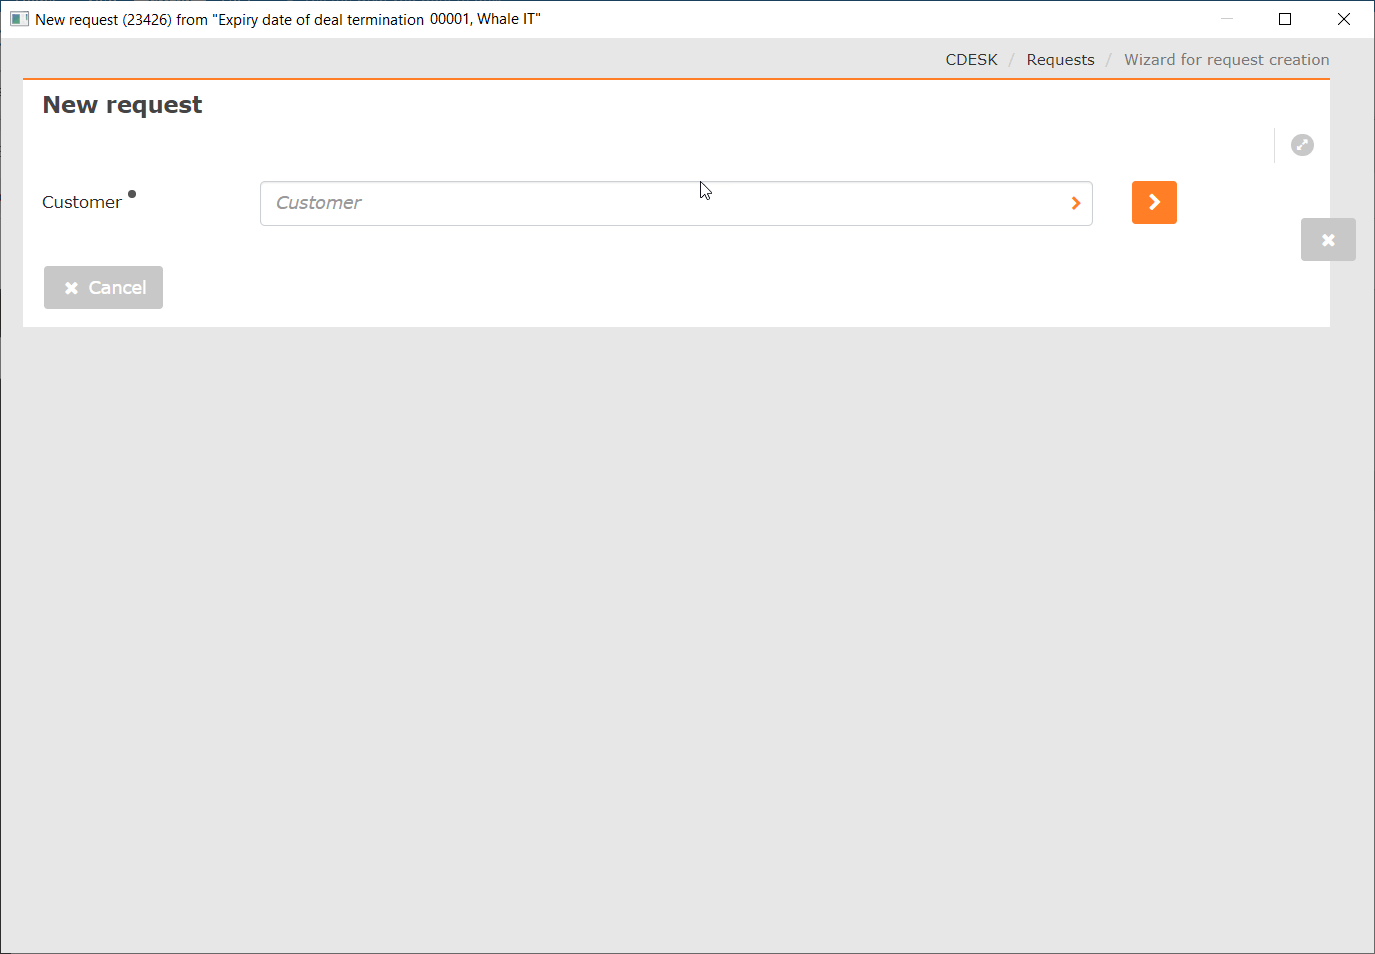
When you click the “Create a new request based on the catalog” button, a new modal window will open where you can select a customer.

Image: Modal window for selecting a customer

After selecting a customer, the tiles available for that customer will be displayed. After selecting a tile, a form will appear, similar to the one used for submitting a request. The purpose of each field is described in the section Meaning of the fields in the request form.

Image: Selection of tiles from the requests catalog

From WhatsApp messages

Once you have successfully set up your WhatsApp Business account, agents can communicate with clients in CDESK via an interface similar to the WhatsApp app. All received and sent messages are recorded as chats in a clear list, which is available in the main menu under Omnichannel → Chats.

Image: List of WhatsApp chats recorded in CDESK

To open a chat detail, double-click the line containing the desired conversation. Once clicked, the chat will open in a separate tab and display the conversation, which you can also browse through historically. In this interface, you can continue the conversation by sending additional messages.

Image: Detail of a WhatsApp conversation

To create a request, use the New request button on the right side of the interface. You can create a request for any message in the chat. First, you must select the desired message—hovering over a message will display a hamburger menu with options—then select Mark message. If you do not select any messages, the request will be associated with all available messages that have not been ignored. After selecting messages, the number of selected messages on which the request will be based will be displayed.

Image: Form for creating a request from selected WhatsApp messages

After clicking the button to create a request, a form will appear with pre-filled data that can be further edited:

  • Request Name – text from the first selected message,
  • Company – automatically filled in with the contact’s company (if the contact is currently assigned to a single company),
  • Request Templatepreset in the Global Settings section, with the option to change,
  • Contact – name of the contact person from the conversation,
  • Request description – text of the last 4 marked messages.

To create a request, click the Save button. After creating a request, a flag with the request number is displayed next to messages attached to the request. Messages can also be attached to an existing request—by clicking the “Attach” option in the hamburger menu next to the message, or by selecting the messages and clicking the “Attach” button in the hamburger menu above the conversation.

Image: Attaching another message to an existing request

Via VoIP

You can create a new request using the options in the top panel that appear after ending a call. You can also create a request from a call that was made earlier; such a call is available on the tab Unresolved Calls – after clicking the edit icon () in the row with the given call, the same interface will appear as in the case of a call that has just ended.

Image: Icon for accessing call handling options

After the call ends, additional fields for entering further request parameters appear in the call handling window. At the top of the window is a panel that allows you to play back the call recording. You can start the recording by clicking the icon Play (). The form contains the following fields:

  • Request Name – pre-filled based on the series name. Depending on the configuration, the date and time when the call took place are also automatically inserted into the request name. The request name can be edited.
  • Call content – tags defined for the given series. It is possible to select multiple tags at once.

The remaining fields in the form can be filled out during the call. However, the values entered can be changed or added to later. The purpose of each field is specified in detail in the documentation section and in the section “Meaning of the fields in the request form” at.

To create a request, click the button showing the request status in which the request should be created. The available statuses can be configured in the section Global Settings → Omnichannel → Basic Settings.

Image: Buttons for submitting a request