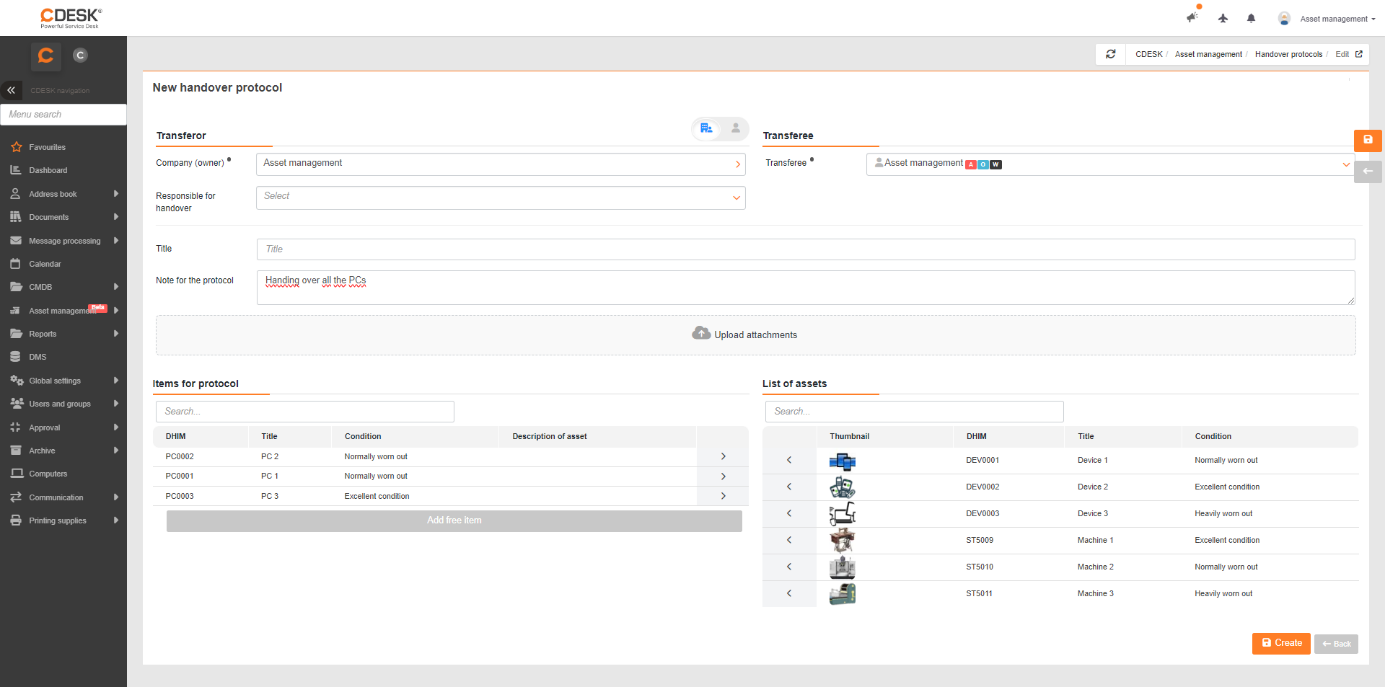
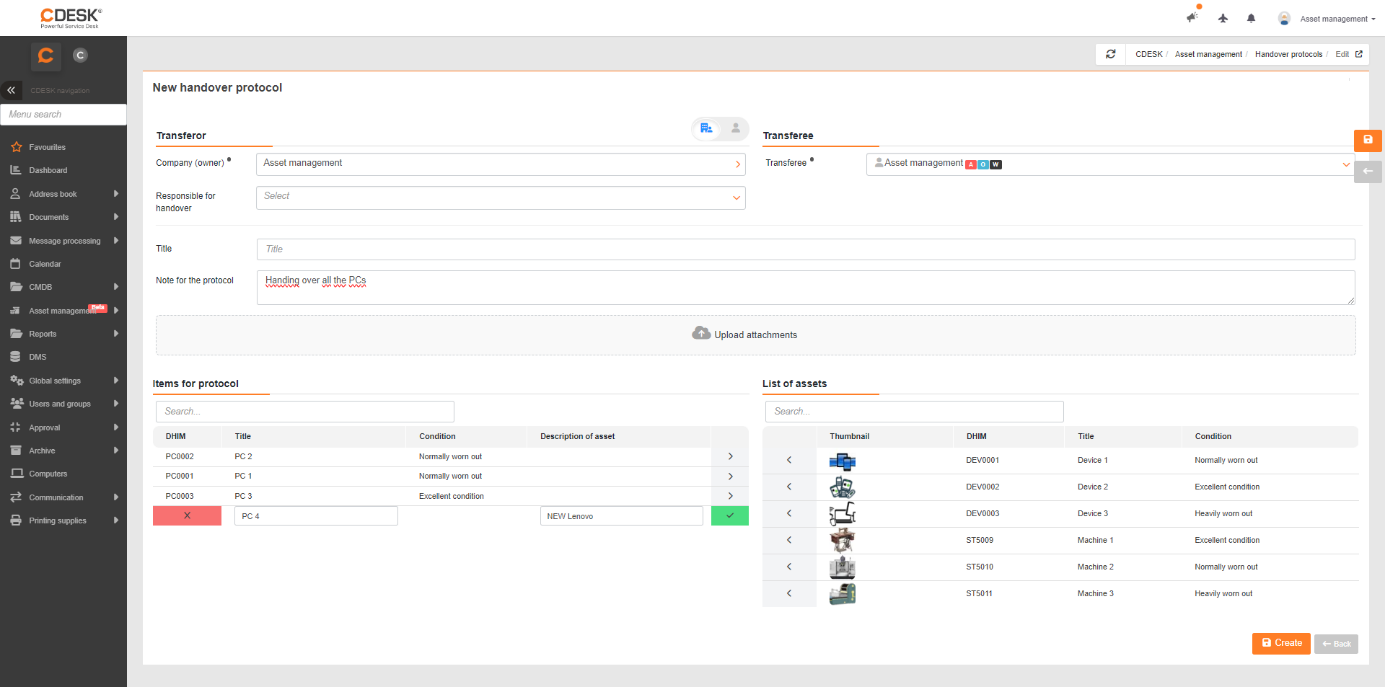
You can create a handover protocol by clicking the + Add button. A list of fields follows. The “ ” dropdown is used to specify the relationship of the transferring party, with two options:
The transferring party is Company (you can also enter the person responsible for the transfer) or the transferring party is person. Fill in the fields according to your scenario. The Transferor fields (including company) serve as a filter for the list of assets displayed. Only items assigned to the given user/company are displayed.
- Transferee – the person to whom the asset is being transferred
- Name – option to enter a name for the protocol. If the name is left blank when saving the log, a name will be automatically generated from the submitted items.
- Note in the log – option to add a note that will also be displayed in the log.