


- Enable the Deals module – setting the toggle to the “On” position
 will make the Deals menu item and other module settings available. If the Deals module still does not appear in the menu, check the permissions in Users and Groups → Users → specific user → Permissions tab → Deals.
 - Automatic code generation – Toggling the switch to the On position will enable the field for entering a custom deal code format. In the code used, the last numerical sequence will change incrementally as deals are added.
- Show linked objects – setting the switch to the off position will prevent requests, fulfilments, tasks, and the relevant data derived from them from being displayed in the deal list. This setting is intended for scenarios where there would be a large amount of data in the aforementioned tabs without a need to display it, which could slow down the system. It is enabled by default, meaning that all objects, along with their relevant data, are displayed by default in the deal list.
 will make the Deals menu item and other module settings available. If the Deals module still does not appear in the menu, check the permissions in Users and Groups → Users → specific user → Permissions tab → Deals.
Table with predefined deal statuses. You can disable individual statuses as needed by setting the toggle switch in the Status column to the Off position  , or add custom ones by clicking the +Add button. You can reorder the statuses by dragging the row by the
  icon.
icon.

- Entering Deal Stages – Toggling the switch to the “On” position displays a table with predefined deal stages. These provide a quick overview of the deal’s development phase. You can also add custom stages by clicking the + Add button. You can disable unused stages only for your own records by toggling the switch in the Status column to the off position . You can reorder the stages by dragging the row by the icon
 .
.

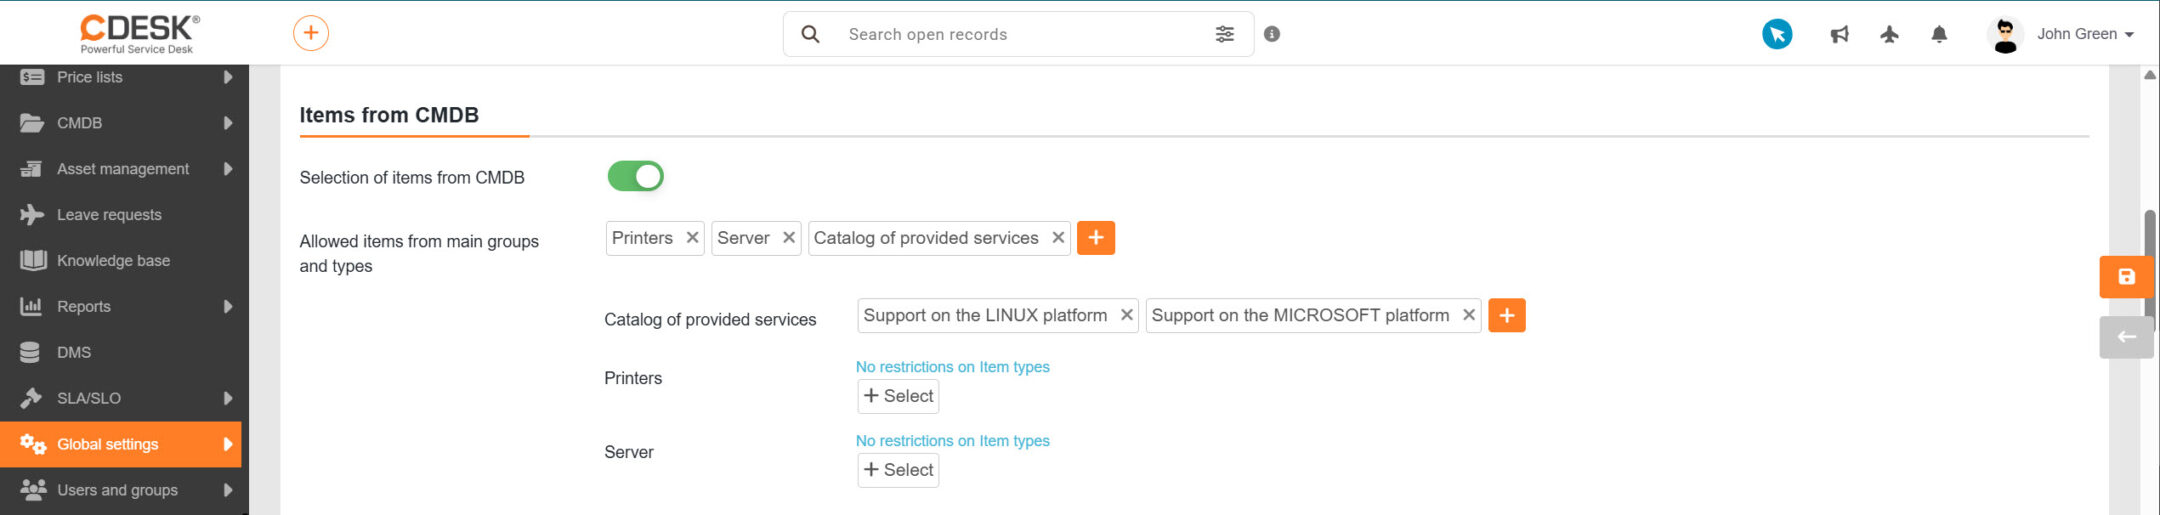
- Selecting objects – by setting the switch to the “On” position , you enable the assignment of objects from the CMDB to a work deal. This feature is useful for service deals, where the object’s history will record that work was performed on it.
- Allowed objects, selecting from groups – used to select groups of objects. These must first be defined in CMDB. Only object groups from the following categories are available for selection: Devices, Service Catalog and General Category.


The selected custom fields will be added to the list at User-defined fields. The fields will appear in the deal they are listed here on the deal form. You can reorder the items by dragging the . A search bar is located above the list. You can delete custom fields that you have already added but no longer wish to use by clicking the “ ” button.
