This part of the introductory tutorial follows on from the chapter Creating the first records, which describes the creation of records and the processing of a request in the web interface. The content and the individual steps remain the same; what changes is the way of working in the environment of the Android mobile application CDESK Pro.
You can install the mobile application through the Google Play and App Store stores. After installation, you log in with the same login credentials as for the web interface of the CDESK system.

Logging in
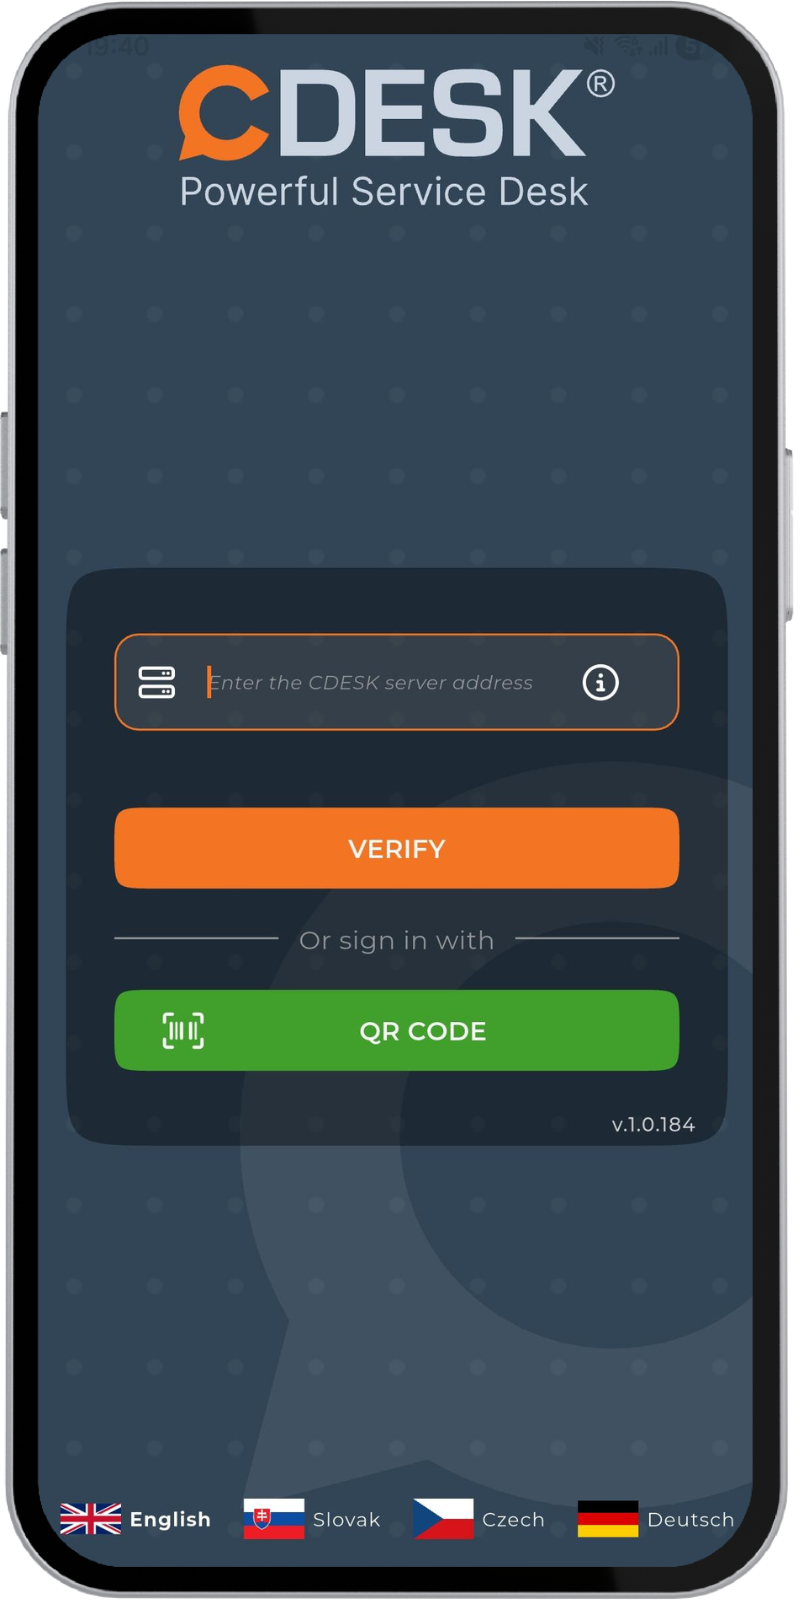
Logging in to the mobile application is possible in one of the following ways:
- via the login credentials to the CDESK server,
- via a login QR code,
- via a Microsoft account (Office 365/Entra ID)*,
- via a Google account*,
- via the login credentials of your Active Directory account*.
* – this login option requires pre-configuration via a connector, API
The most commonly used is the first method – via the login credentials to the CDESK server. In this case, you first need to enter the server address – this is the web address through which you log in to the web interface and it is unique for each company. After entering the address, automatic verification takes place, and after successful verification the fields for entering the login name and password become available. Verification can be started manually by tapping the Verify button. After correctly entering the login credentials and tapping Log in, the application becomes available.
To log in via a QR code, use the QR code button; after tapping it and granting the relevant permissions, the rear camera opens, with which you can scan the login QR code.
To log in via a Microsoft account, use the Office 365 / ENTRA ID option. After tapping the button, an external Microsoft page for logging in opens.
Examples of working with the application
In the following part, we will use a specific example to show the basic procedure for working with the mobile application. We will go through the entire request cycle – from its creation, through adding a post to the discussion and recording a fulfilment, to closing the request and rating the assignee.
Creating a request
The simplest way to create a request in the CDESK Pro mobile application is via the quick-add button on the bottom bar (Creating a new record).
After tapping this button, the options for creating new records appear; select New request.
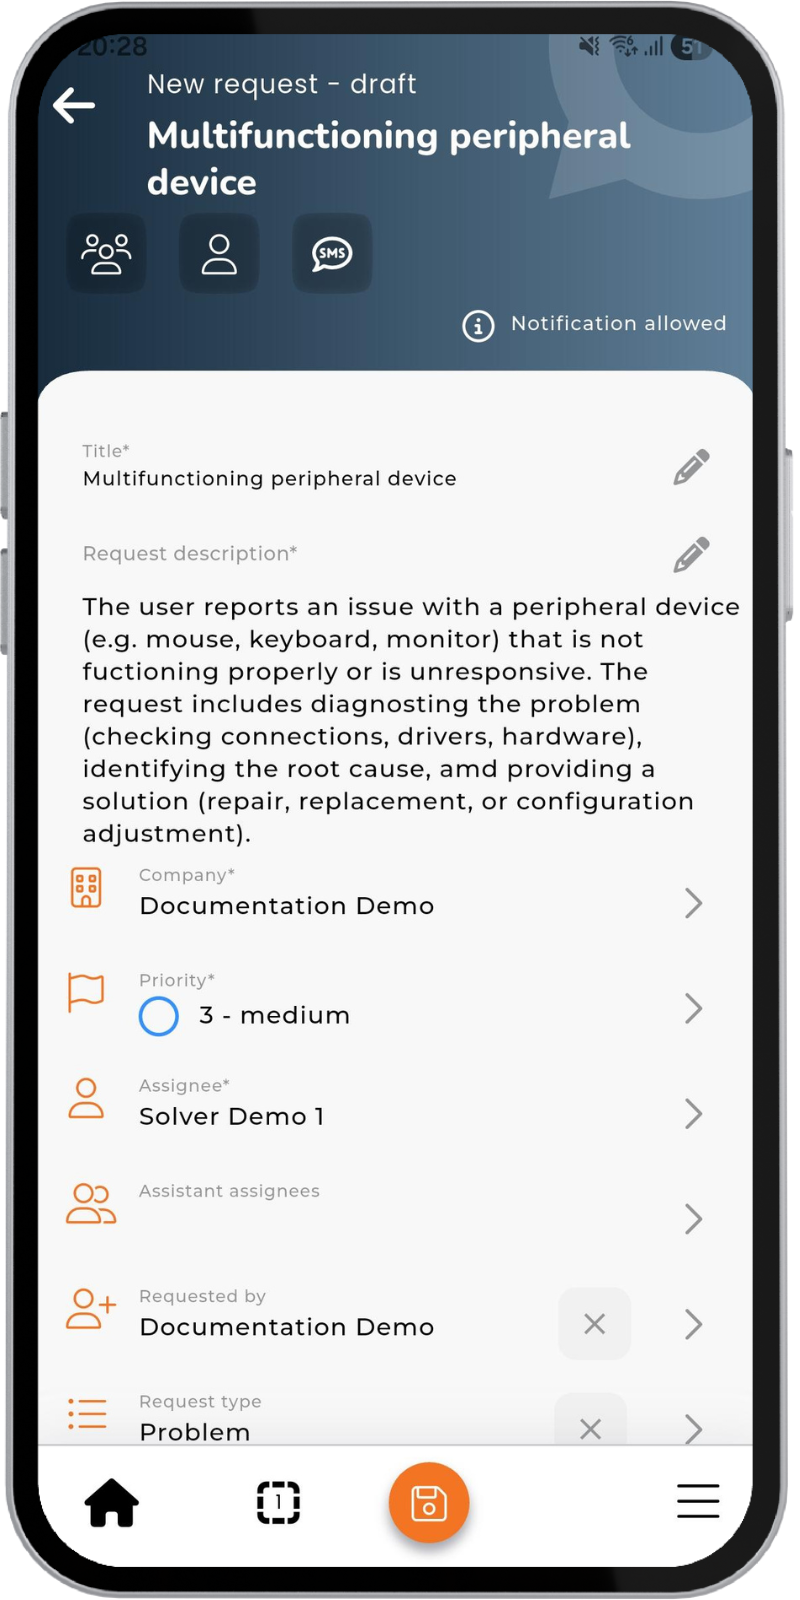
A form for entering the request then opens on a new tab. The meaning of the individual fields is described in the section Meaning of the request form fields.
Create the request by tapping the save button . After creation, the details of the newly created request are automatically displayed.
Adding a post to the discussion
In the request details (which are displayed either after its creation or when opened in the Request list), there is a Discussion section. Tapping this area opens its details.
The discussion may contain posts related to the status of the request. It works in a similar way to common chat platforms and supports adding a photo or an attachment. A distinction is made between the internal discussion, which serves for communication within the company and is not visible to the customer (highlighted in blue), and the customer discussion for communication with the customer (highlighted in green). You switch between these two types of discussion by tapping the icon /
.
Recording a fulfilment
The process of adding a new fulfilment, similarly to adding a request, begins via the quick-add button on the bottom bar (Creating a new record).
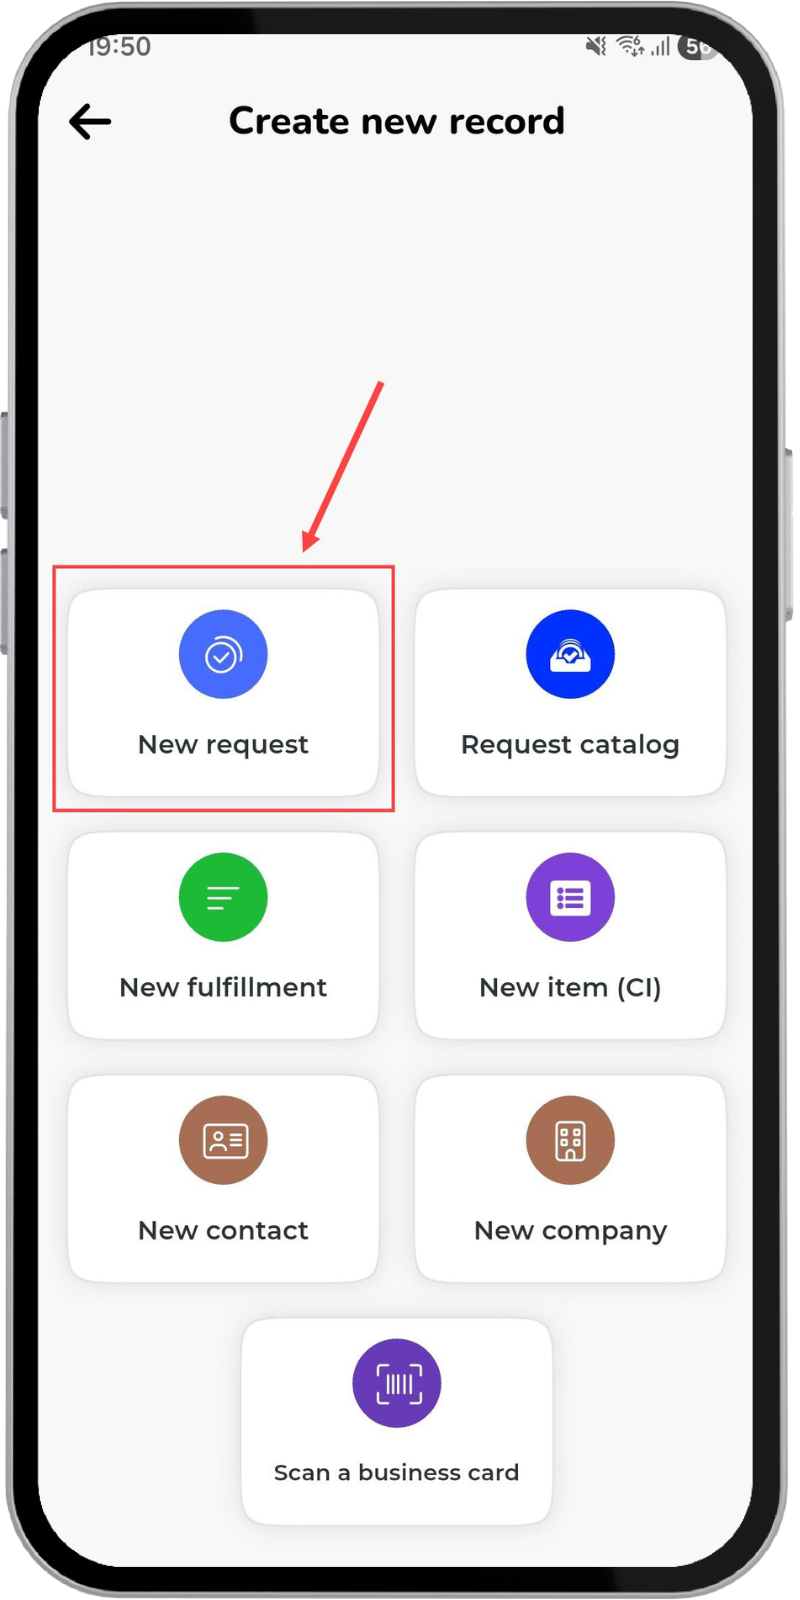
After tapping this button, the options for creating new records appear; select New fulfilment.
The second option is to record the fulfilment directly in the request detail on the Fulfilments tab, by tapping the button on the bottom bar. The fulfilment form then appears. Its fields are described here. Create the fulfilment by tapping the save button
.
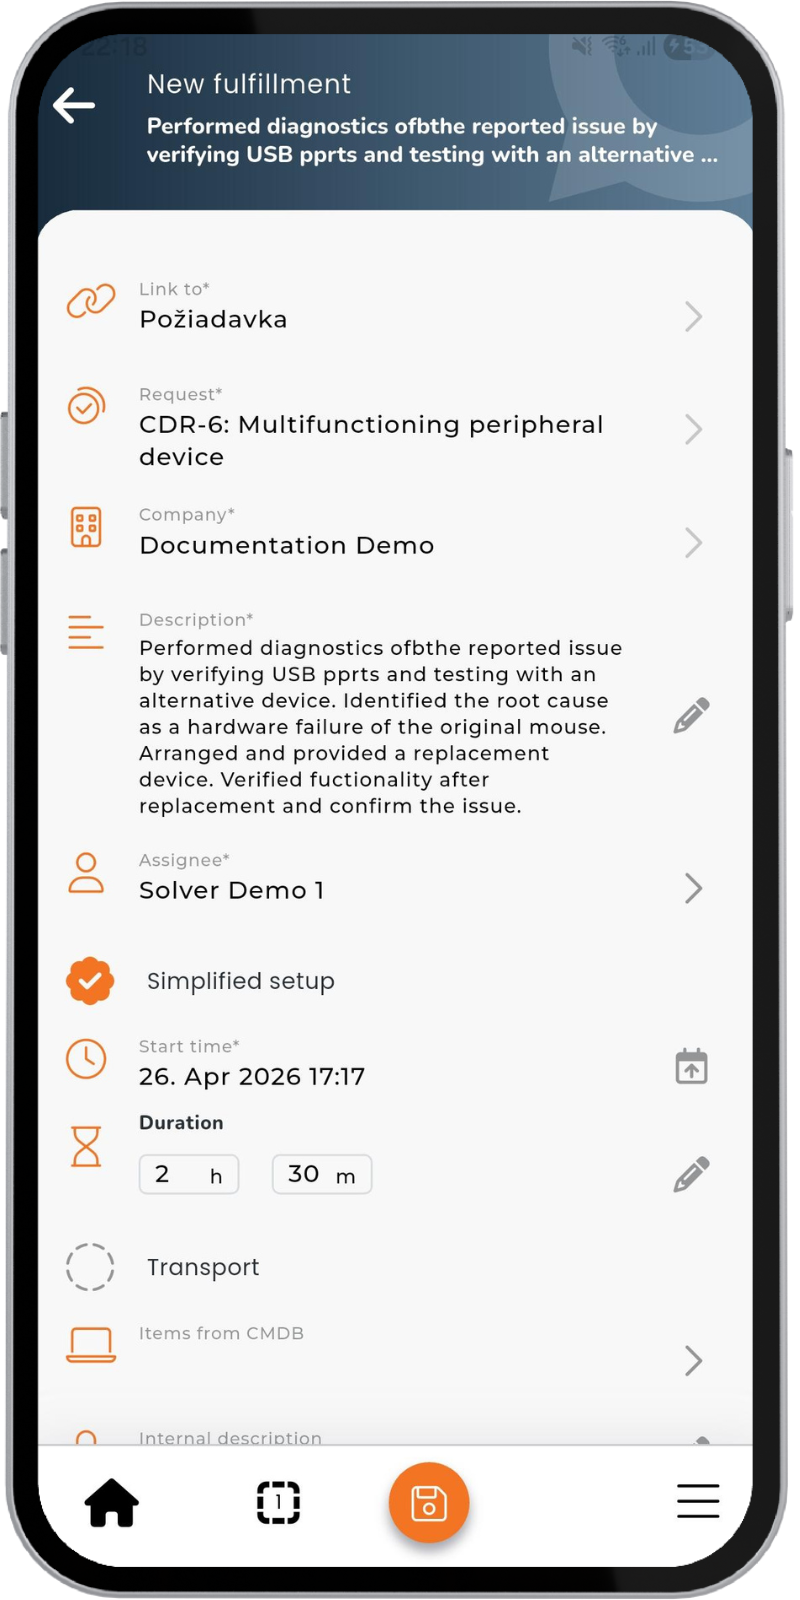
Unlike the web version of the system, in this part it is not possible to also automatically close the request by adding a fulfilment. For the purpose of quick closure (without manually changing the status), there is a button located in the menu on the bottom bar (). For the purposes of this example, tap the said button and select the Quick request closure option.
Accepting the closure and rating the assignee
After the request is closed by the assignee (status change to Closed), the requester is informed by e-mail, which includes buttons for accepting or rejecting the closure – the requester can thus comment on the closure directly from the e-mail.
The buttons for accepting / rejecting the closure also become available directly in the request detail after the status changes to Closed. The closure can be accepted by tapping the Accept closure button.
After tapping, a window with a form for rating the assignee and the option to provide a note on the acceptance is displayed.
After accepting the closure, the request status changes to Accepted closure. Such a request can no longer be edited. If it is set up in the system, such a request can still be returned for resolution.