

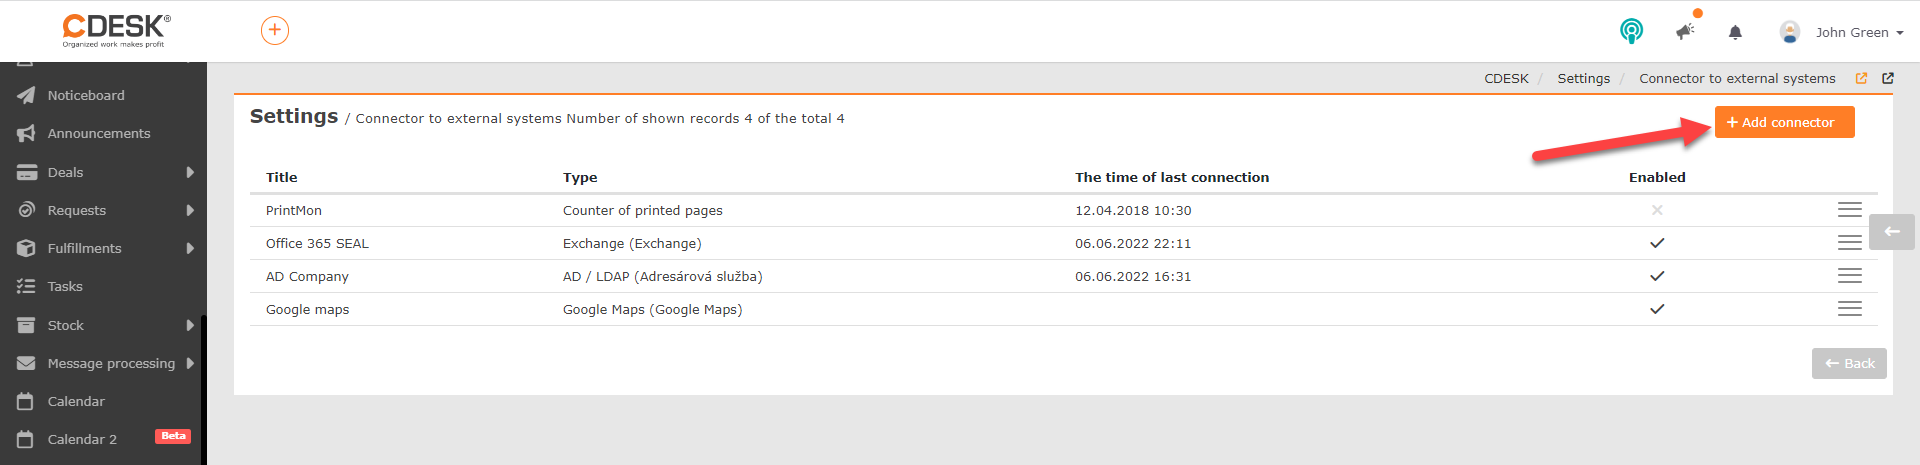
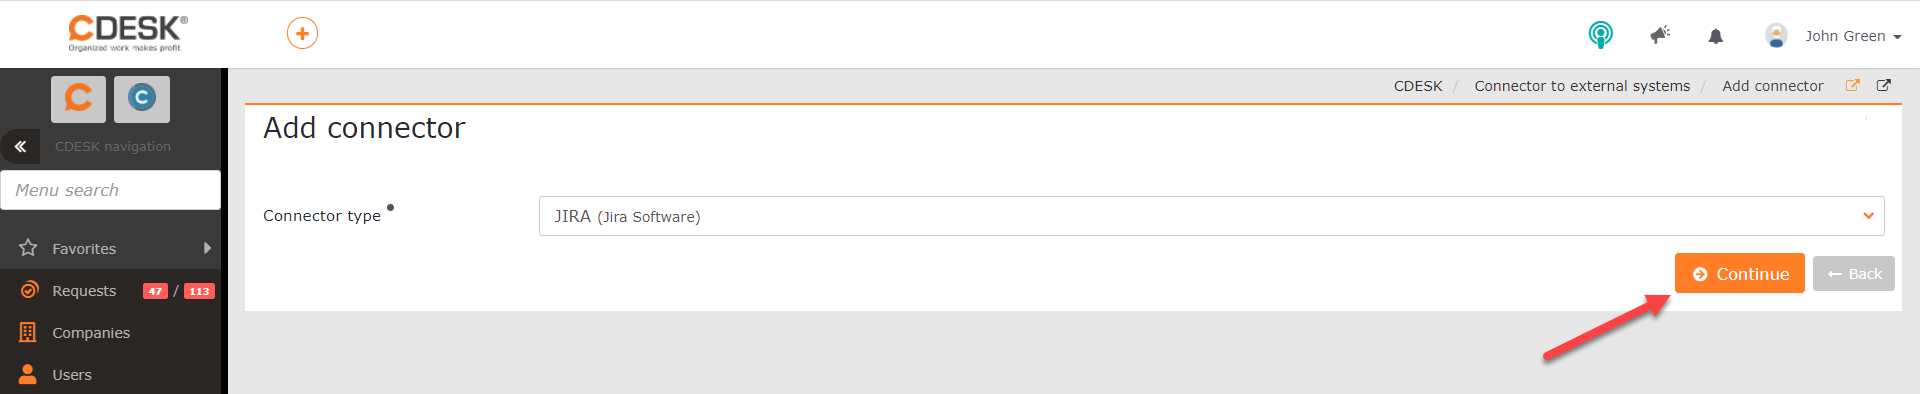
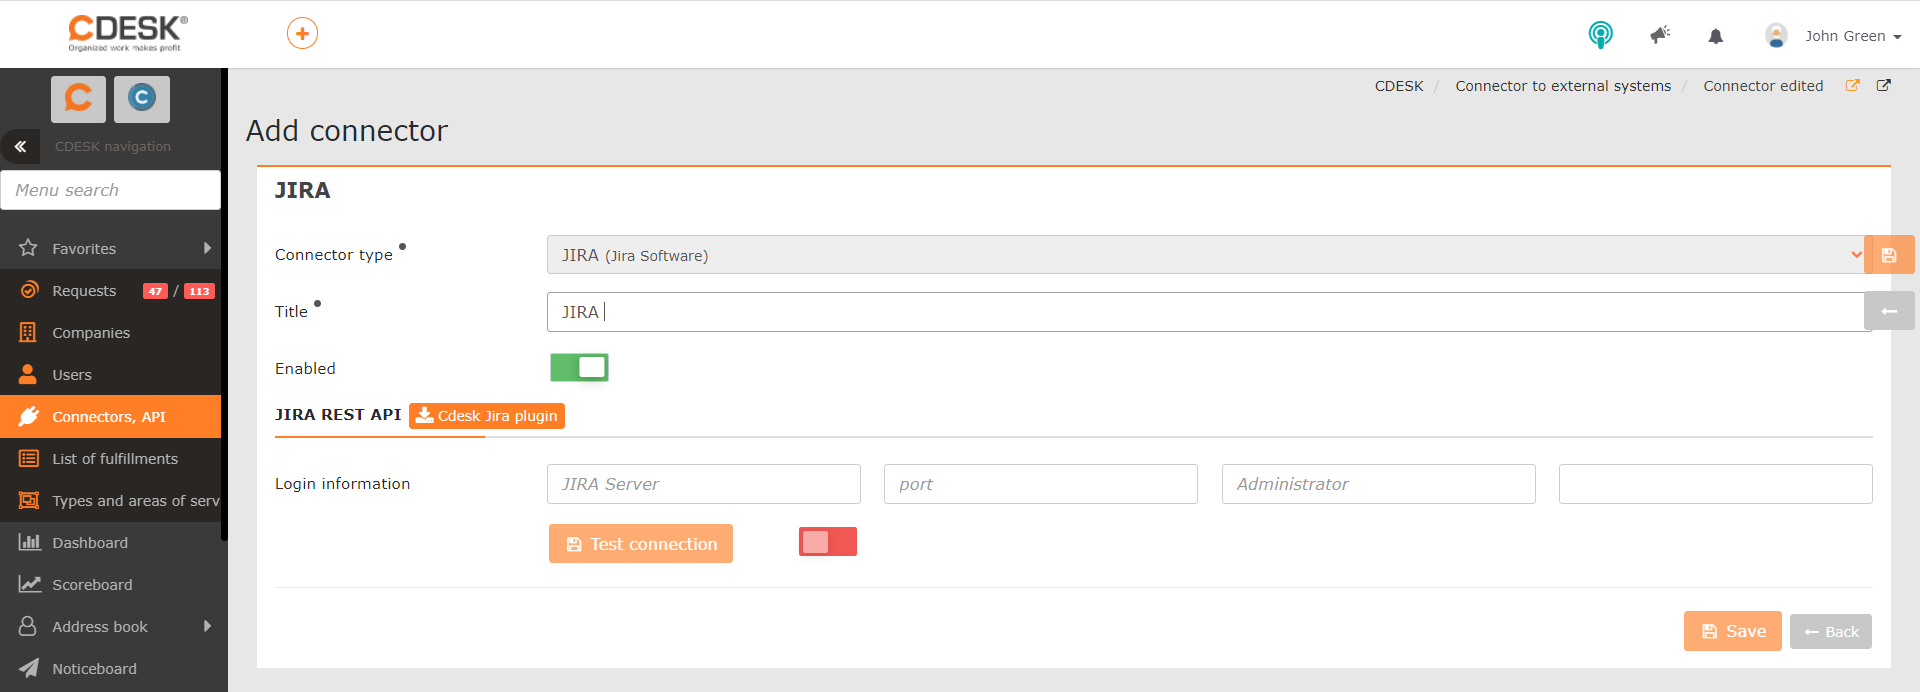
Connector type – when adding the JIRA connector, the field is automatically pre-filled with JIRA( Jira software). This setting cannot be changed.
Name – the name under which the connector will be displayed in the list of connectors.
Enabled – to be able to use the connector, set the switch to the on position  .
.
Default project – this field is only displayed after JIRA and CDESK have been synchronised. It allows you to set which project will be pre-filled when entering a new JIRA issue from a request. This project will also be preset in the filter and when linking a request to an existing JIRA issue.
Default status filter – this field is only displayed after JIRA and CDESK have been synchronised. It allows you to set which JIRA issues, by status, will be displayed by default in the list when linking a request to an existing JIRA issue.
JIRA REST API
To be able to use the CDESK JIRA connector, additional libraries must be installed on your JIRA server. They can be downloaded by clicking the Cdesk Jira plugin button. They serve to enable the CDESK server to communicate with the JIRA system.
Then, in the Login credentials section, fill in the address of the JIRA server, the port number (443 is used by default) and the administrator’s user name and password for logging in to JIRA. Once the details have been filled in, the Test connection button becomes available. After clicking it, further fields for pairing CDESK accounts with JIRA users become available in the form. At the same time, the switch next to the button is set to the on position , which signals that the synchronisation was successful.
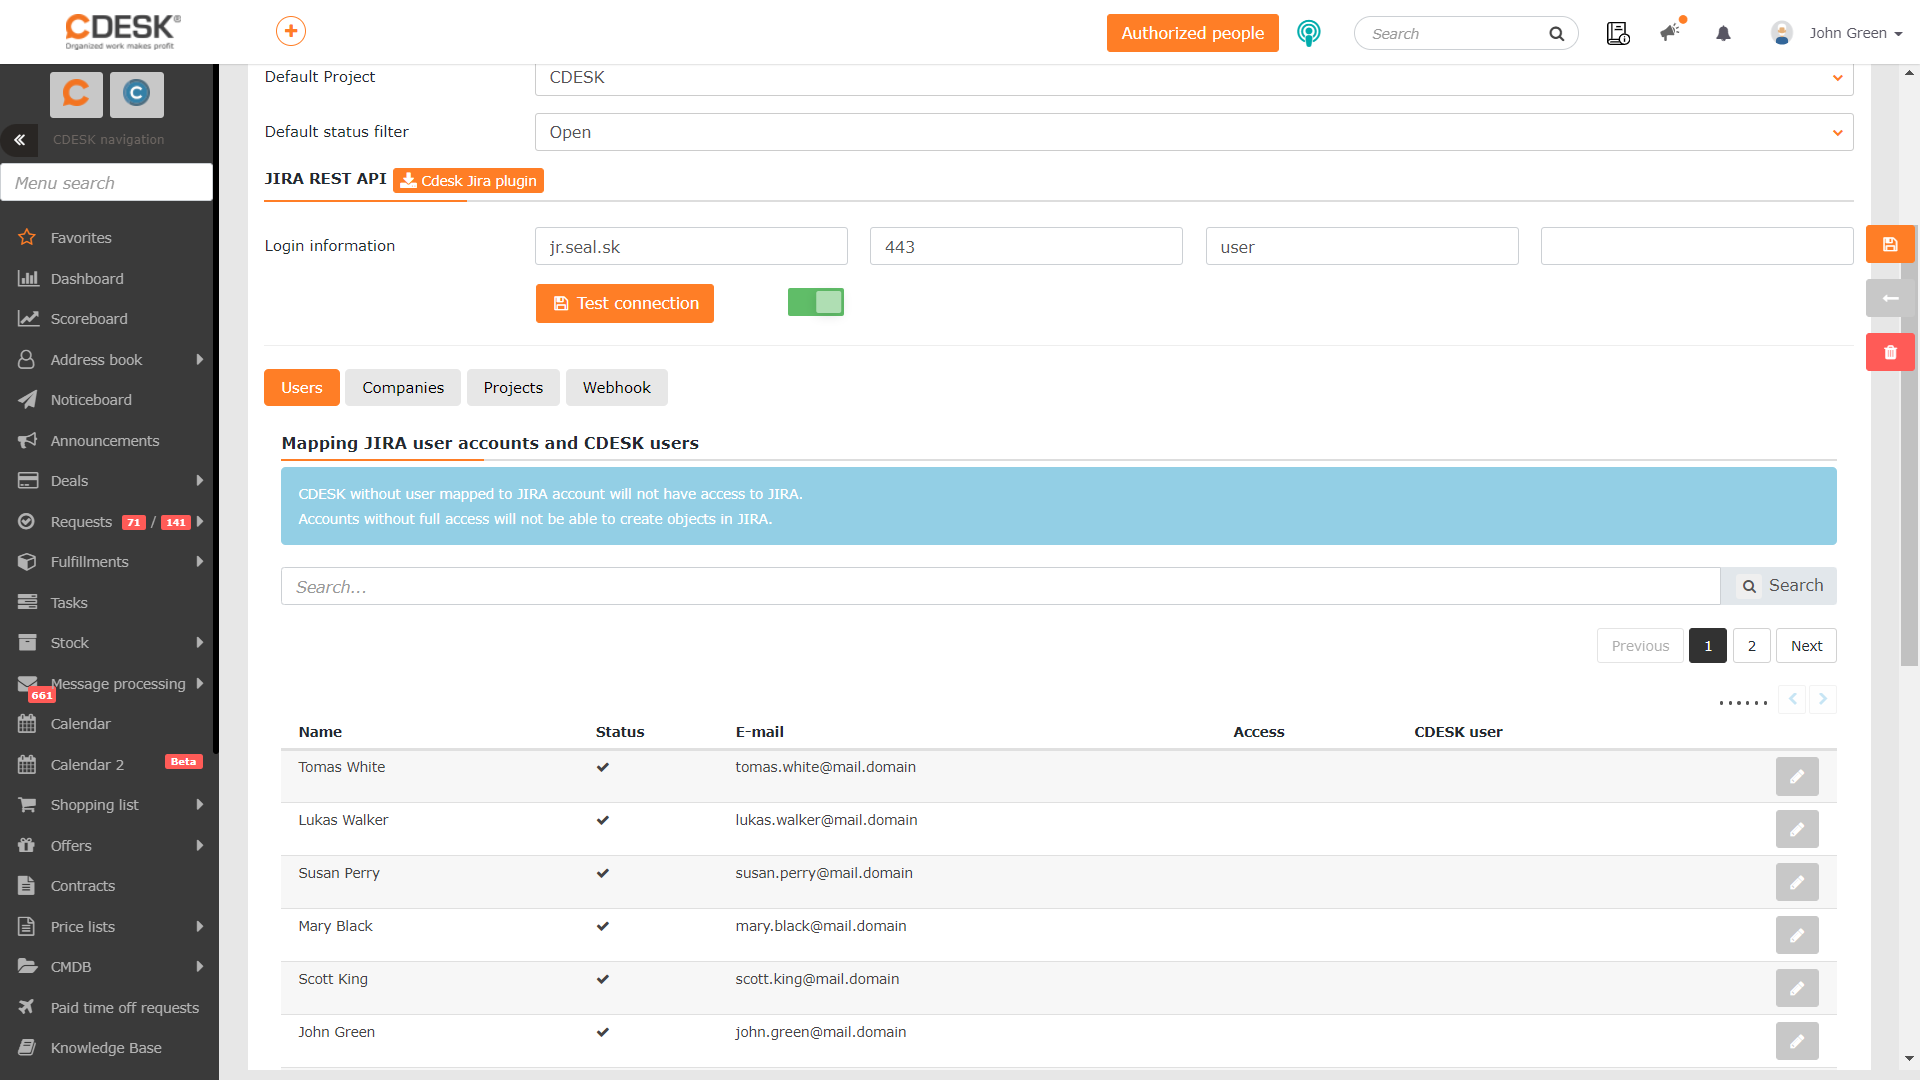
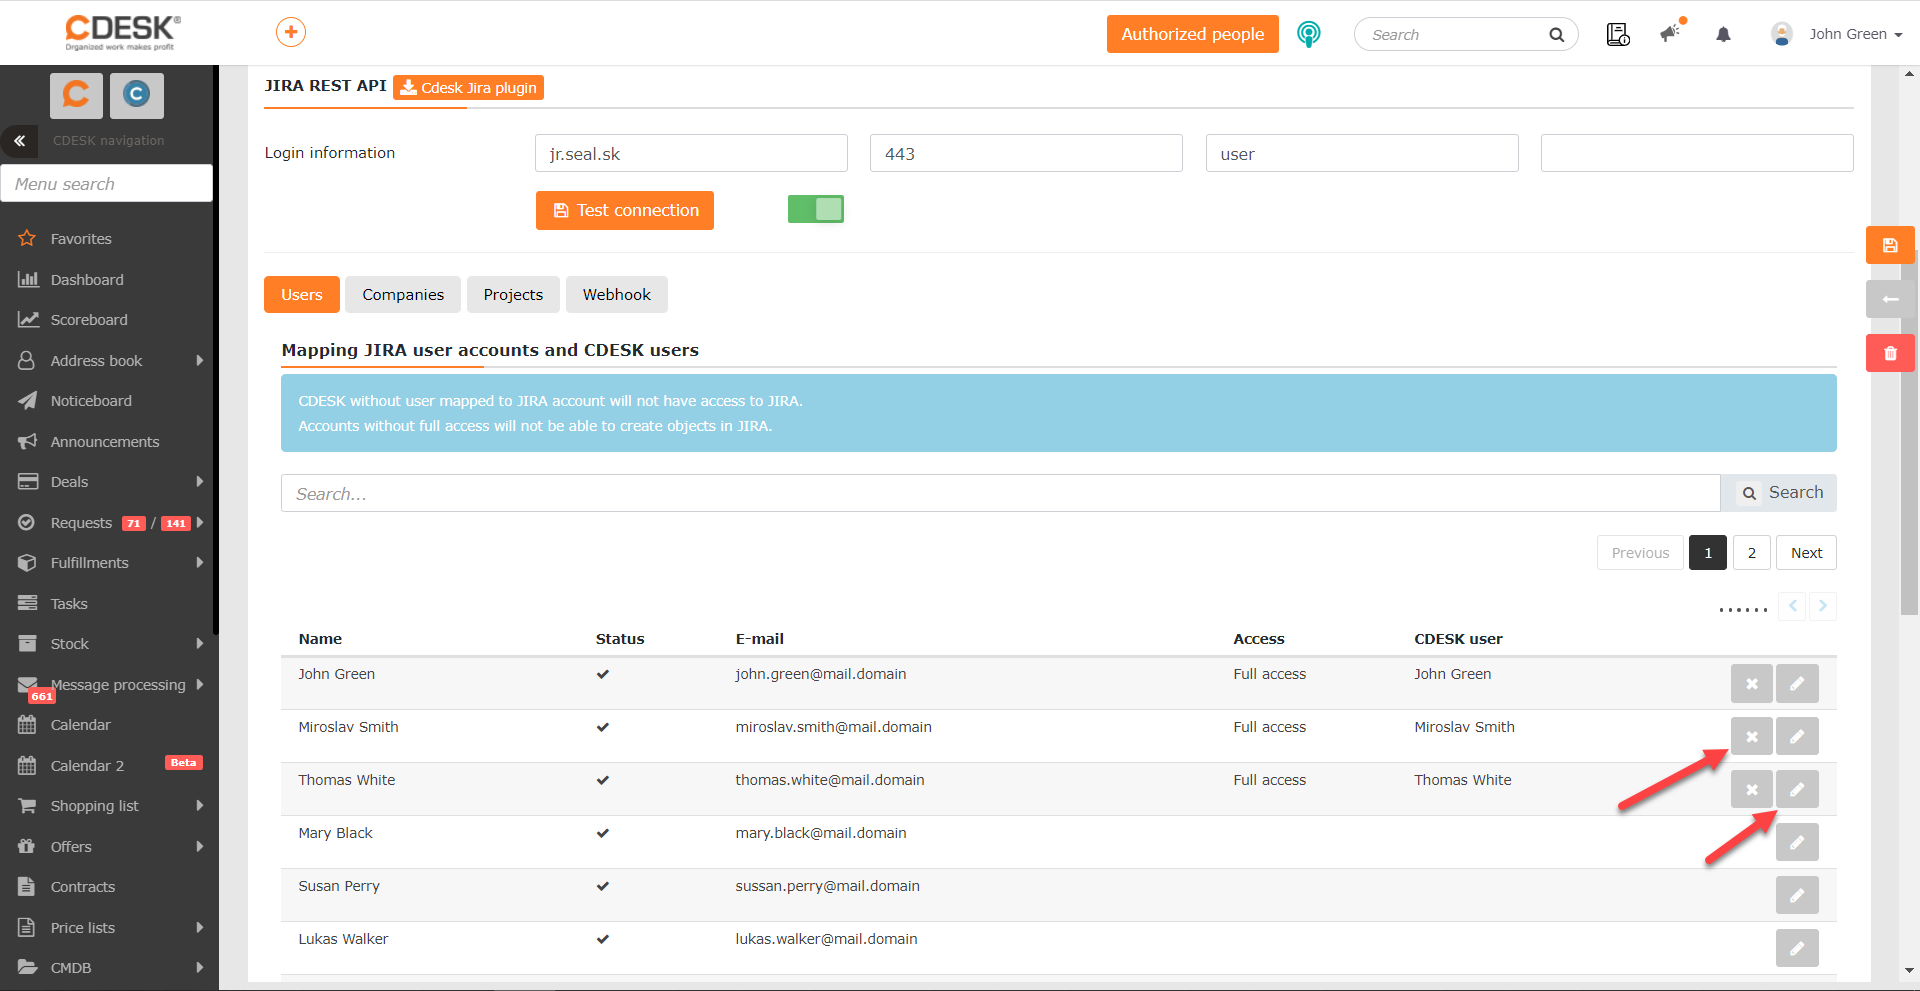
After a successful synchronisation, the tab displays a list of all JIRA users. In the top right corner there is a tool for browsing between the individual pages of the list. A specific user can be found using the search field.
To link a user with a CDESK user, click the  icon at the end of the row of the user you want to link, and then select the required user in the Cdesk user column. You save the setting by clicking the
  icon located at the end of the user’s row.
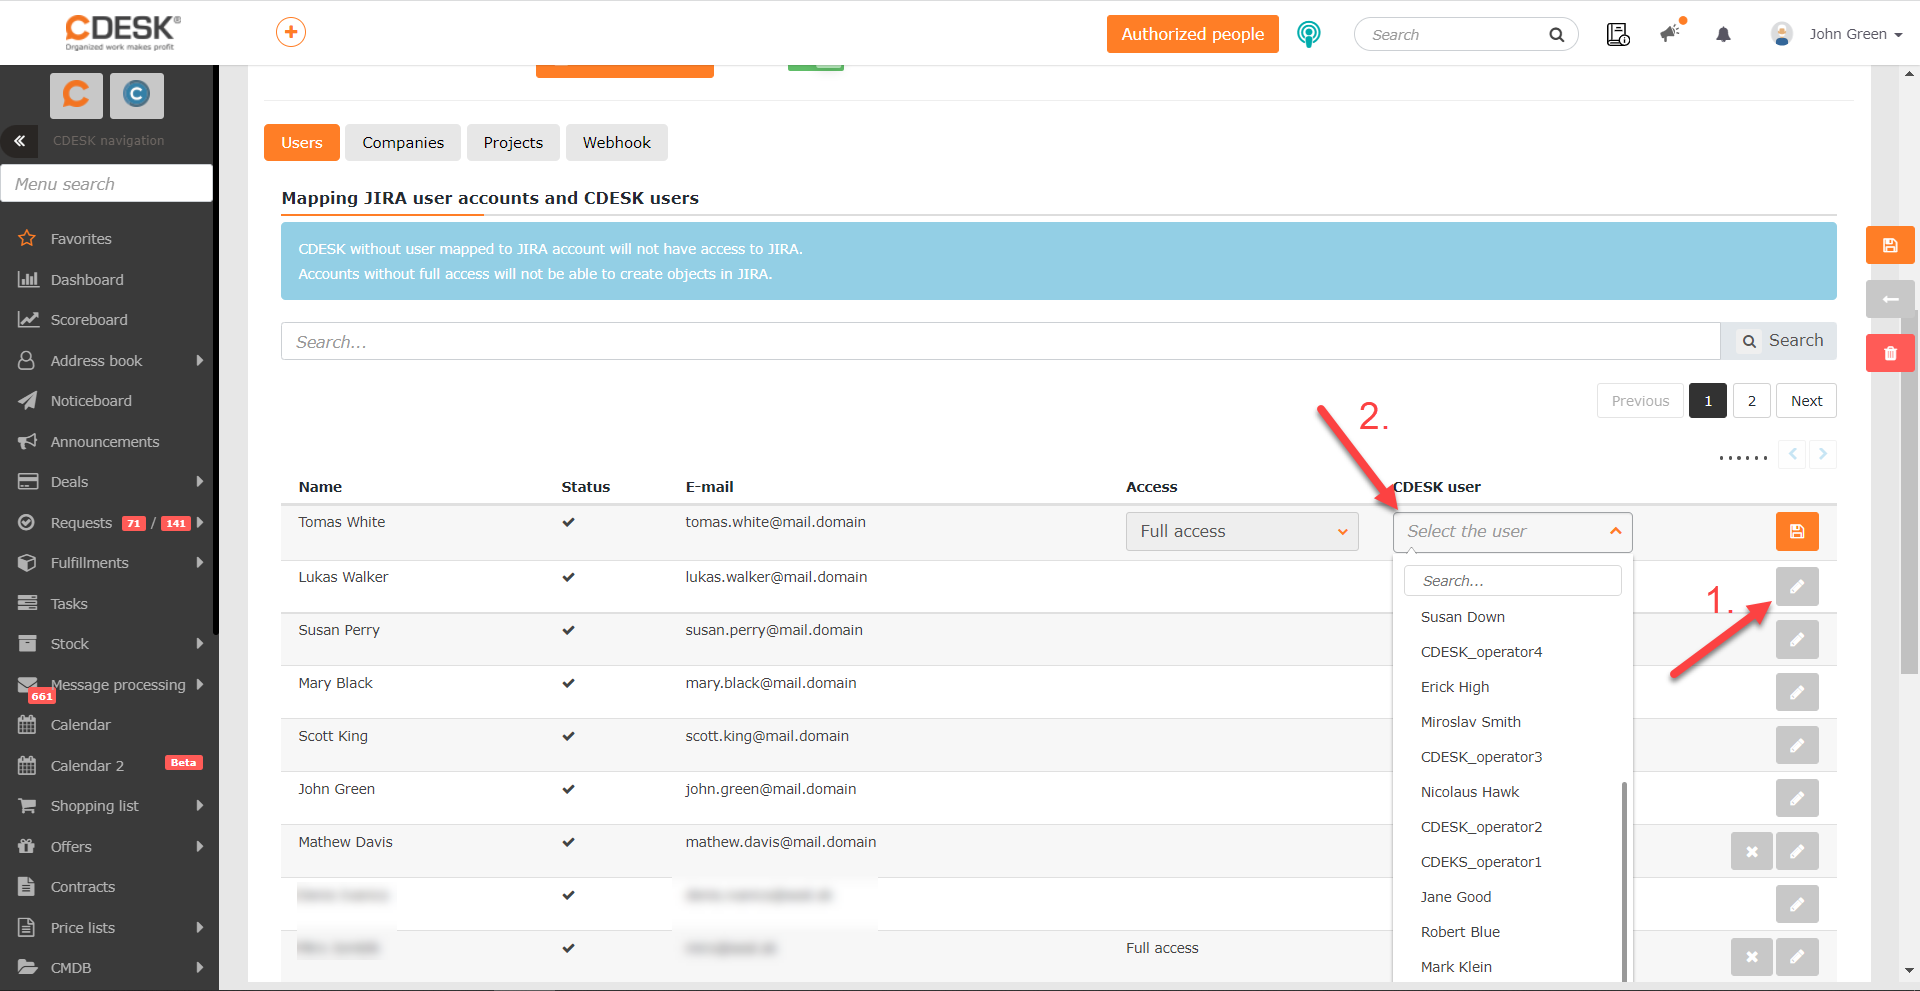
If you need to modify the link that has been set up, click the icon at the end of that user’s row. A field is then displayed, the same as when setting up the account link, where you can select a new CDESK user. If you want to remove the link, click the  icon.
icon.
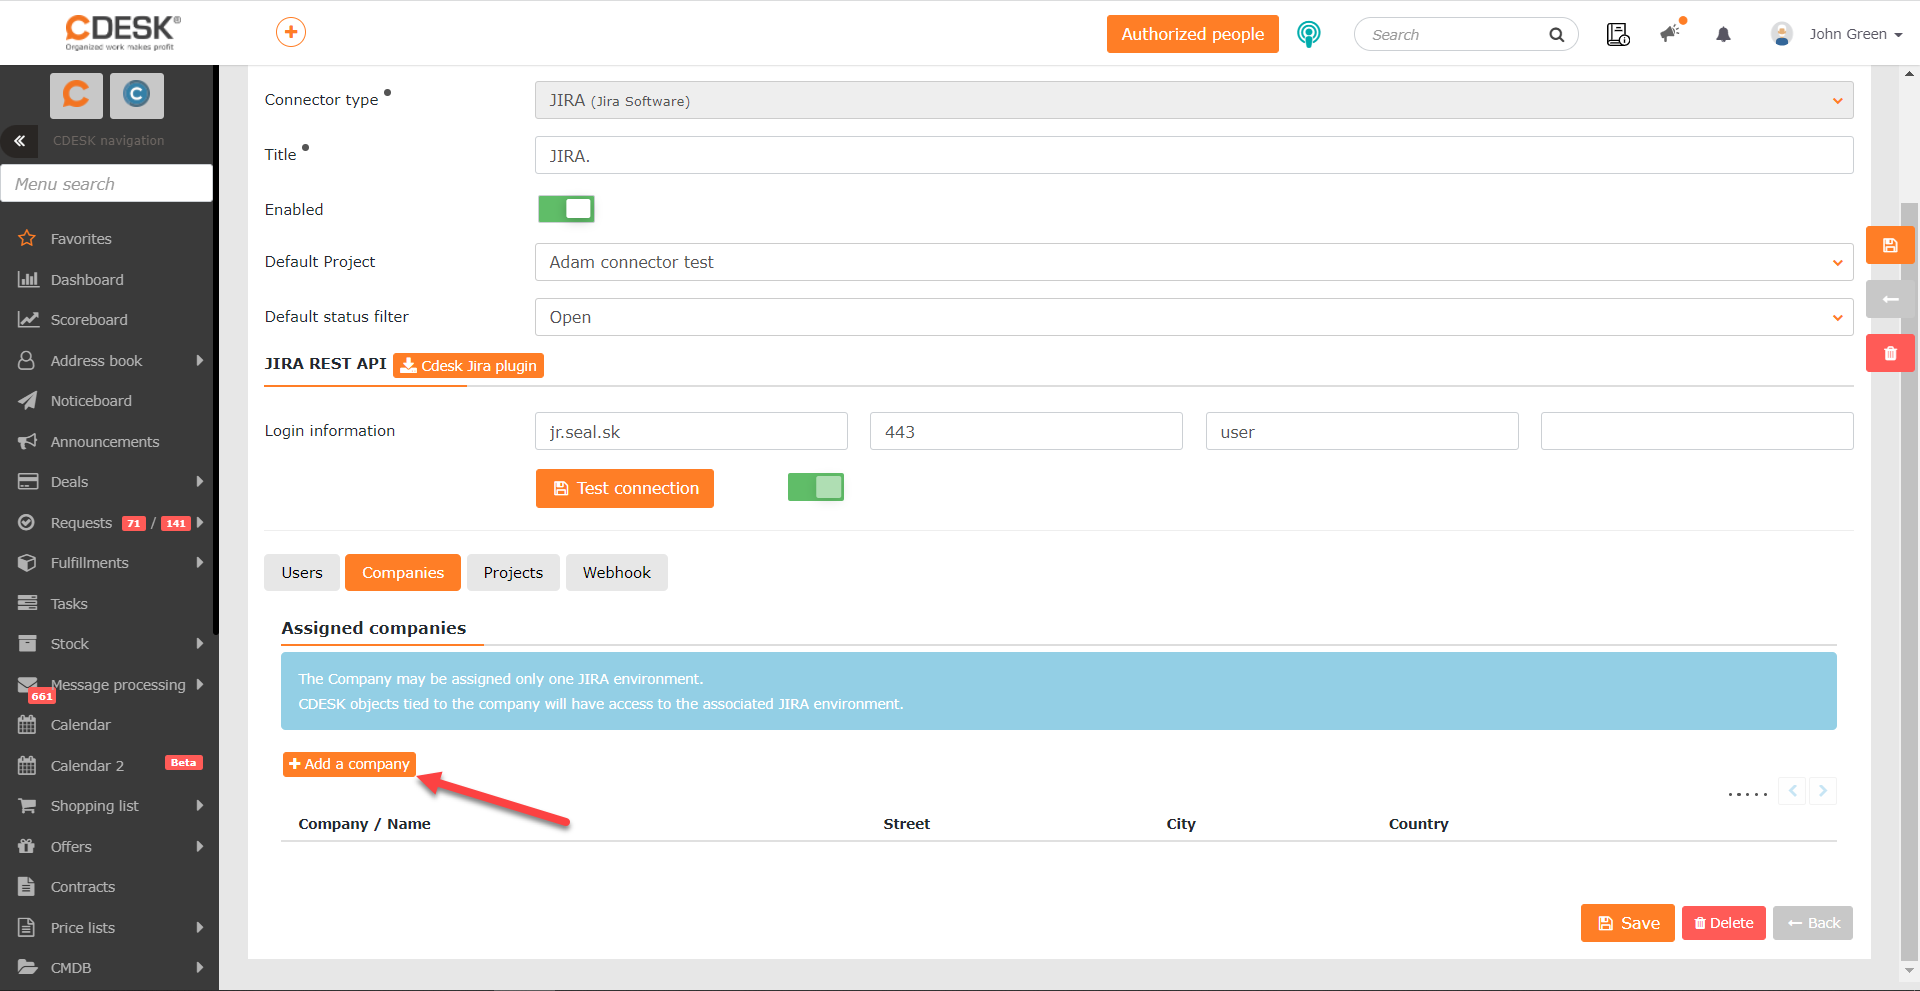

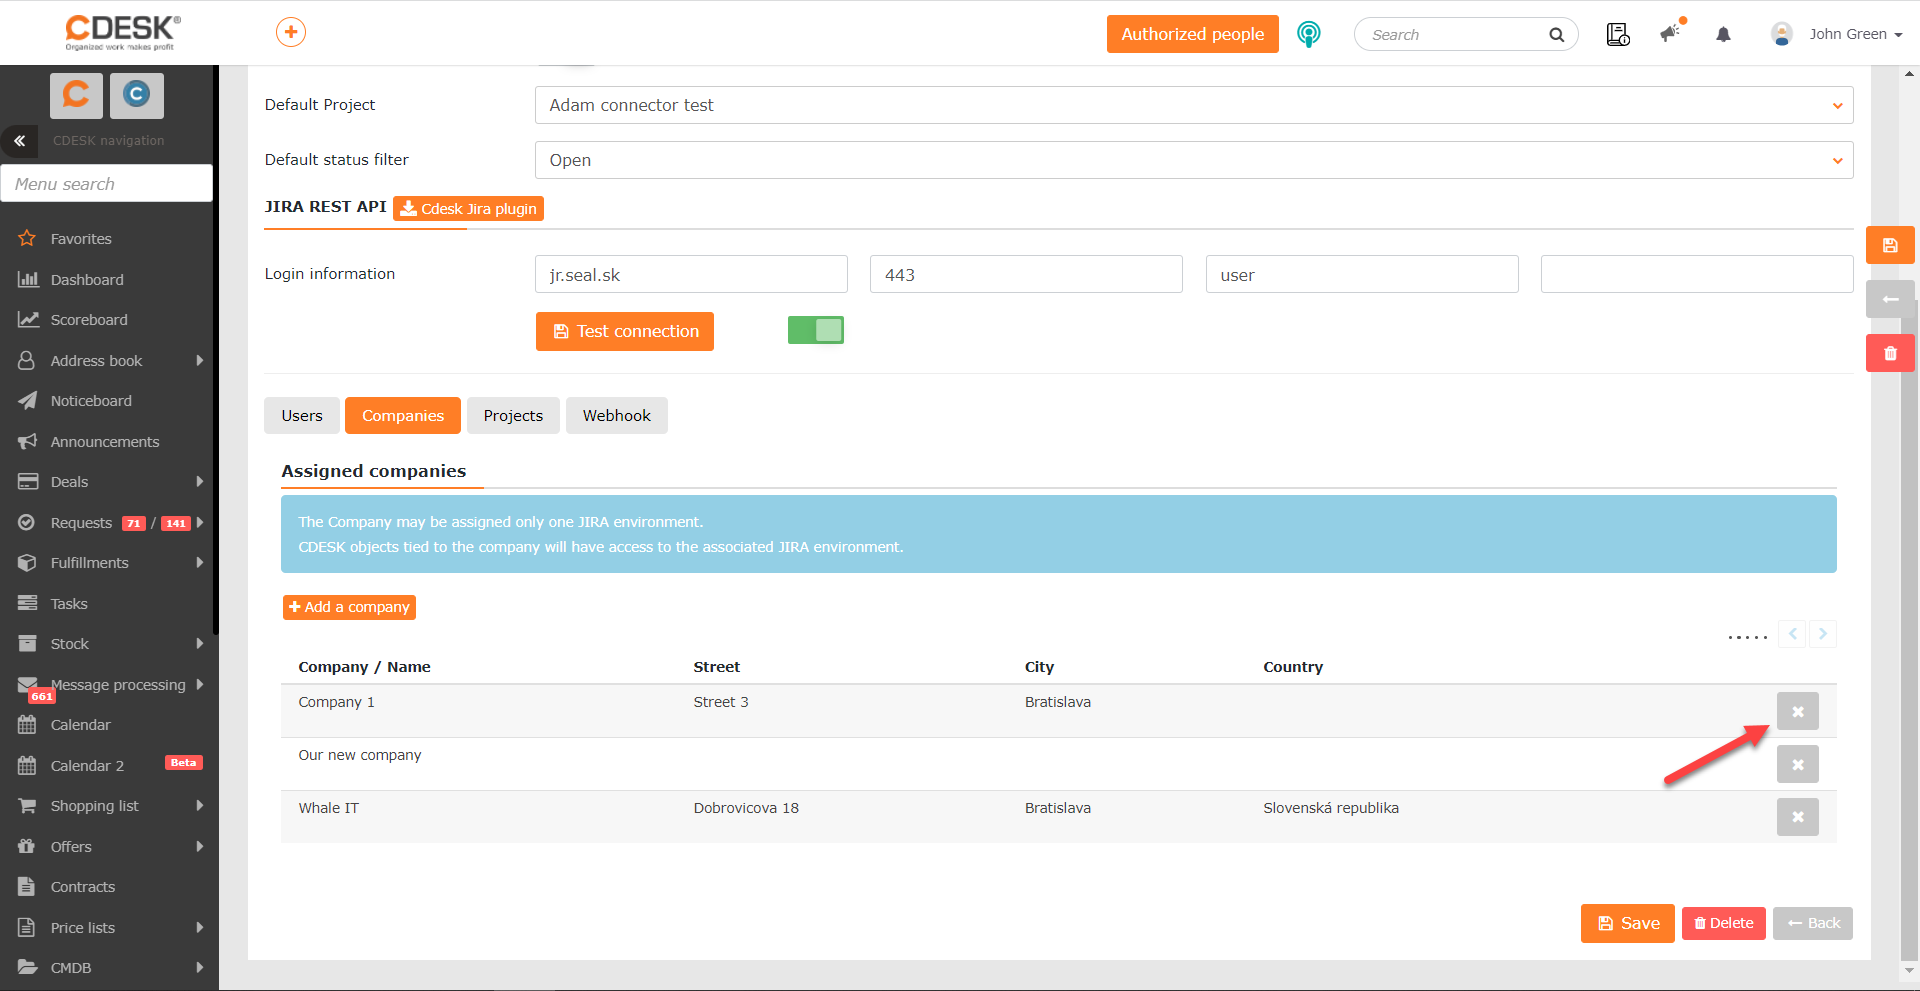
If you need to remove a company from the list, click the icon at the end of that company’s row.

At the top of the tab there is the Allow pairing of JIRA issues with the order’s billing items switch. Setting the switch to the on position ensures that if fulfilments have the same billing item set as the one on the linked order, the time recorded on these fulfilments will also be transferred into the worklog of the JIRA issue. If the switch is in the off position  , such a transfer will not work.
After synchronisation, all JIRA projects are loaded into the tab. To create a new CDESK order that will be linked with a JIRA project, click the menu icon  at the end of that project’s row and select the Link with a new order option. After clicking, a form for entering a new order is displayed. You can find more information about creating orders in a separate article.
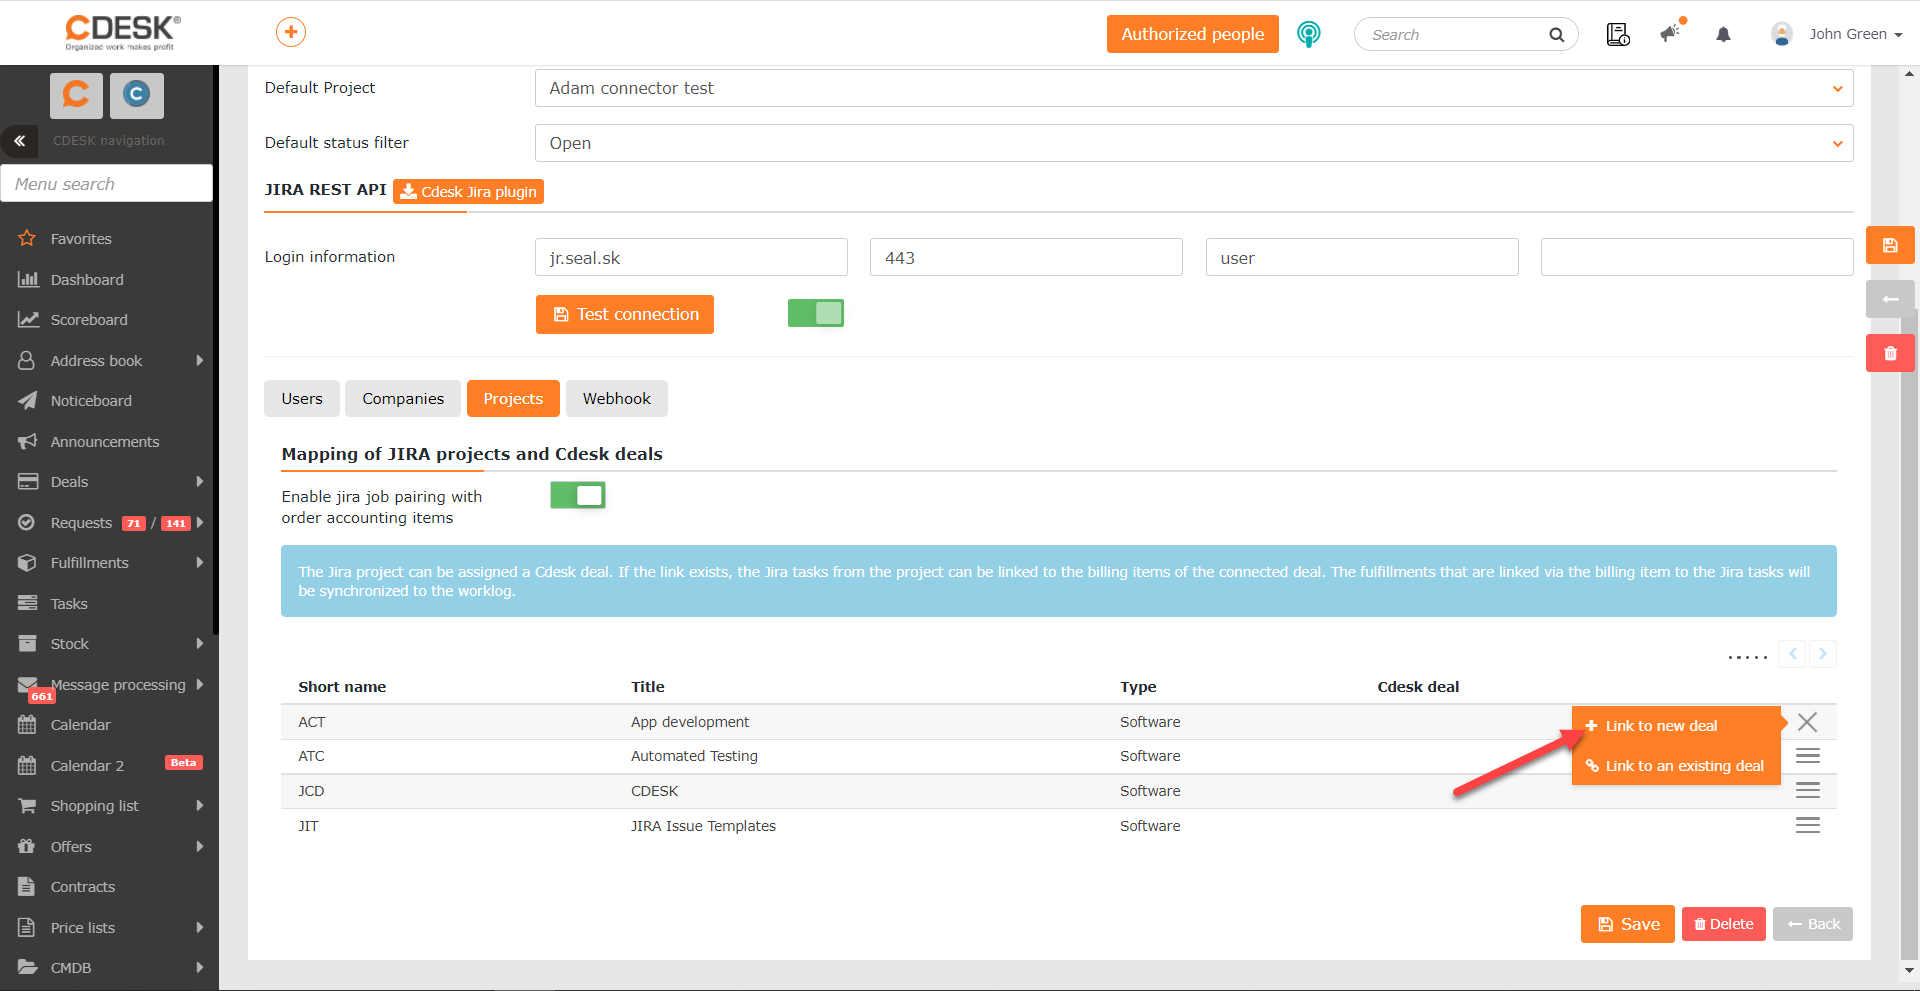
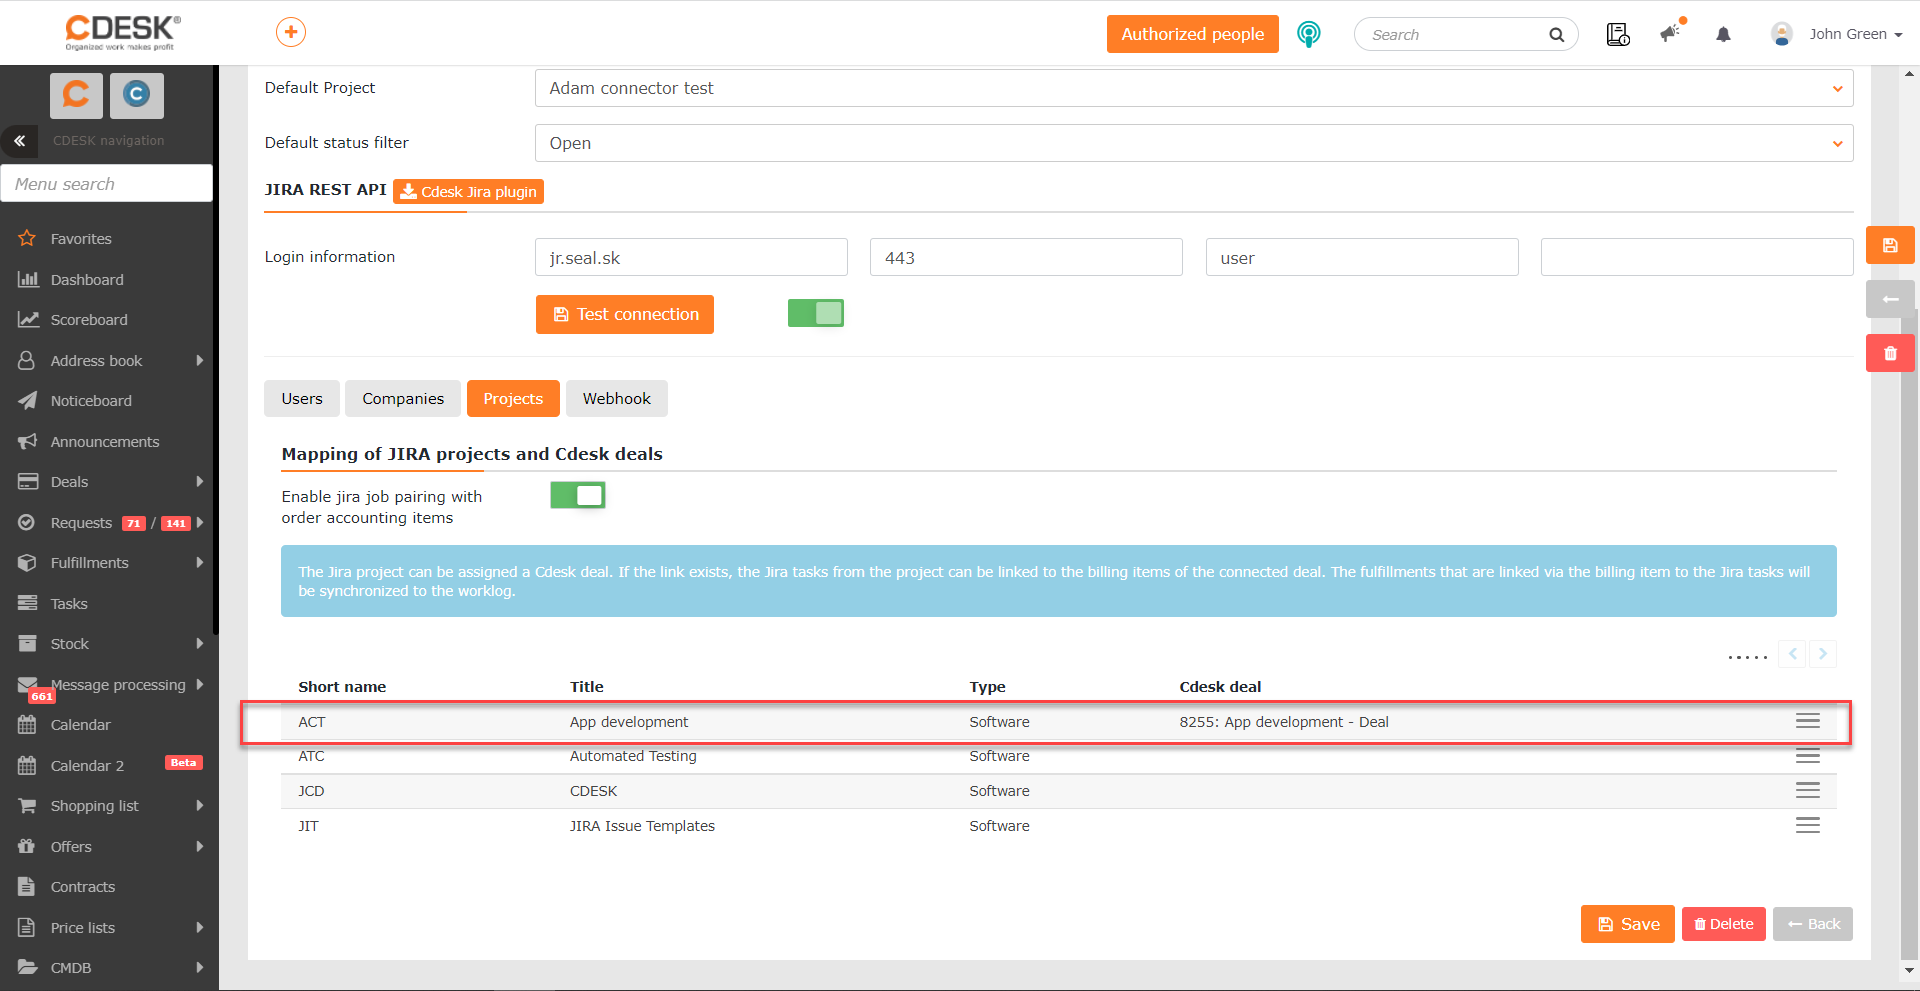
To link with an existing order, click the menu icon at the end of that project’s row and select the Link with an existing order option. After clicking, a window with a list of orders is displayed. You select an order by clicking its name.
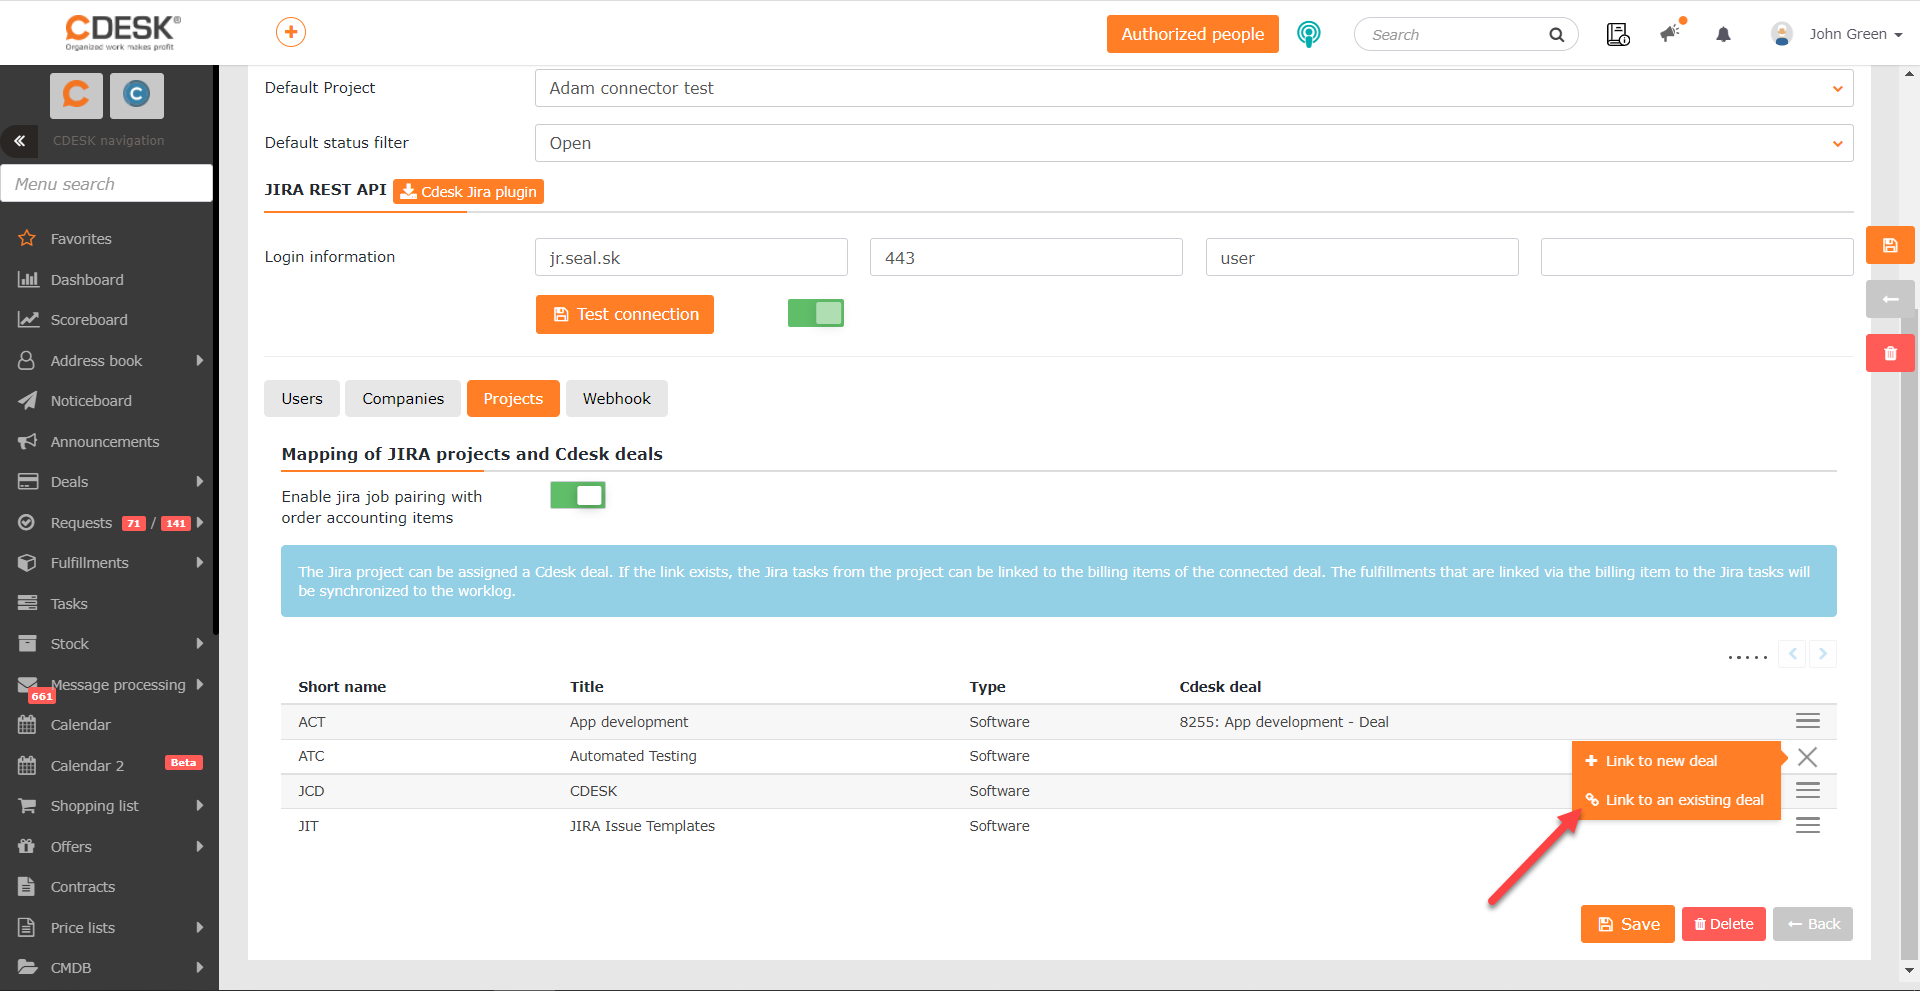
Once an order has been successfully linked with a JIRA project, it is possible to set up a link between a specific JIRA issue and a billing item. Start by double-clicking the name of the linked order in the CDESK order column. After clicking, a list of all JIRA issues belonging to that JIRA project is displayed. At the top of the window there is a search field that makes it possible to find a specific JIRA issue. The list also allows the use of an advanced filter, which makes it possible to filter JIRA issues according to criteria you enter.
Once you have found a specific issue, you can set up a link with a new or an existing billing item. To link with a new billing item, click the menu icon at the end of that JIRA issue’s row and select the Link with a new billing item option. After clicking, a form for entering a new billing item is displayed. Once you have entered the parameters of the new billing item, click the Save button.
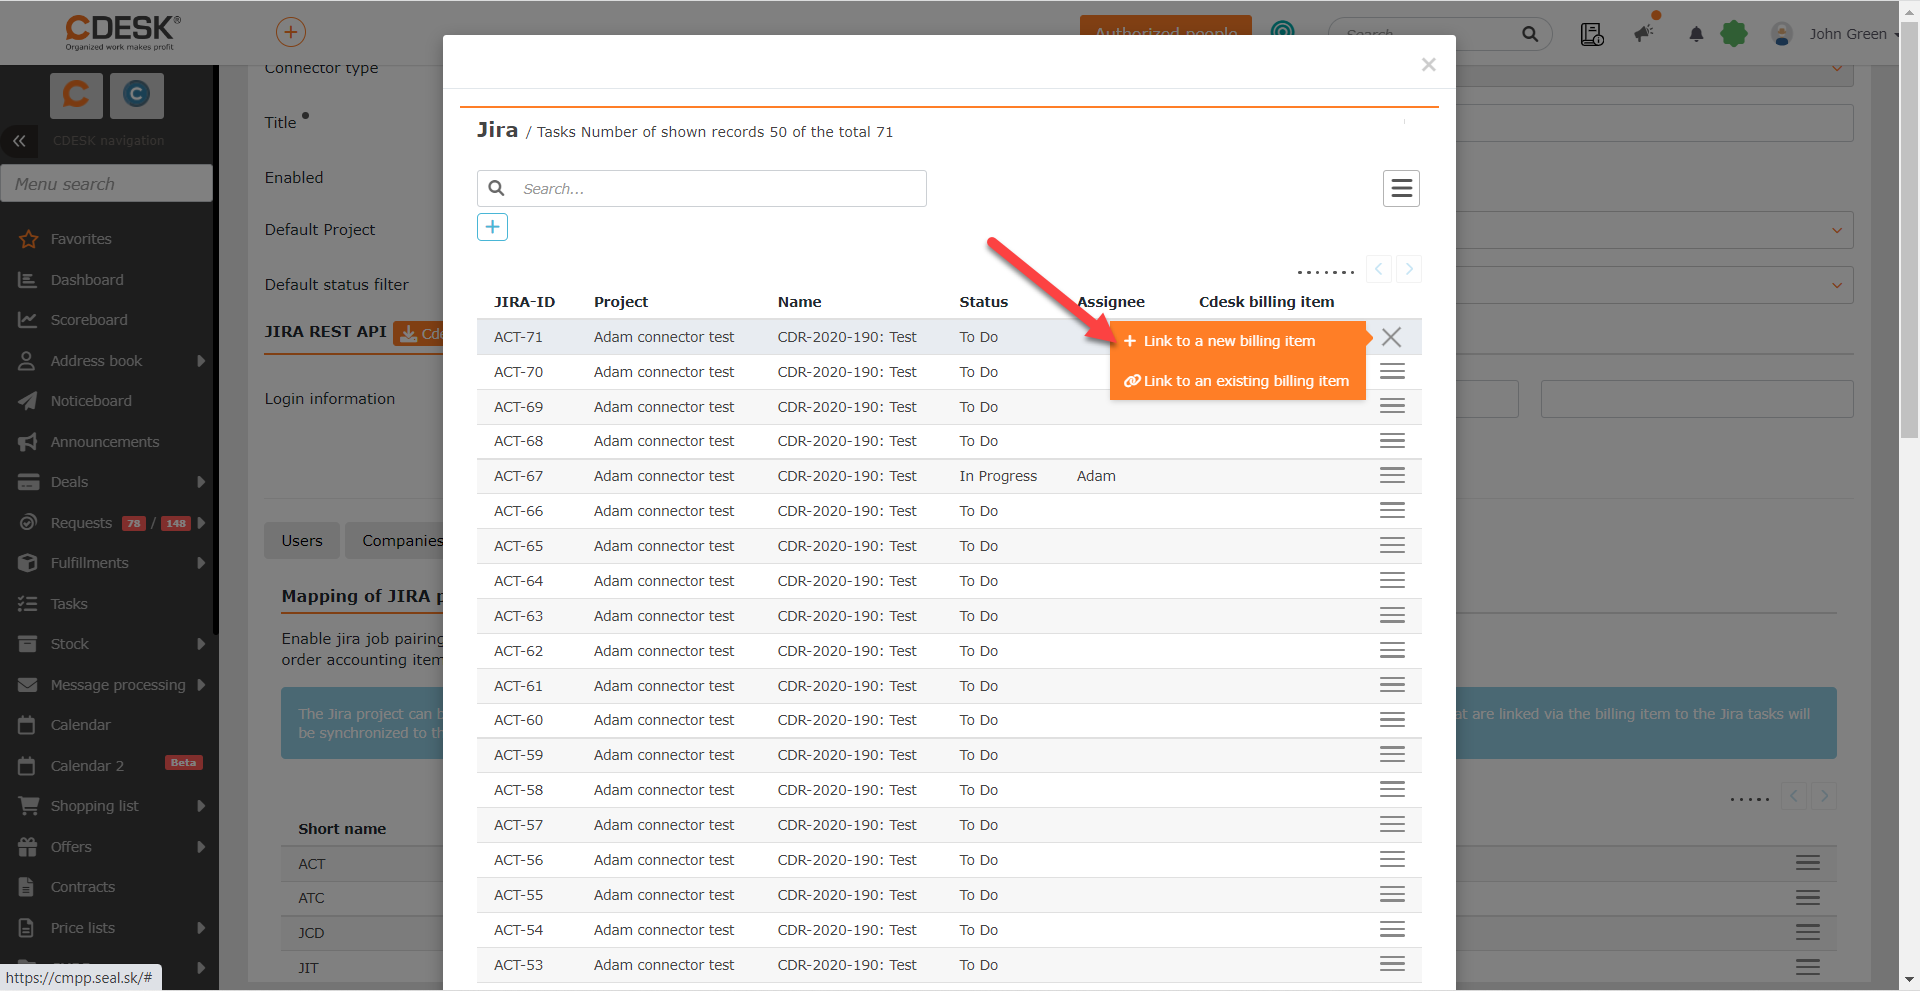
To link with an existing billing item, click the menu icon at the end of that JIRA issue’s row and select the Link with an existing billing item option.
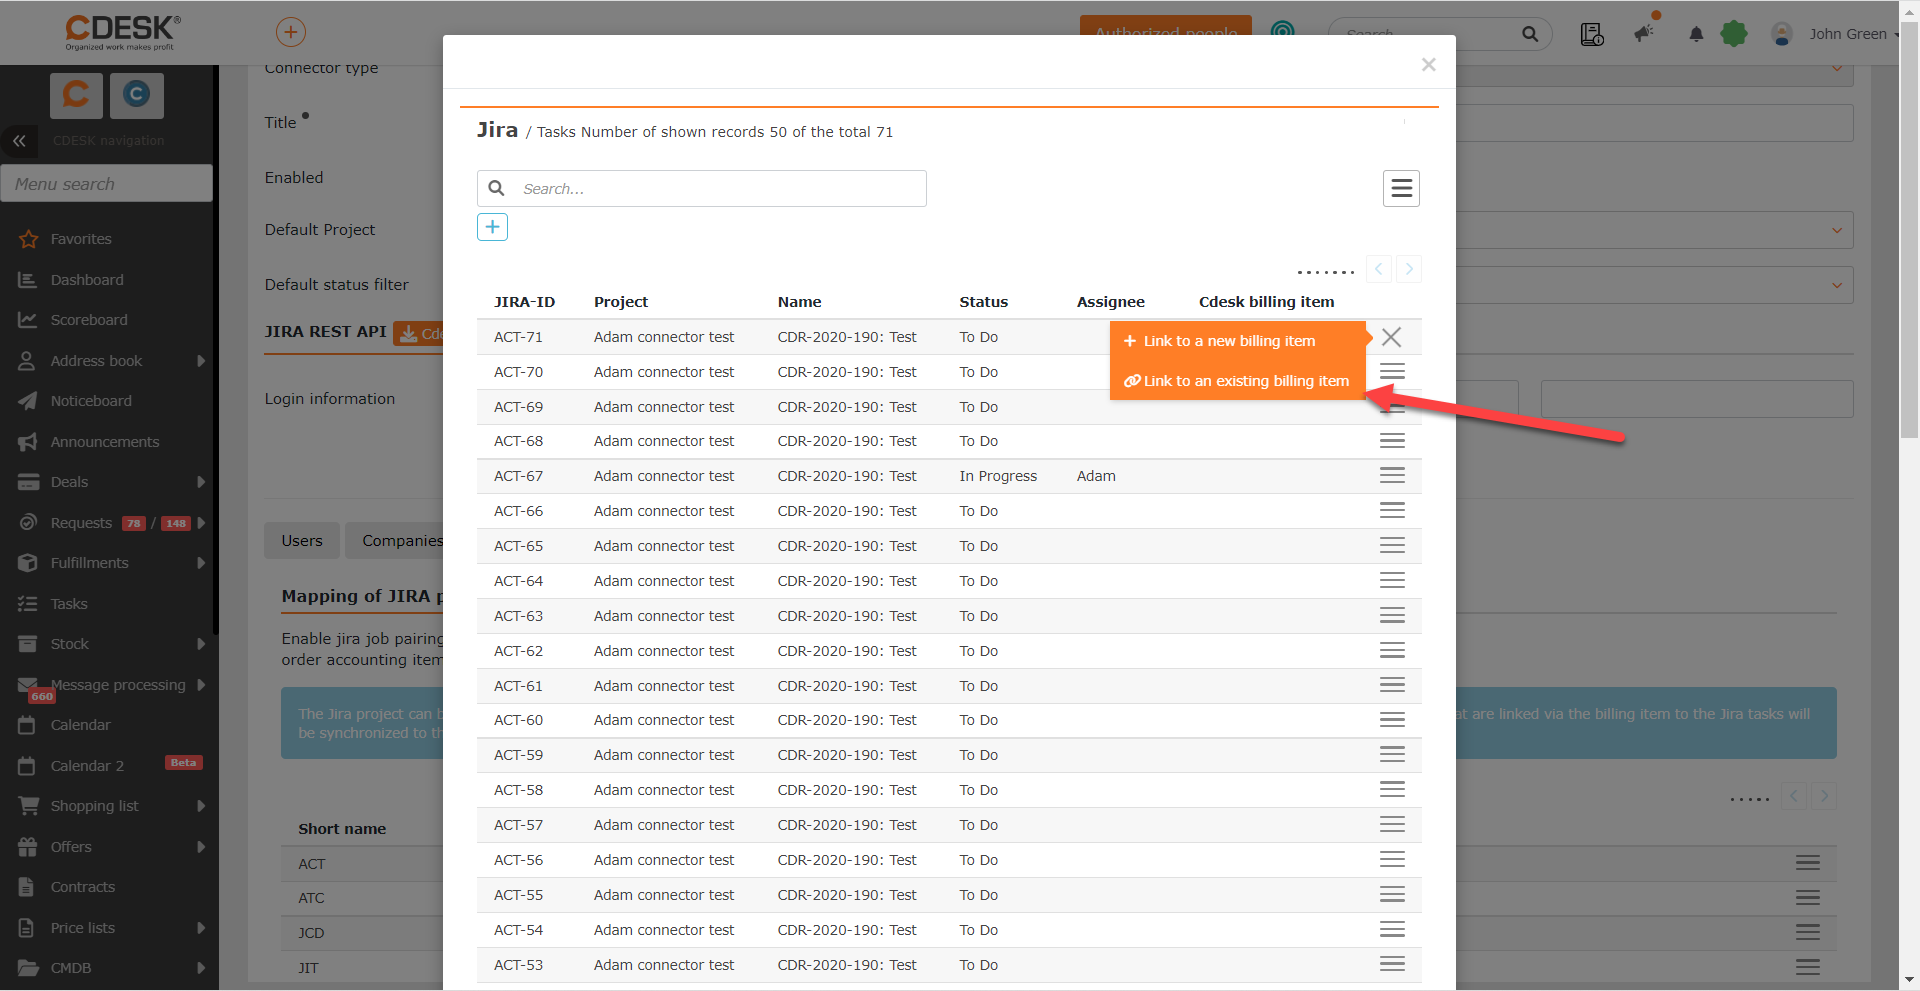

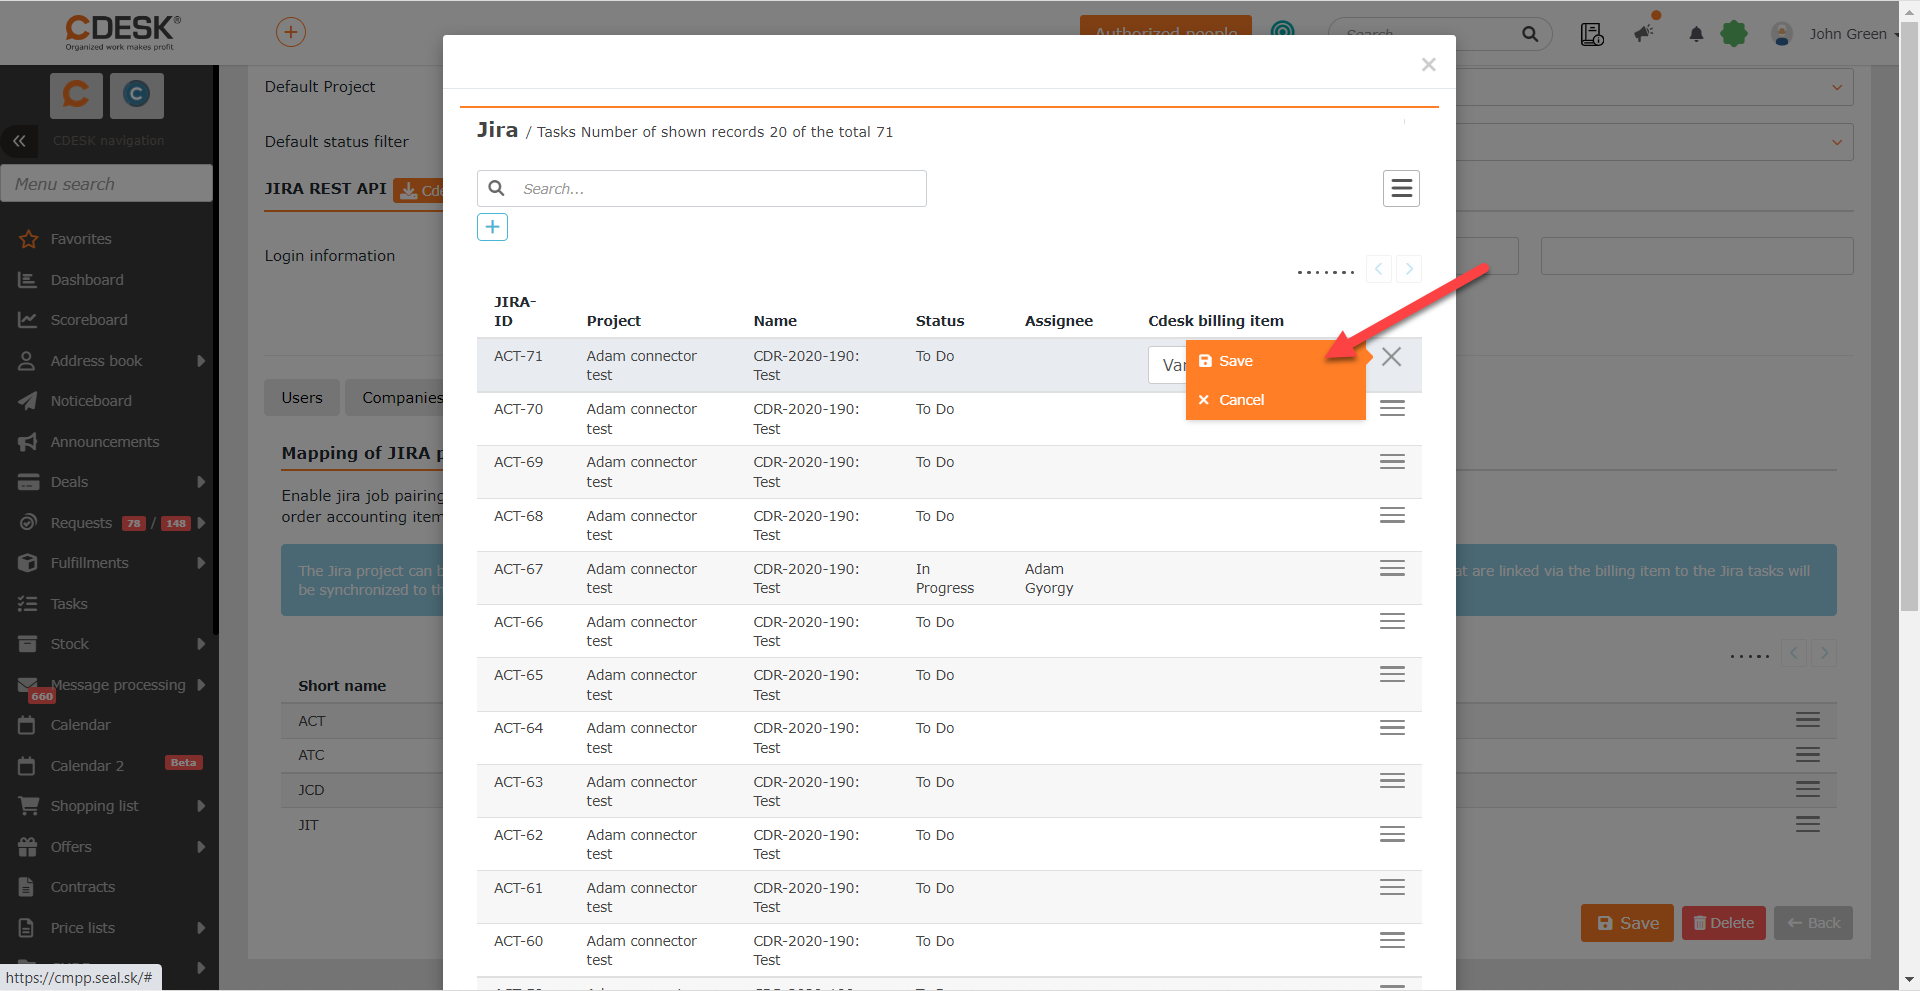
Once a billing item has been selected, this setting must be saved by clicking the menu icon at the end of that JIRA issue’s row and then selecting the Save option.
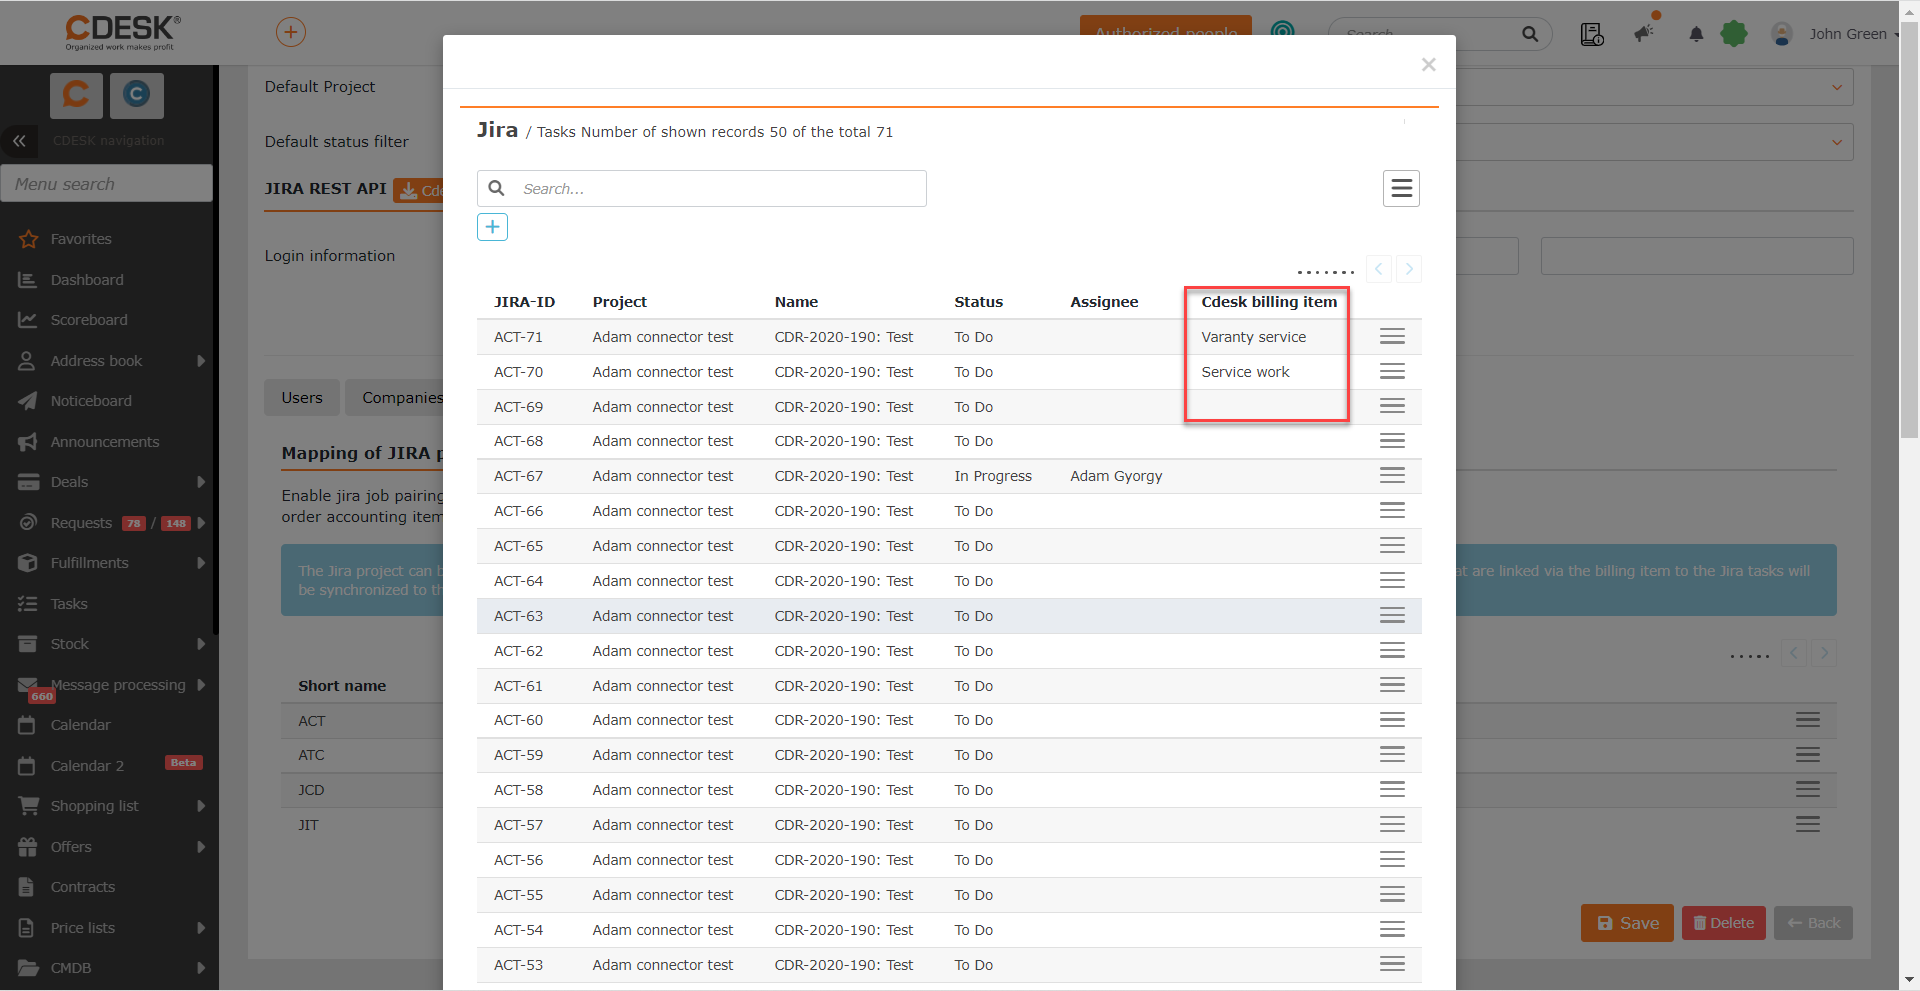
If you need to cancel the link with a billing item, click the menu icon at the end of that JIRA issue’s row and select the Cancel the link with the billing item option.
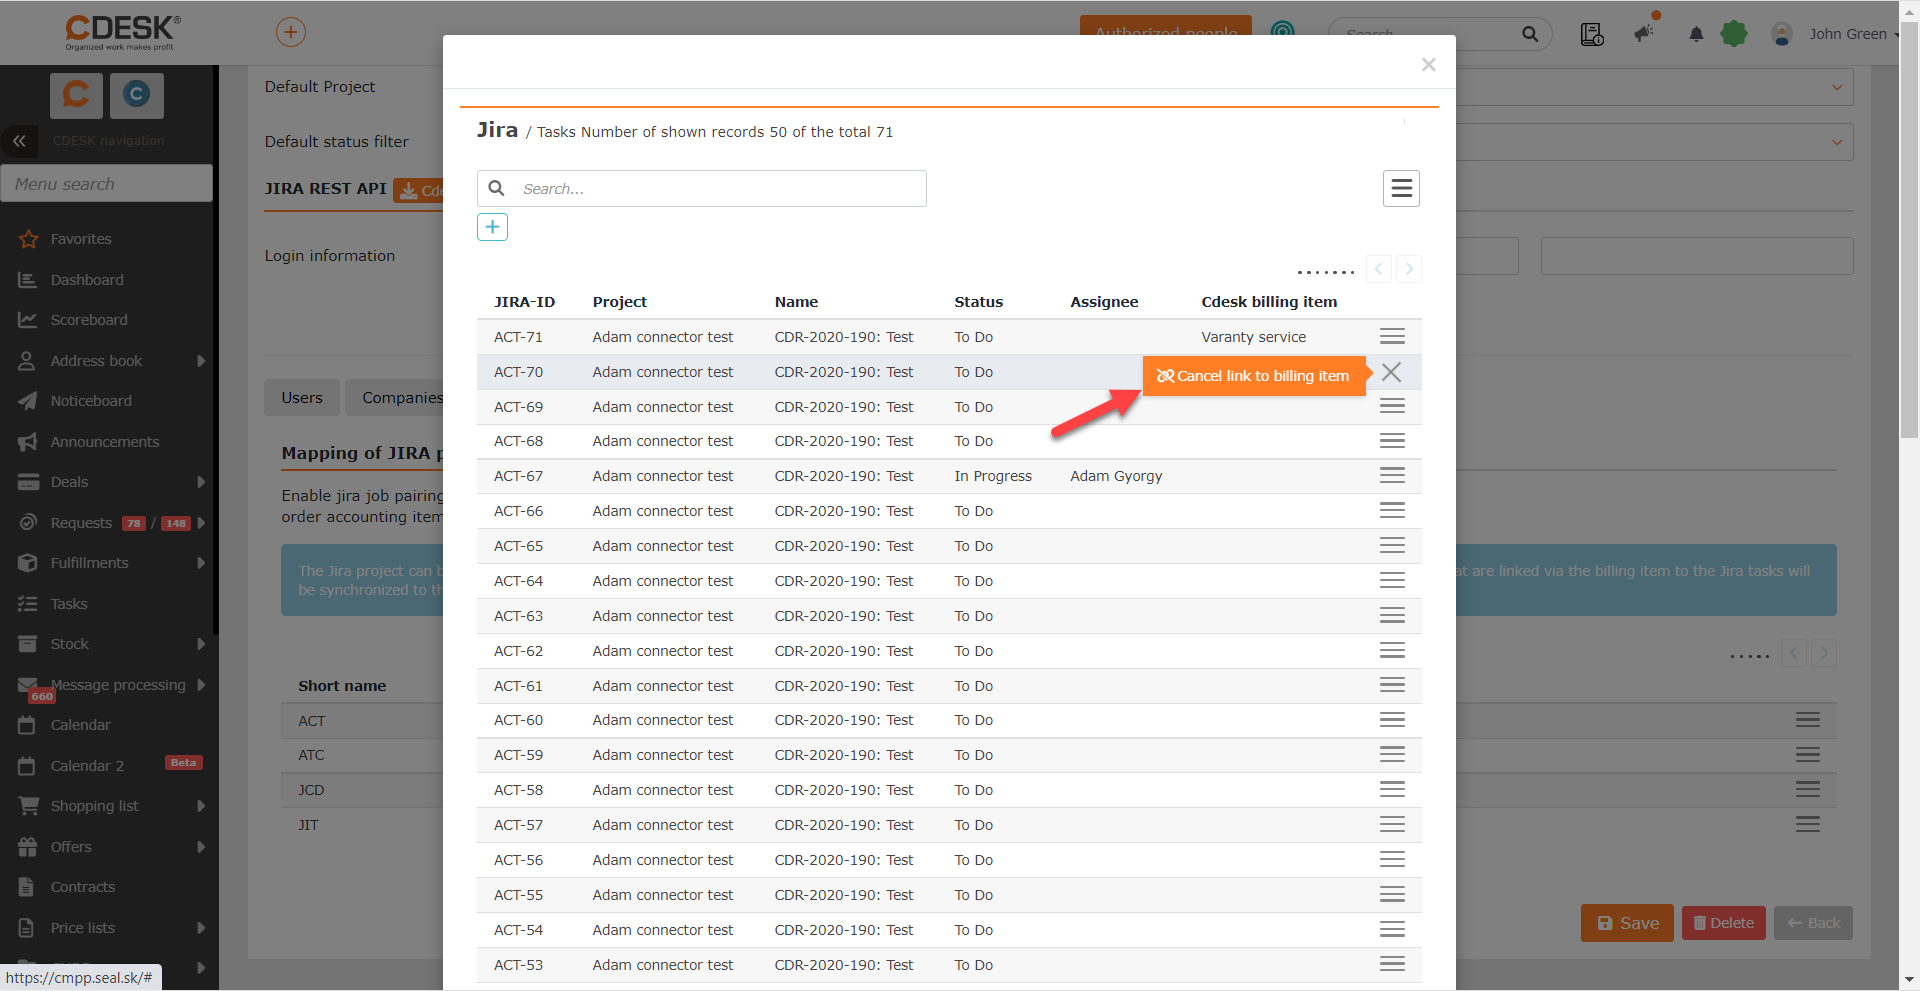
If you need to cancel the link directly with the order, click the menu icon at the end of that project’s row and select the Cancel the link with the order option.
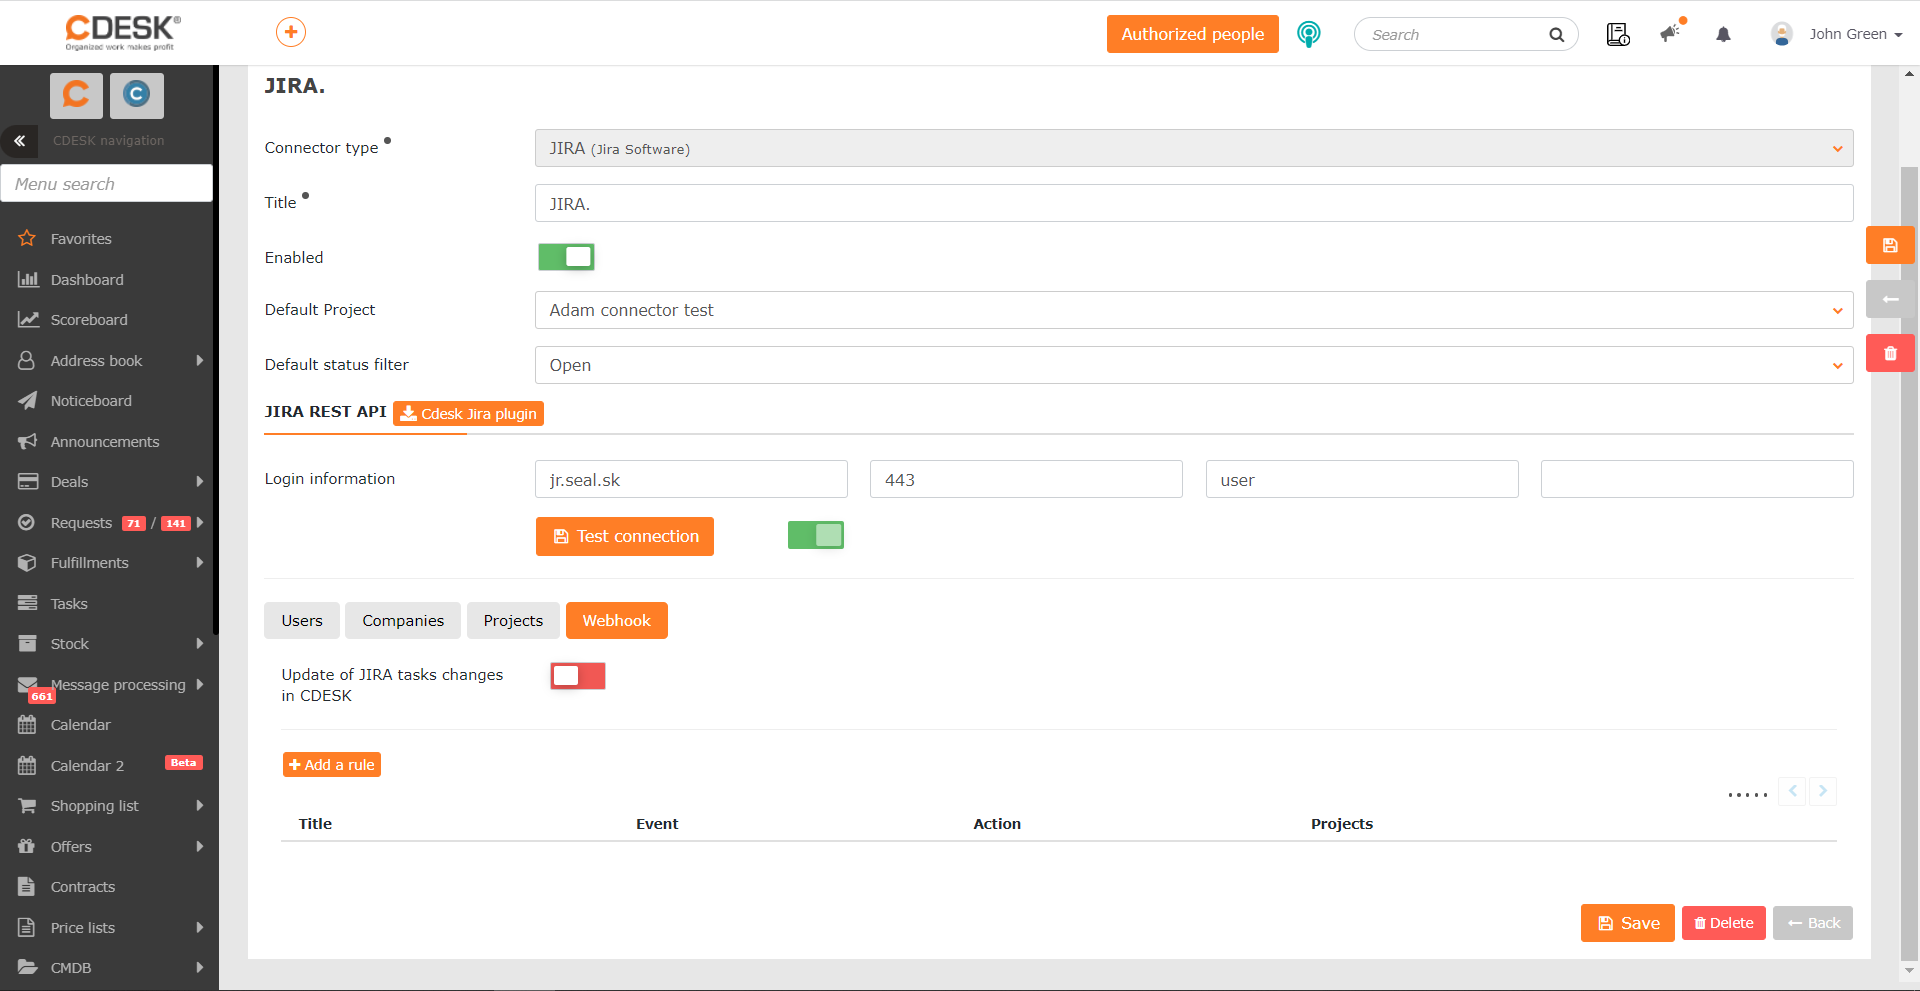
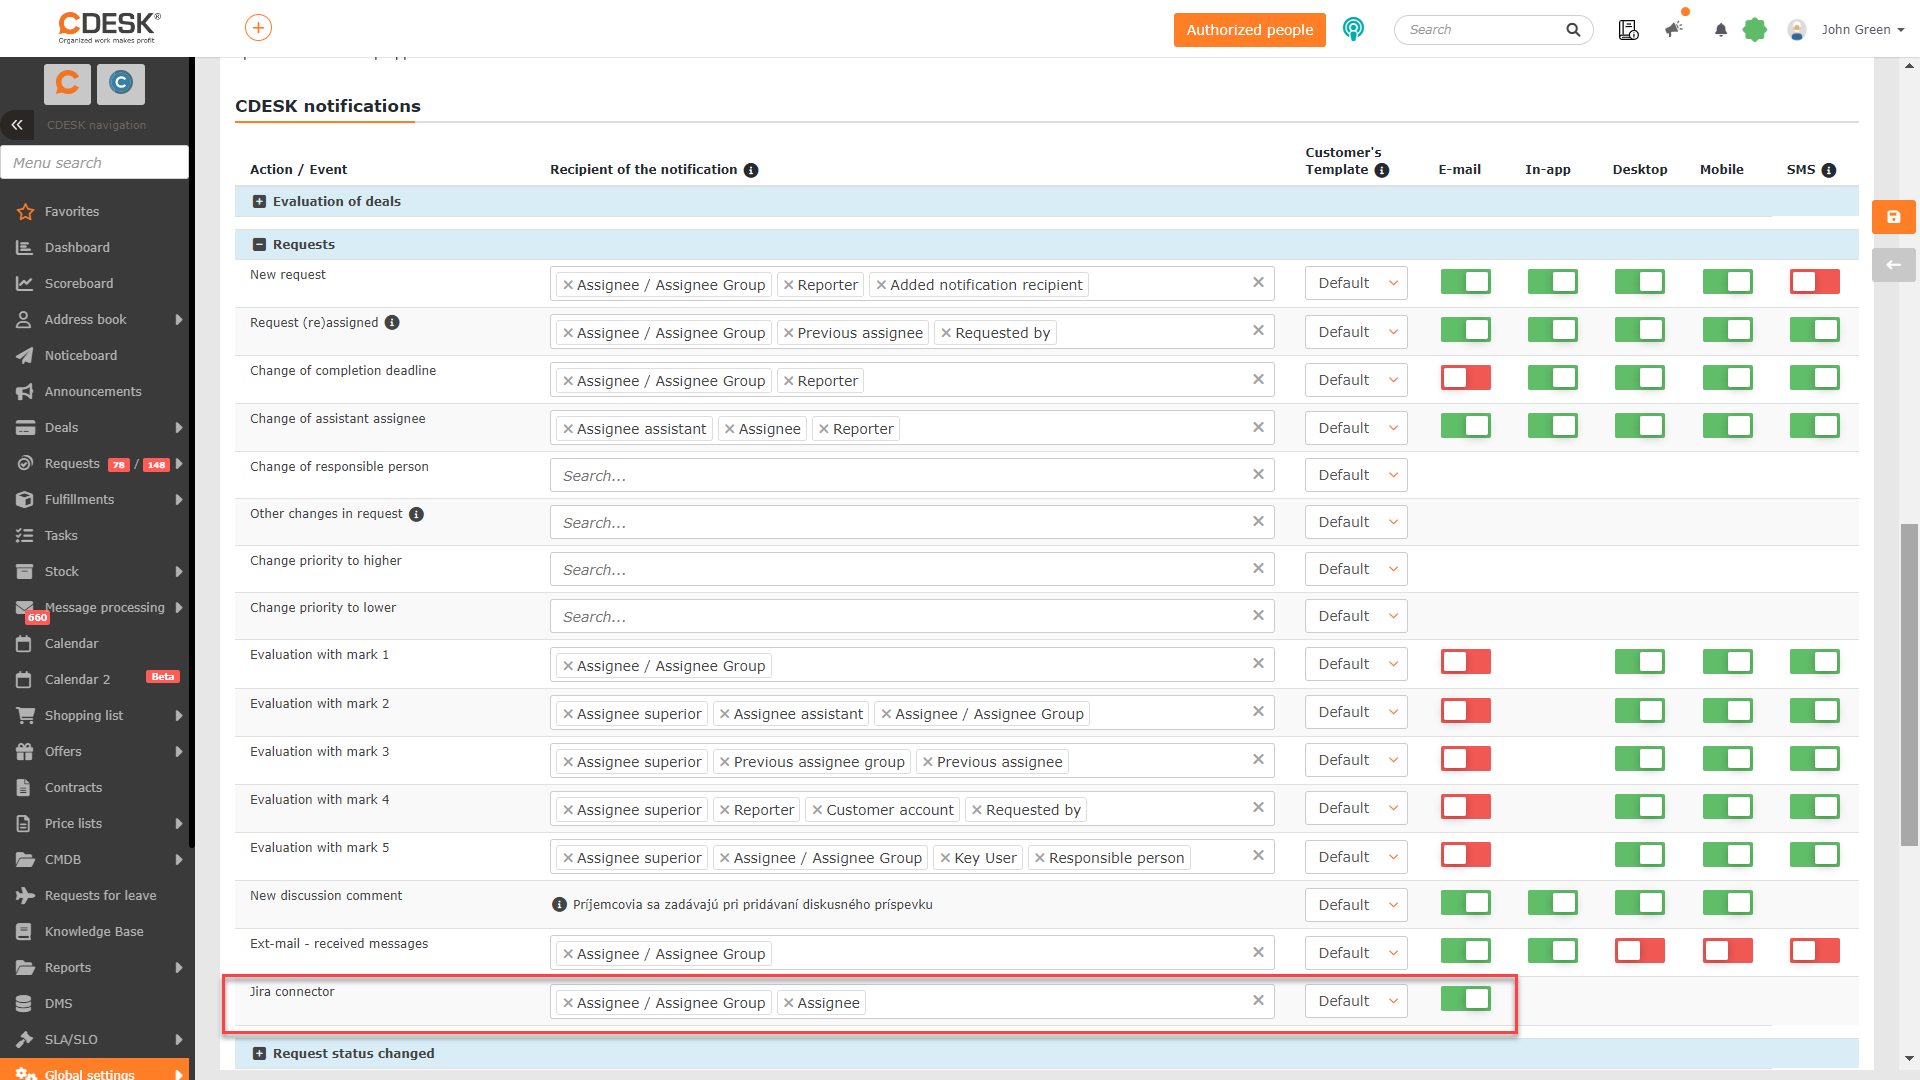
Setting the Update of JIRA task changes switch to the on position  ensures that CDESK will receive information from JIRA about changes made on issues. This link is important so that CDESK can subsequently send notifications to users. If this switch is off , this link will not work and, as a result, no notifications can be sent either. To set when notifications will be sent, click the + Add rule button.
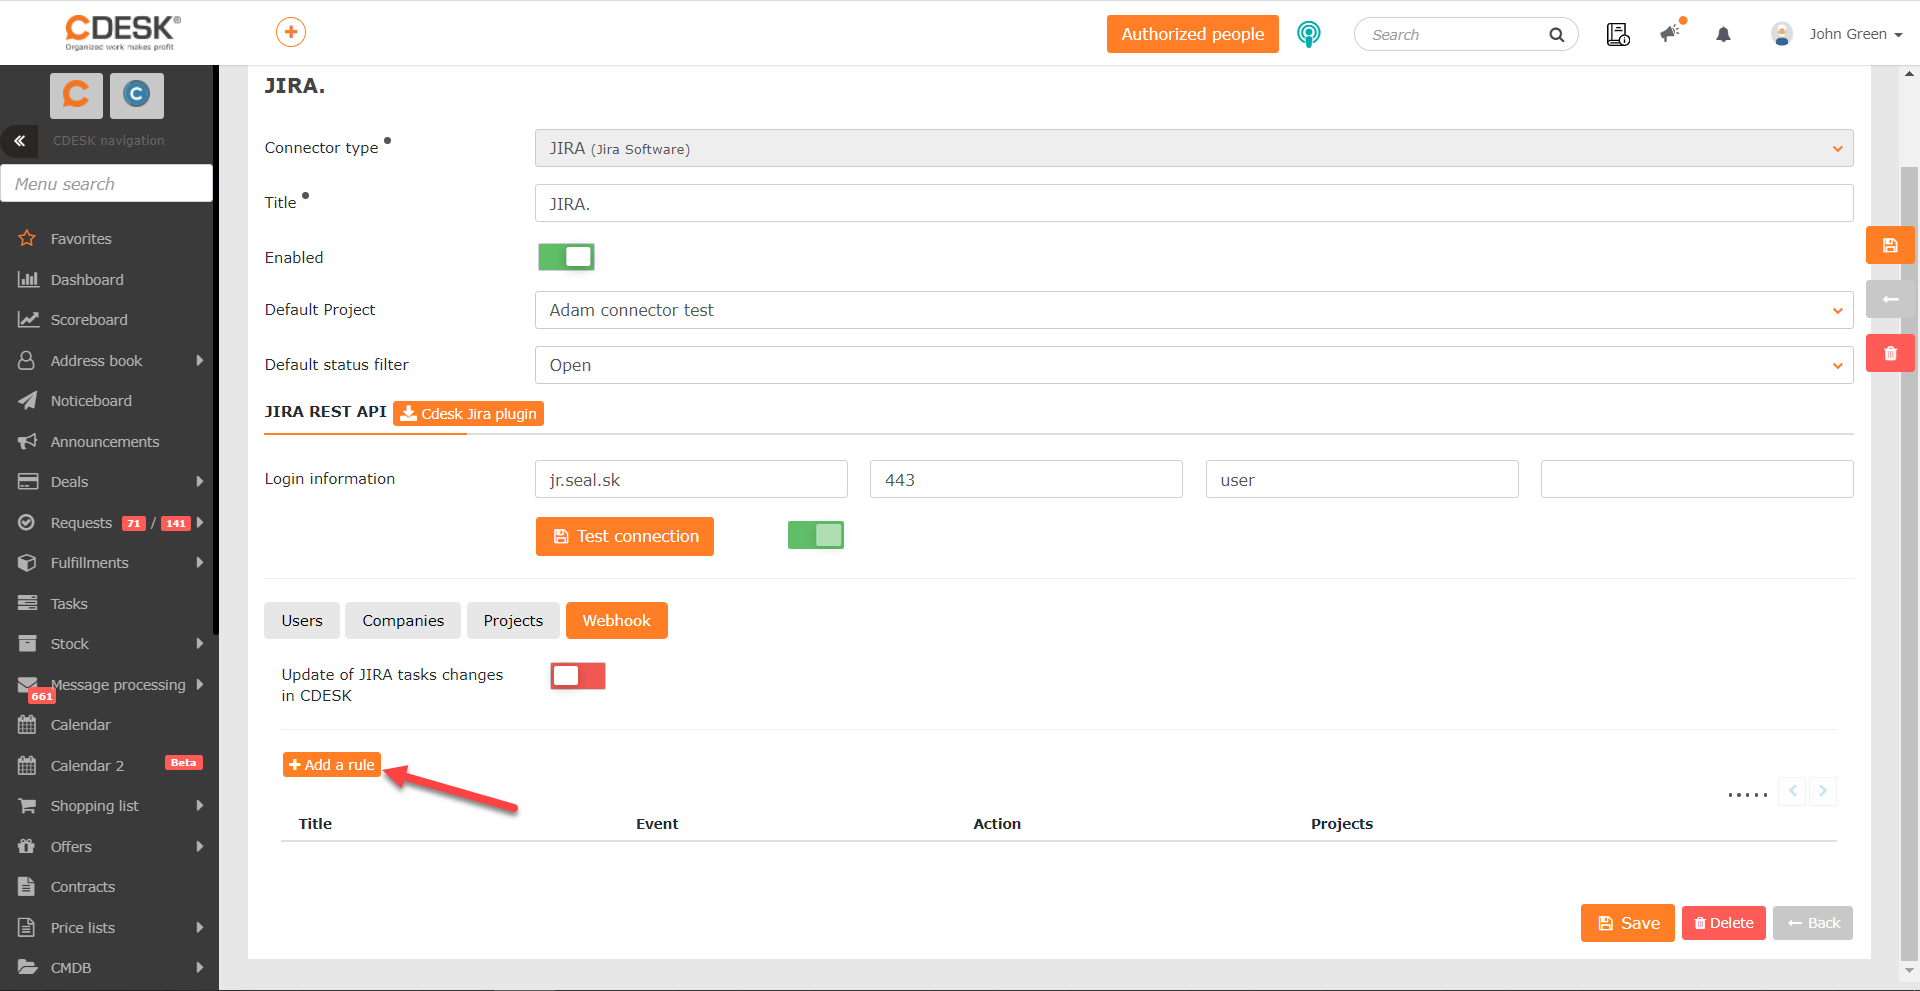
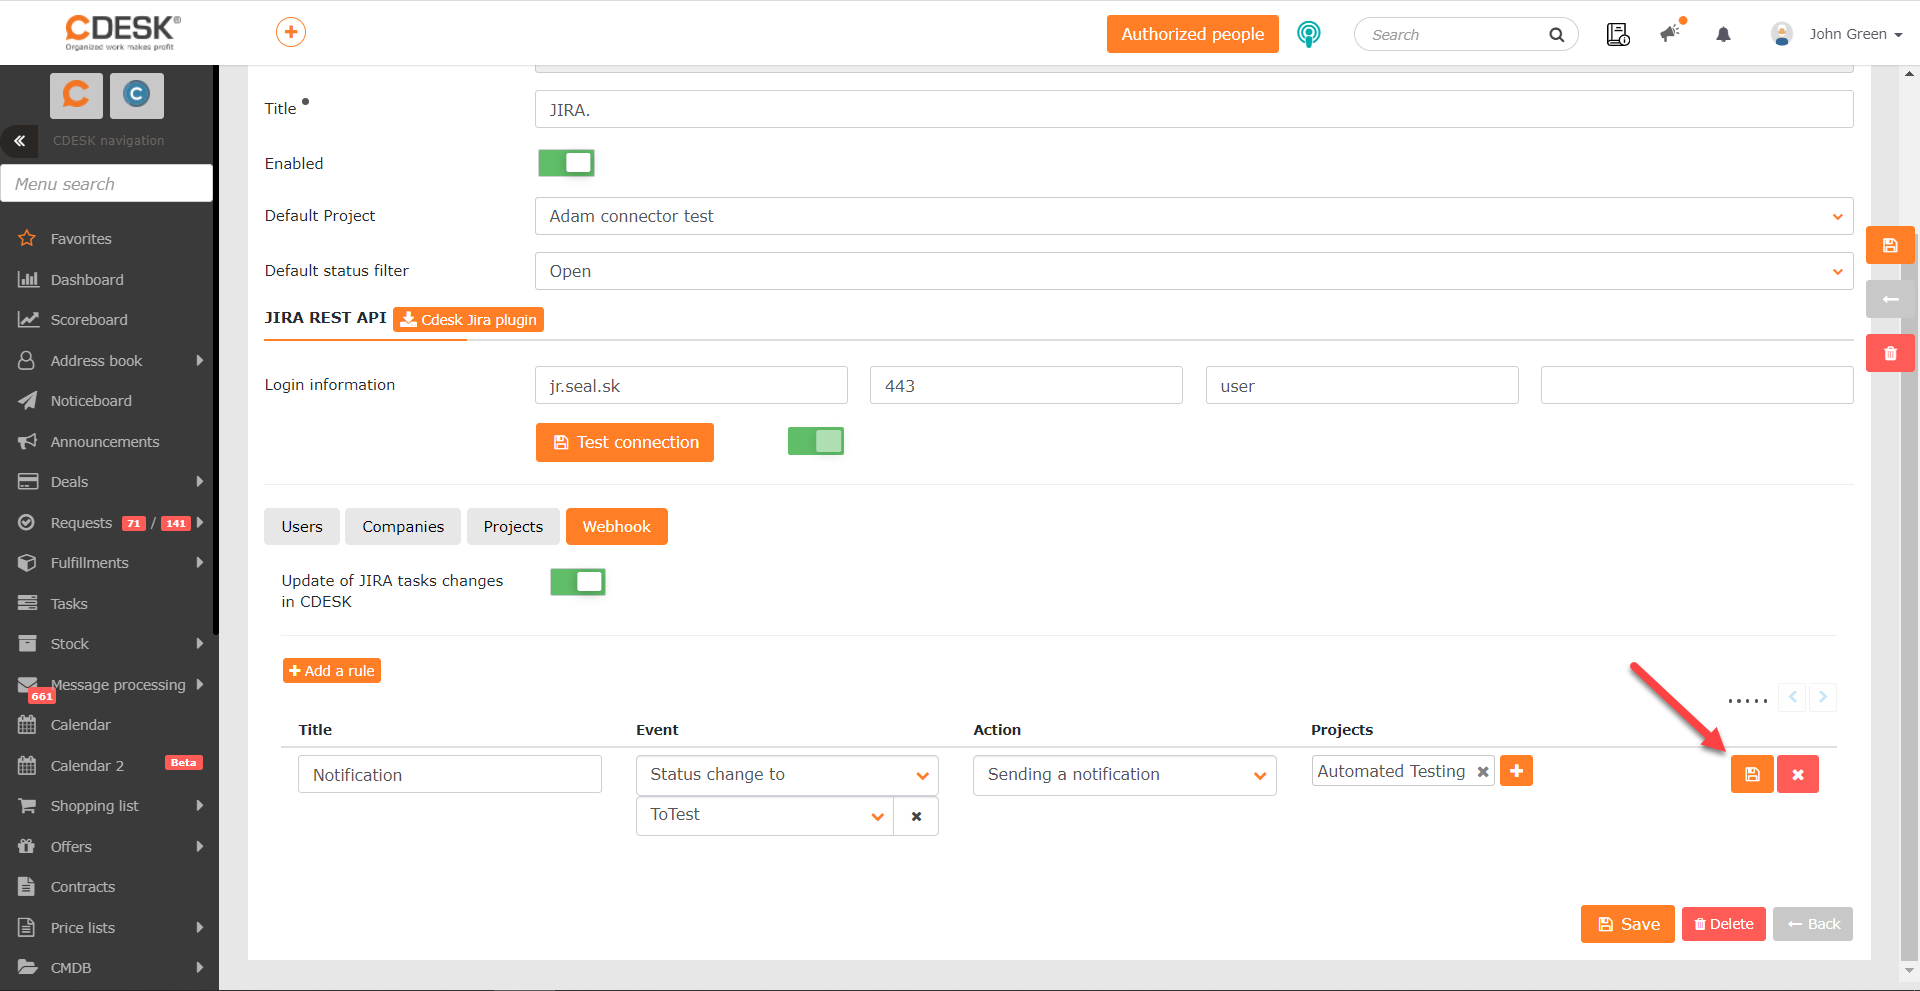
After clicking, fields for entering the rule parameters are displayed:
Name – enter a name that will serve as a brief description of the rule.
Event – select from the list the event at which notifications will be sent. The following options are available:
- Status change to – the notification is sent when the status of a JIRA issue changes. When this option is selected, a field is displayed for selecting the status which, if set on the JIRA issue, will cause the user to be notified. These are the statuses you have set up in JIRA. If you do not select any specific status in this second field, notifications will be sent on any status change.
- Assignee change – the notification will be sent when the assignee on a JIRA issue changes.
Action – select the Send notification option.
Projects – select the project within which changes on JIRA issues will be notified. Several projects can be selected for a single rule.
You save the rule by clicking the icon located at the end of that rule’s row.
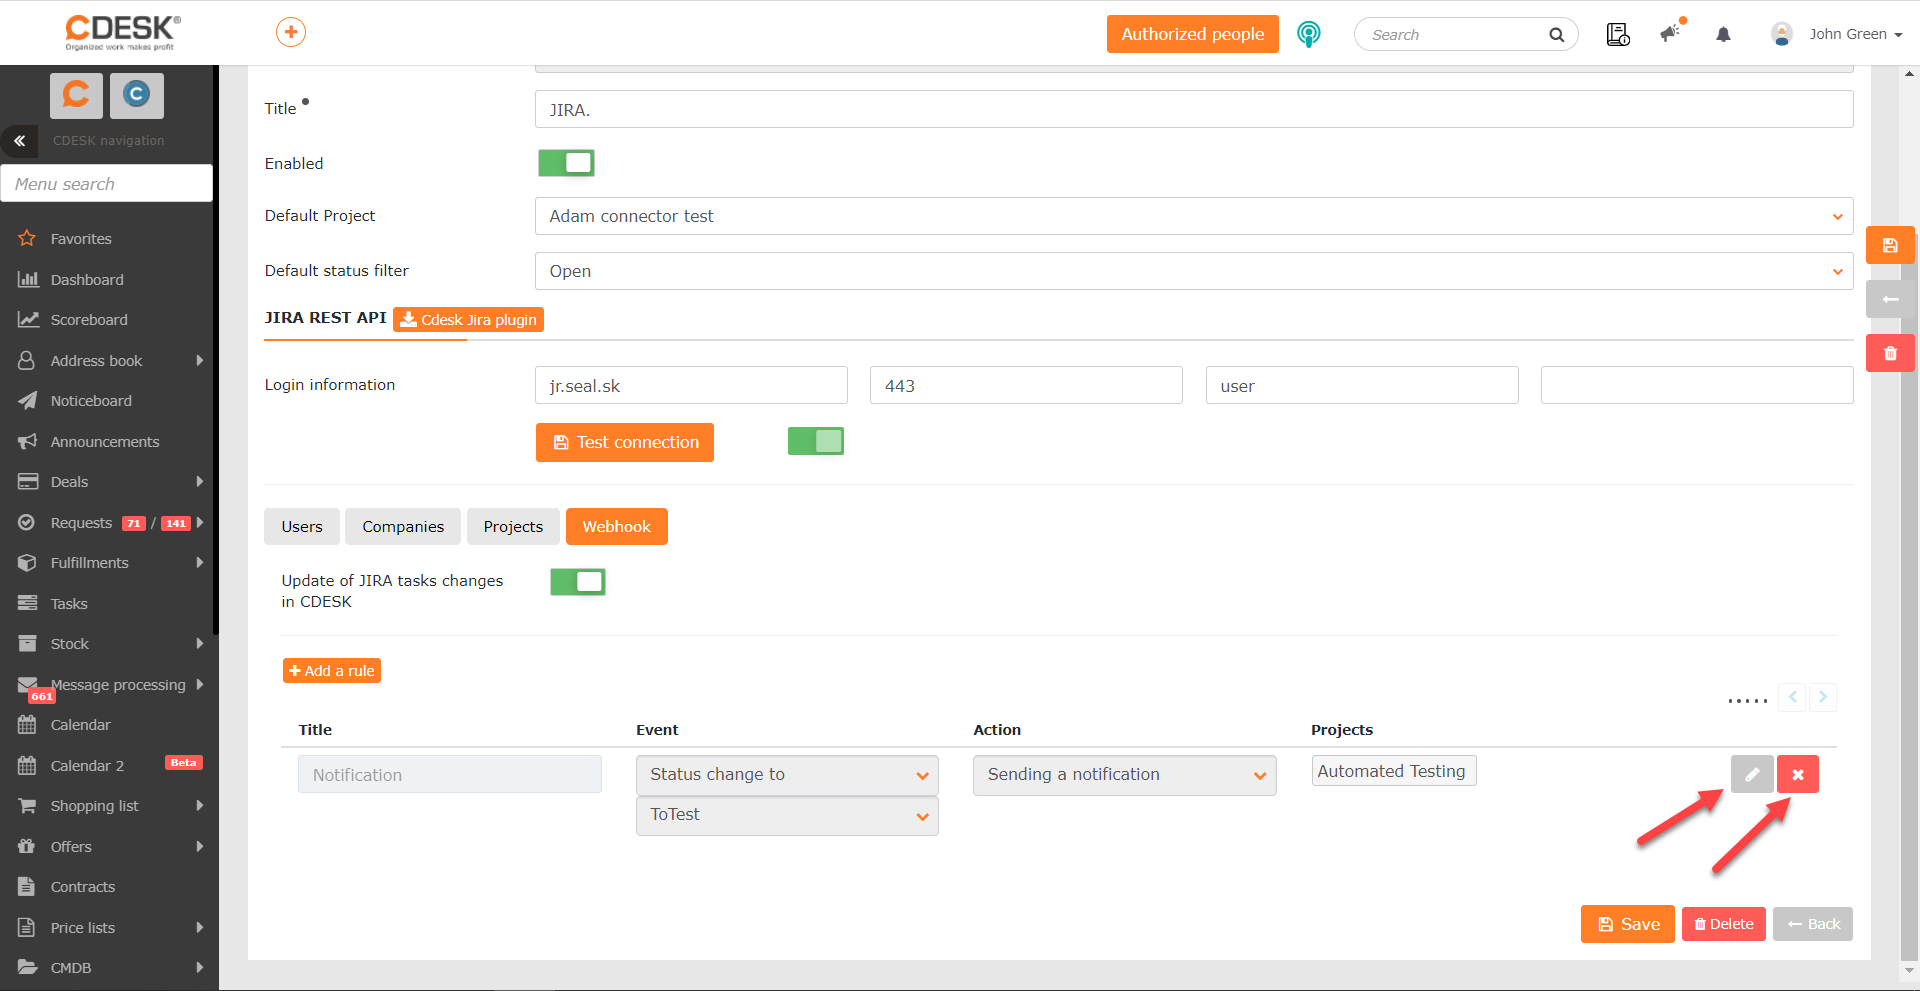
CDESK makes it possible to create several rules for sending notifications about changes on a JIRA issue. All the rules that have been created are displayed in the list on the Webhook tab in the JIRA connector. If you need to modify a saved rule, click the icon at the end of that rule’s row. If you want to remove the rule, click the X icon.
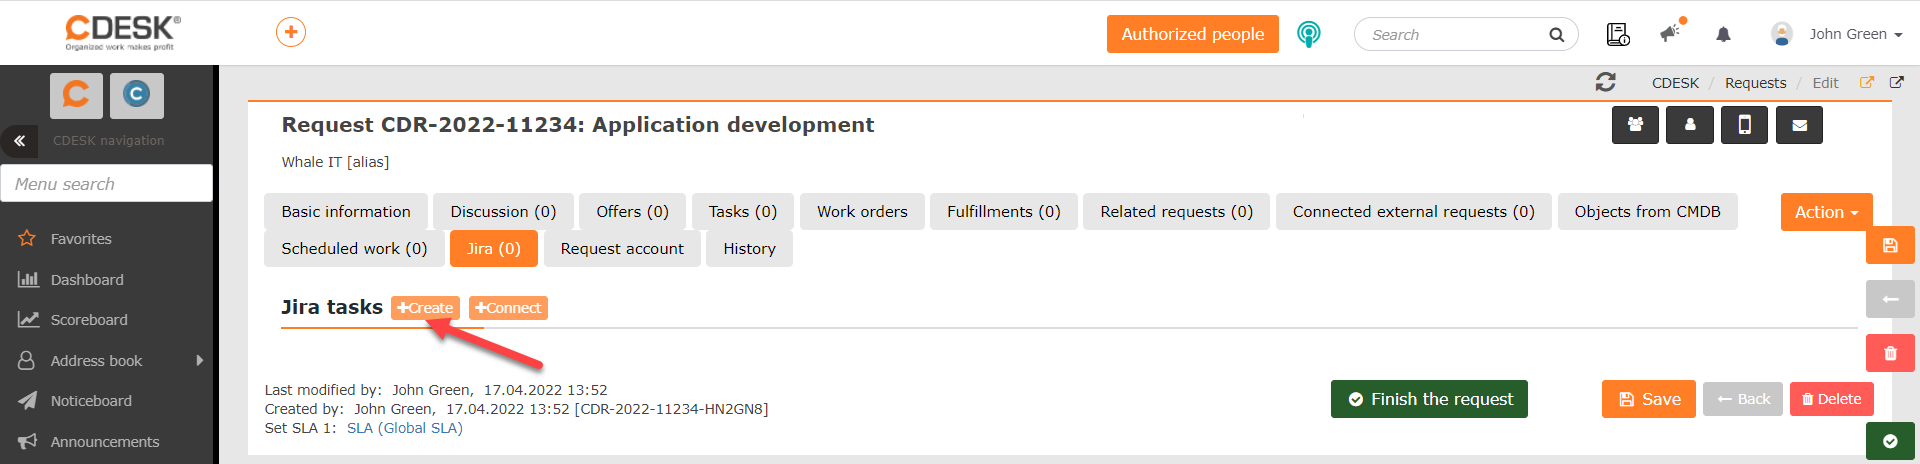
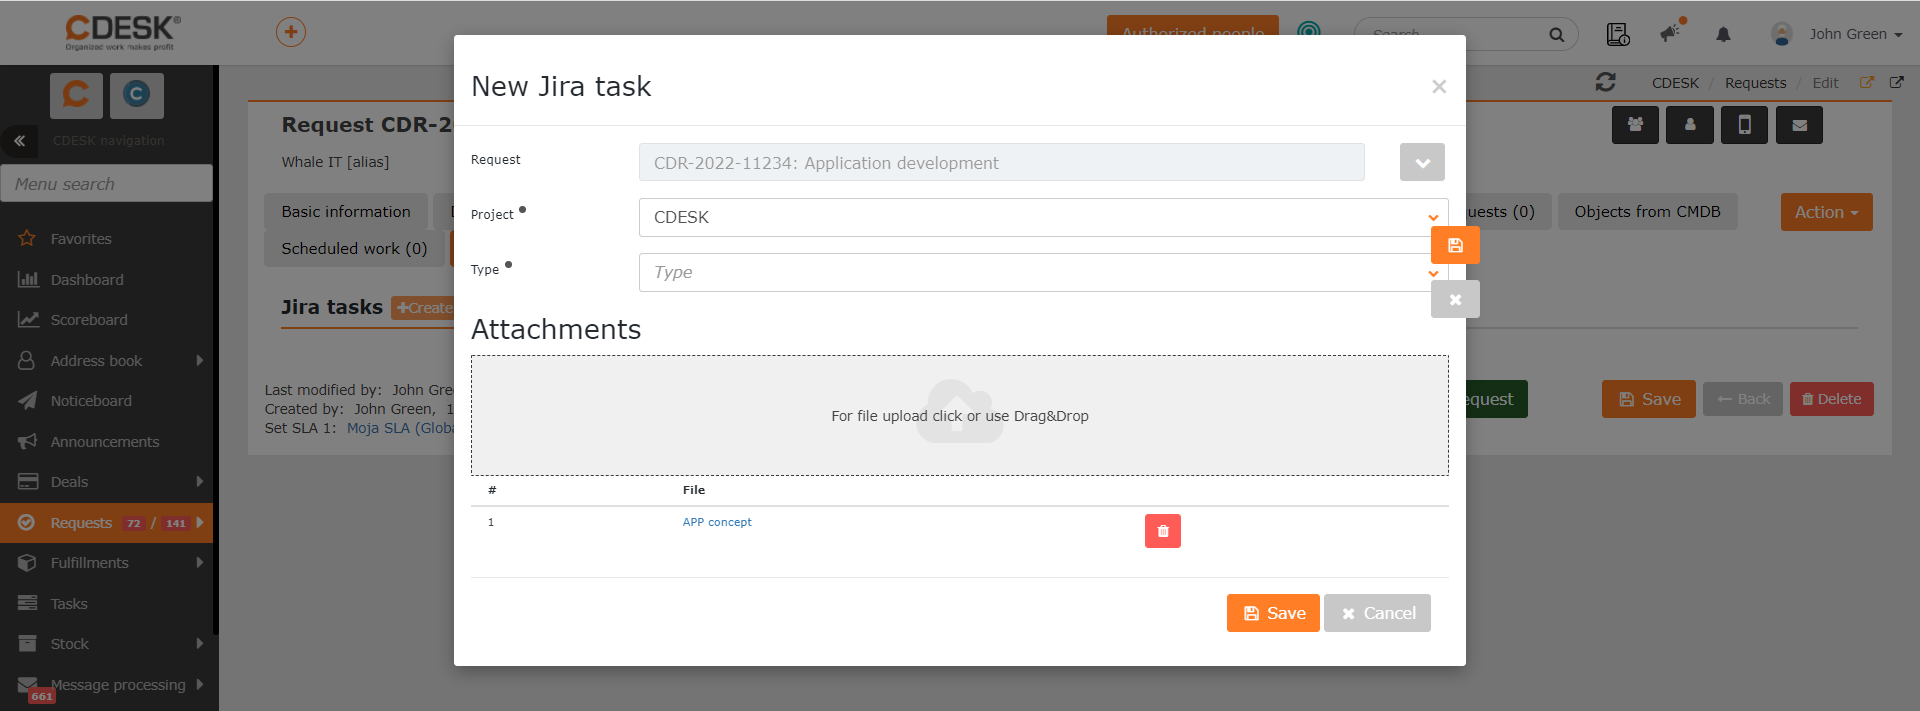
Request – the field is automatically pre-filled with the number and name of the request from which the JIRA issue is being created. By clicking the  icon, the detail of that request can be displayed. Clicking the
  icon again closes the detail.
Project – select the project into which the JIRA issue will be placed. The field may be pre-filled with the project you set when configuring the connector in the field Default project.
Type – select the type of JIRA issue. Once the request type has been selected, further fields are displayed, the ones used in JIRA for that type.
Attachments – in this section, attachments can be added to the JIRA issue. Attachments added to the original CDESK request are also transferred here. If you need to remove one of the attachments, click the bin icon.
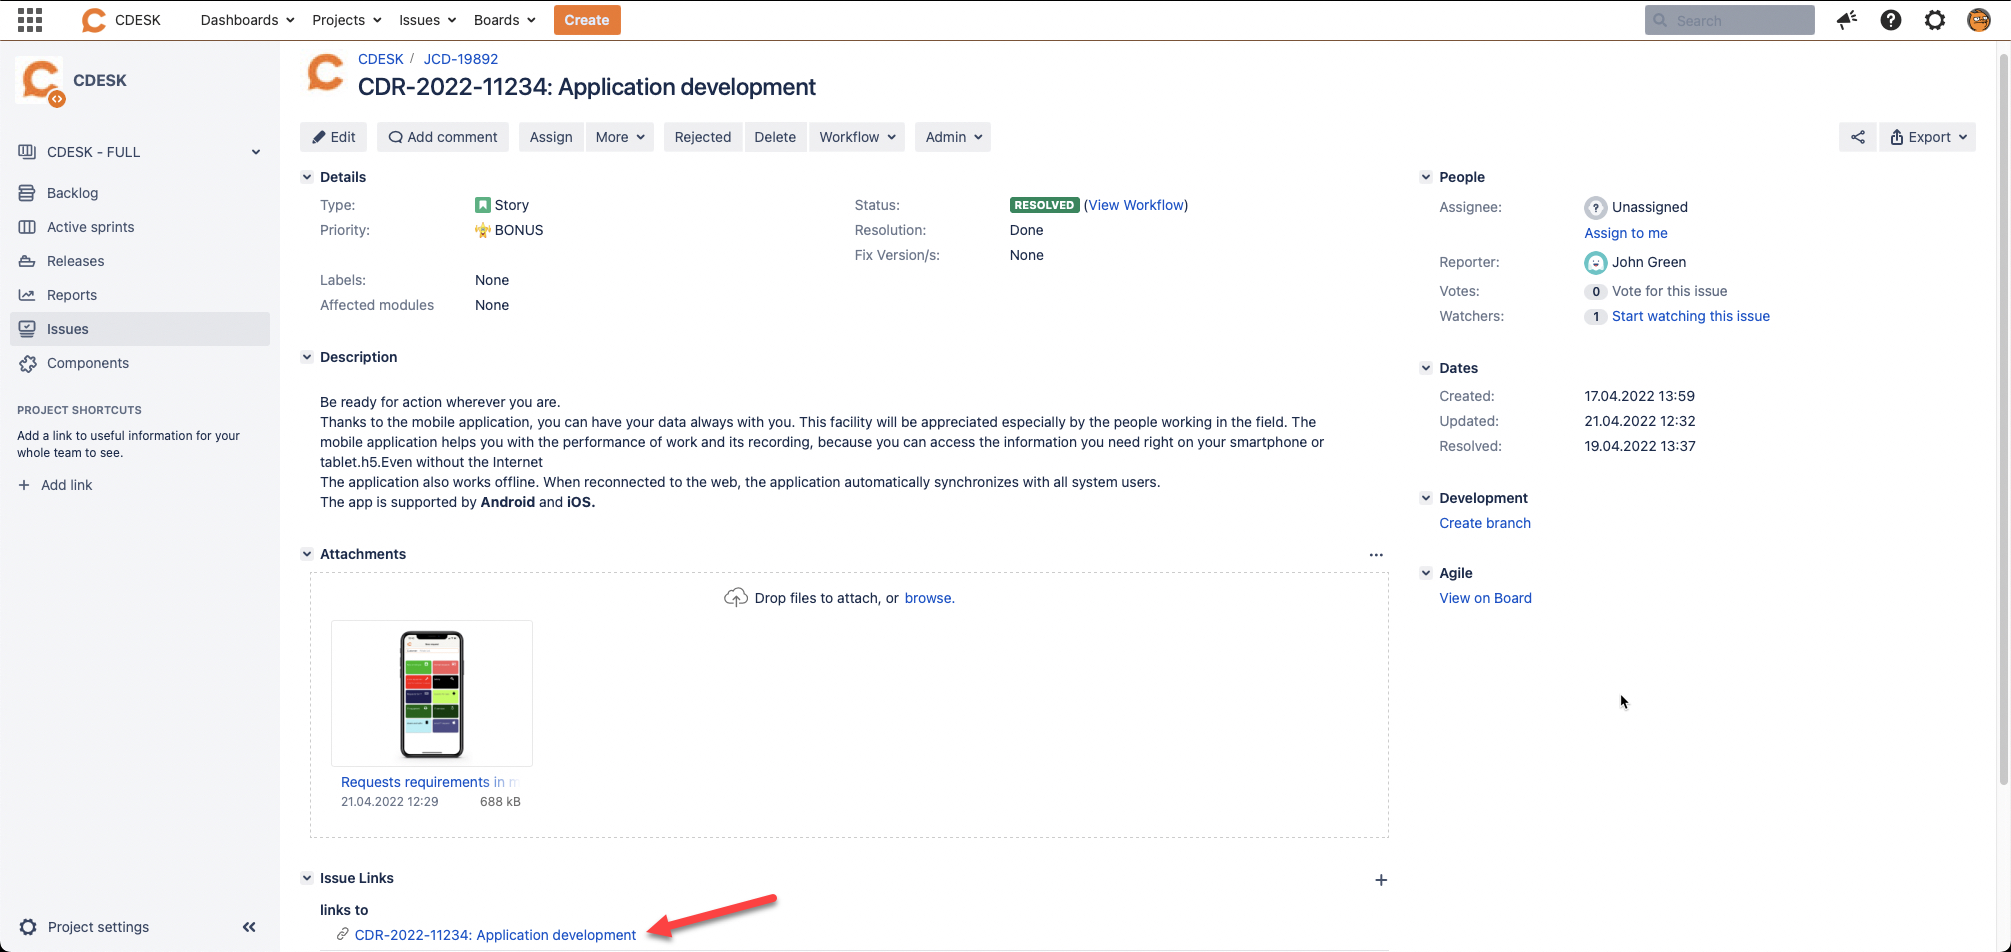
You create the new JIRA issue by clicking the button Save, which is located in the bottom right corner of the form. The created JIRA issue contains information about the link with the CDESK request, with the option of clicking through to that request.
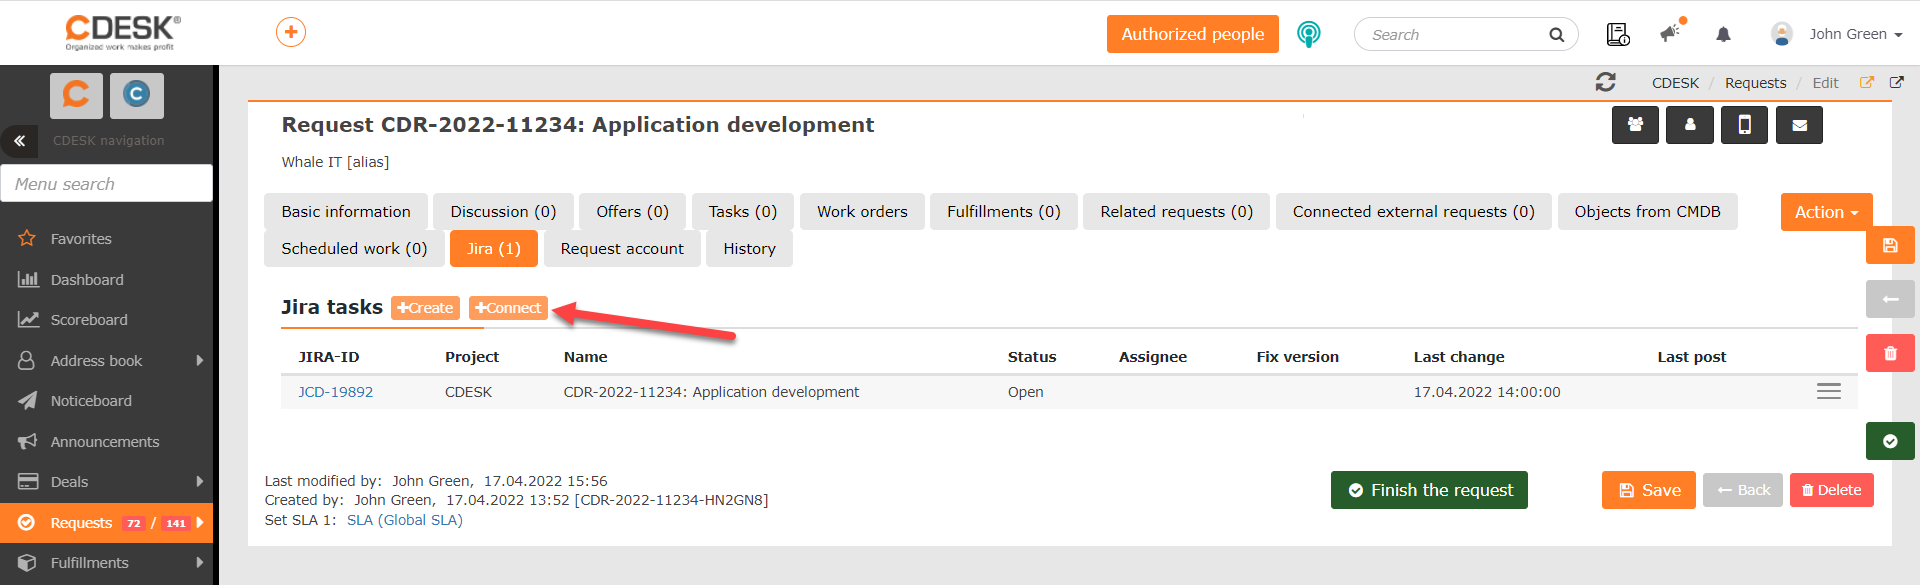
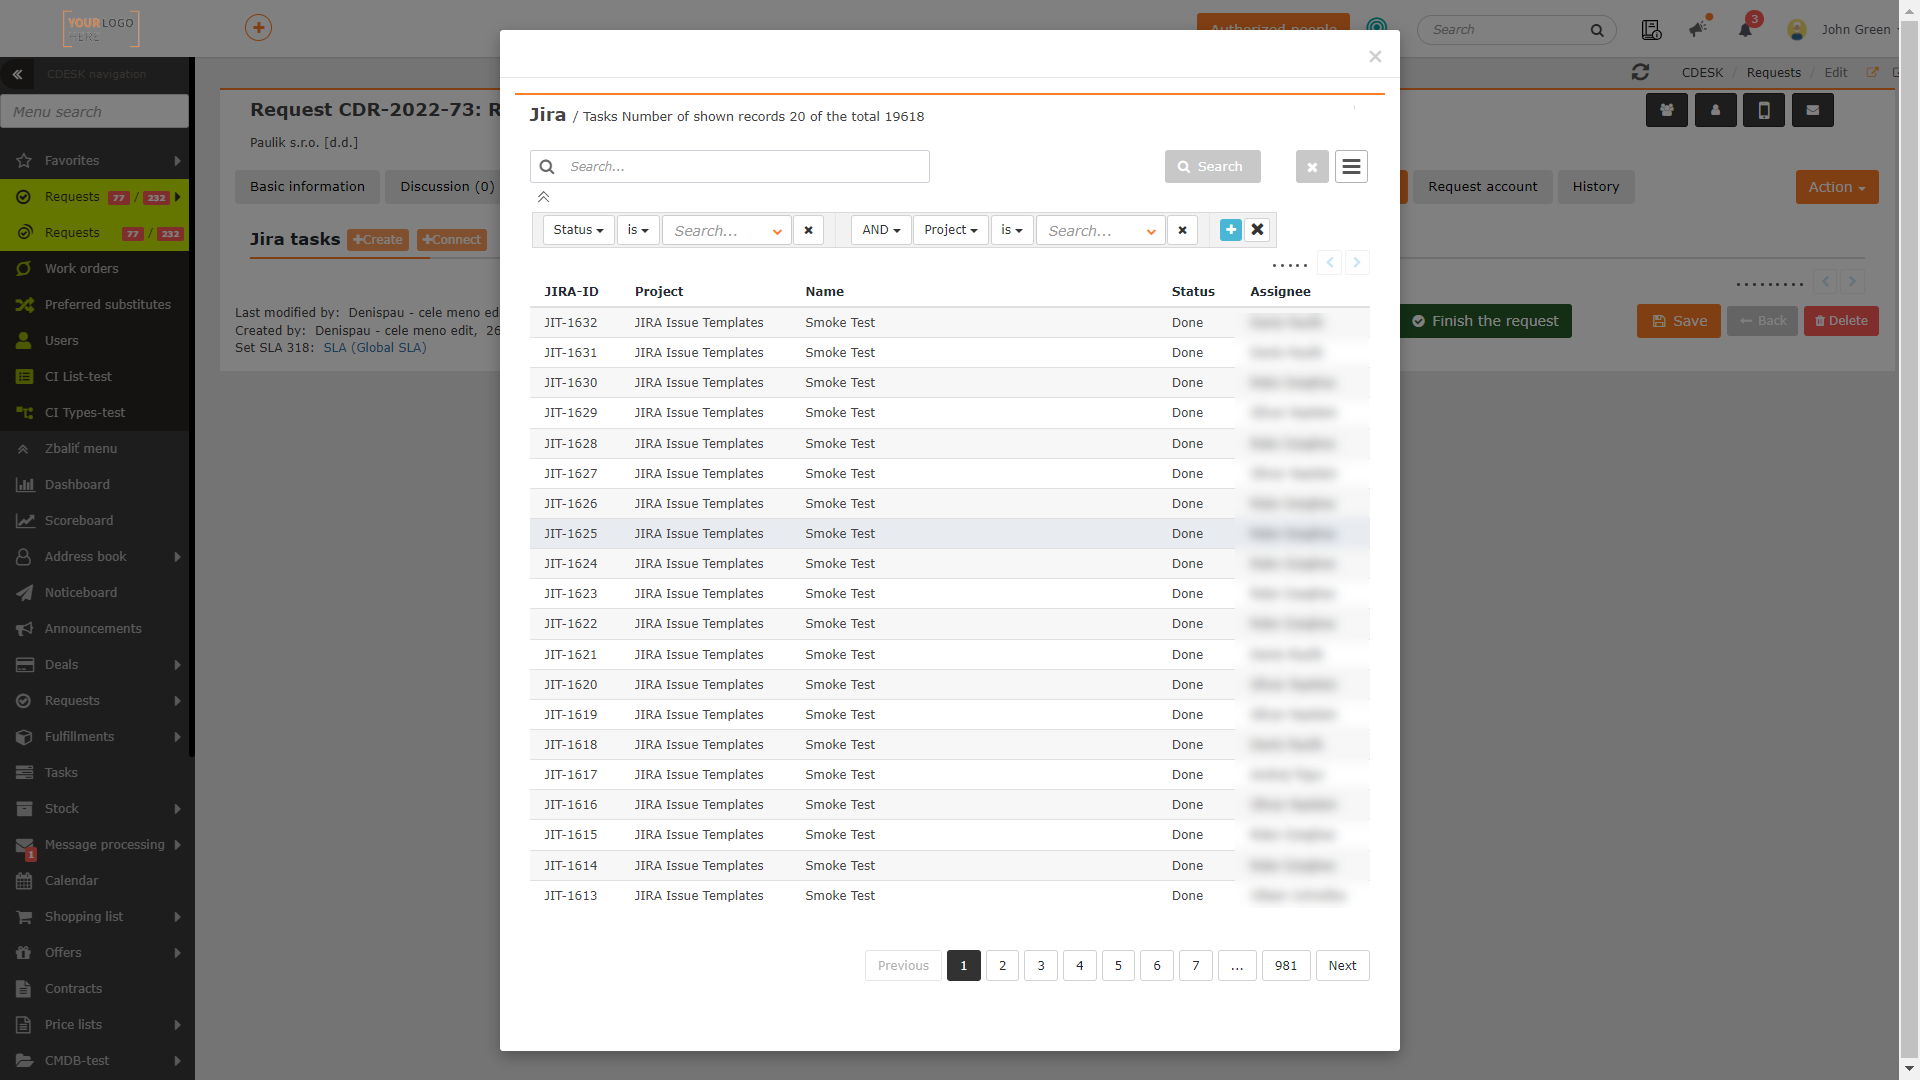
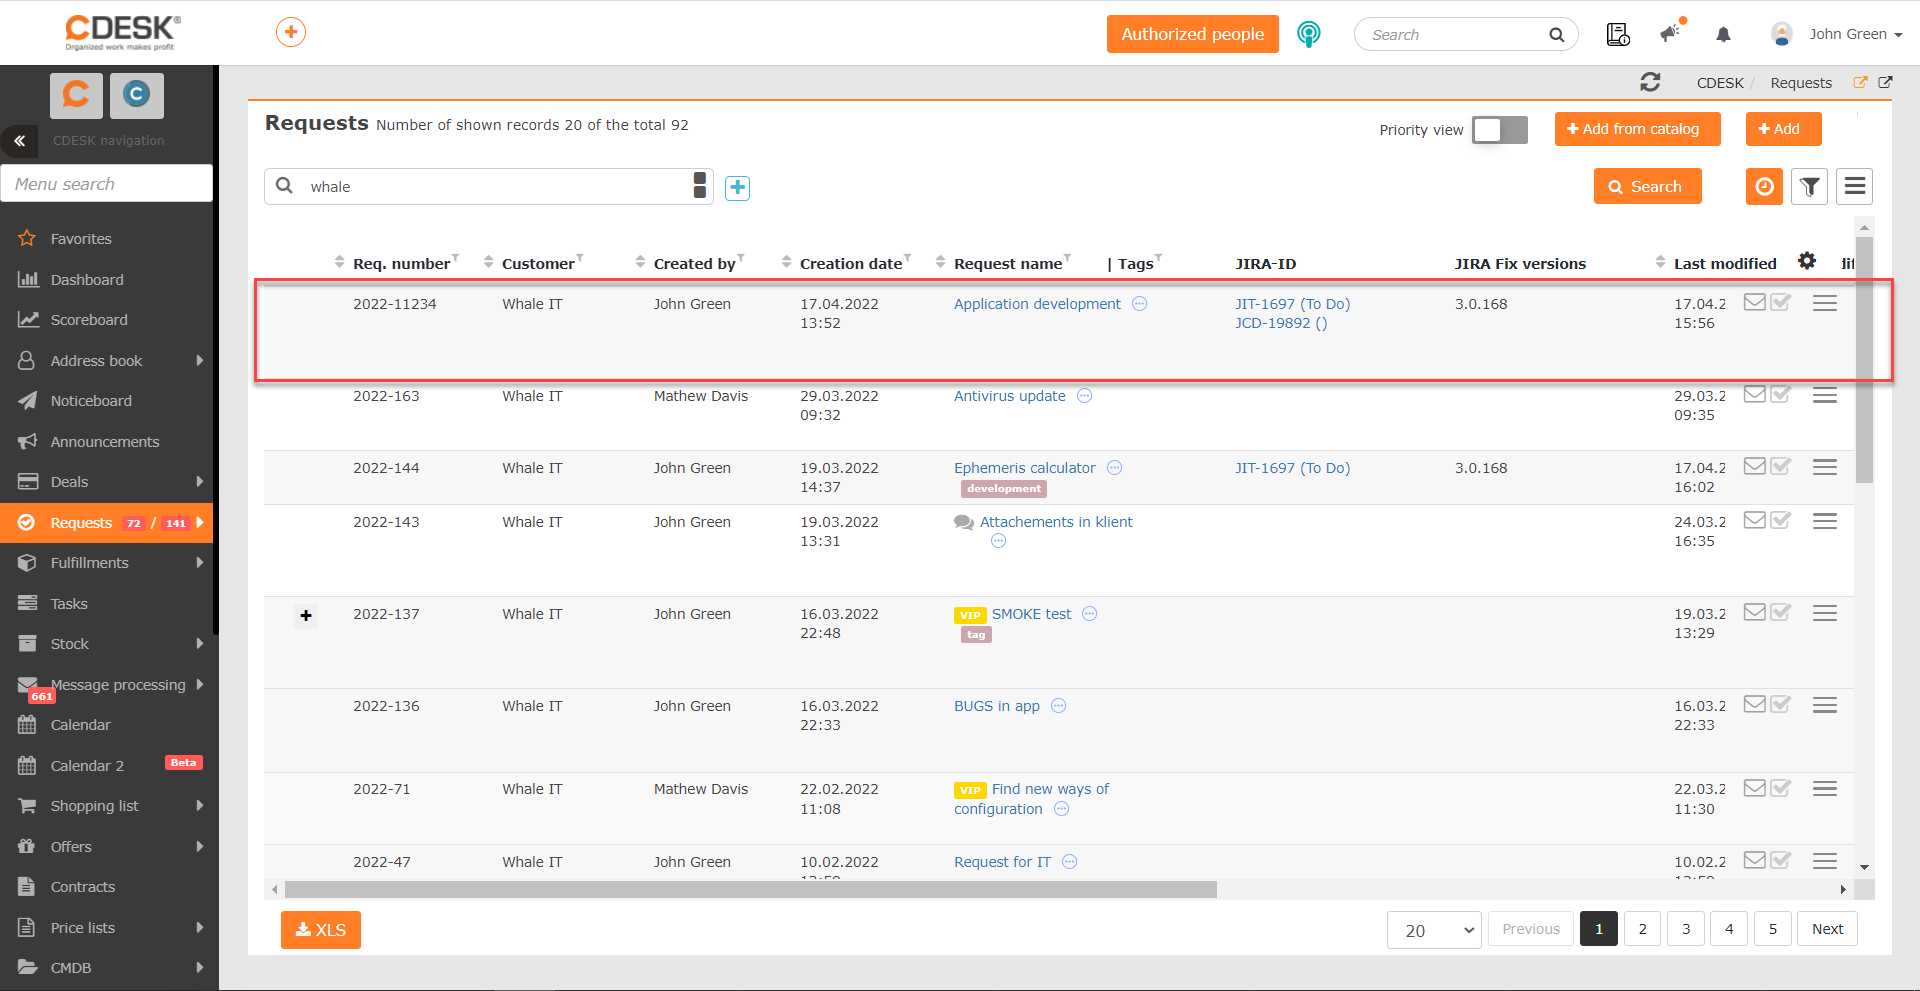
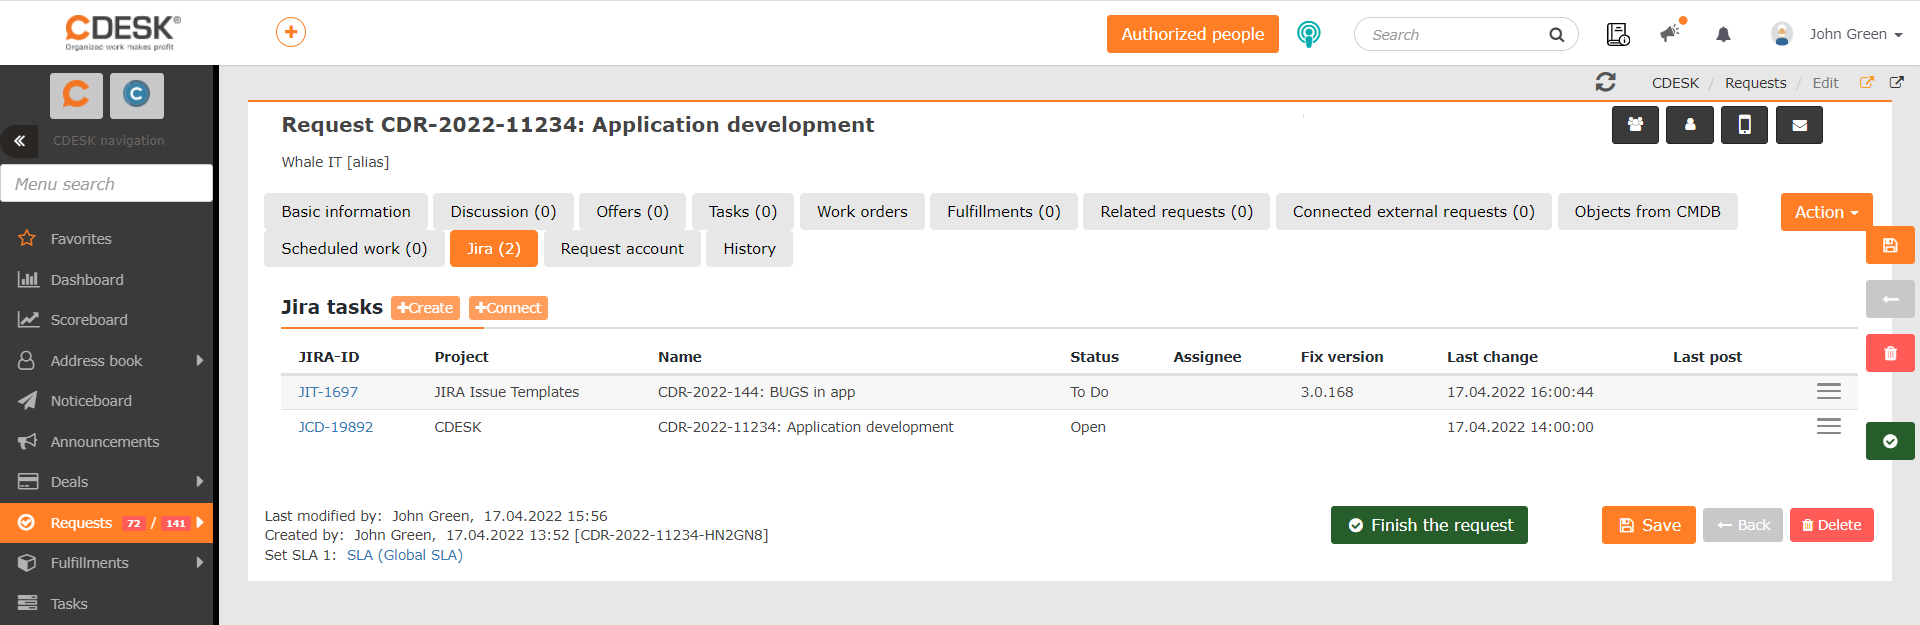
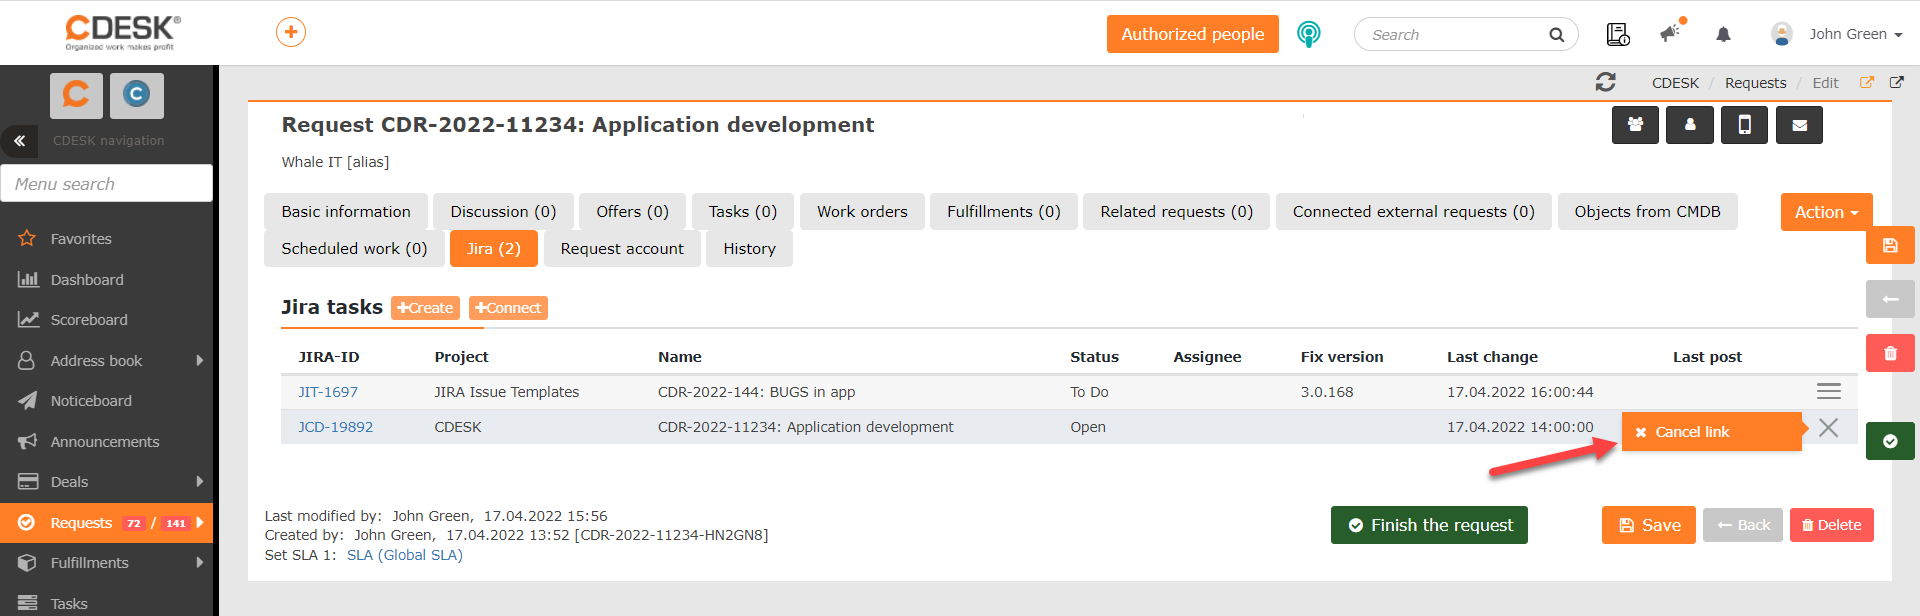
If necessary, the link with a JIRA issue can be cancelled. To cancel the link, click the menu icon at the end of that issue’s row and select the Cancel the link option.